System Menu
4-9
4.3
Default Setup
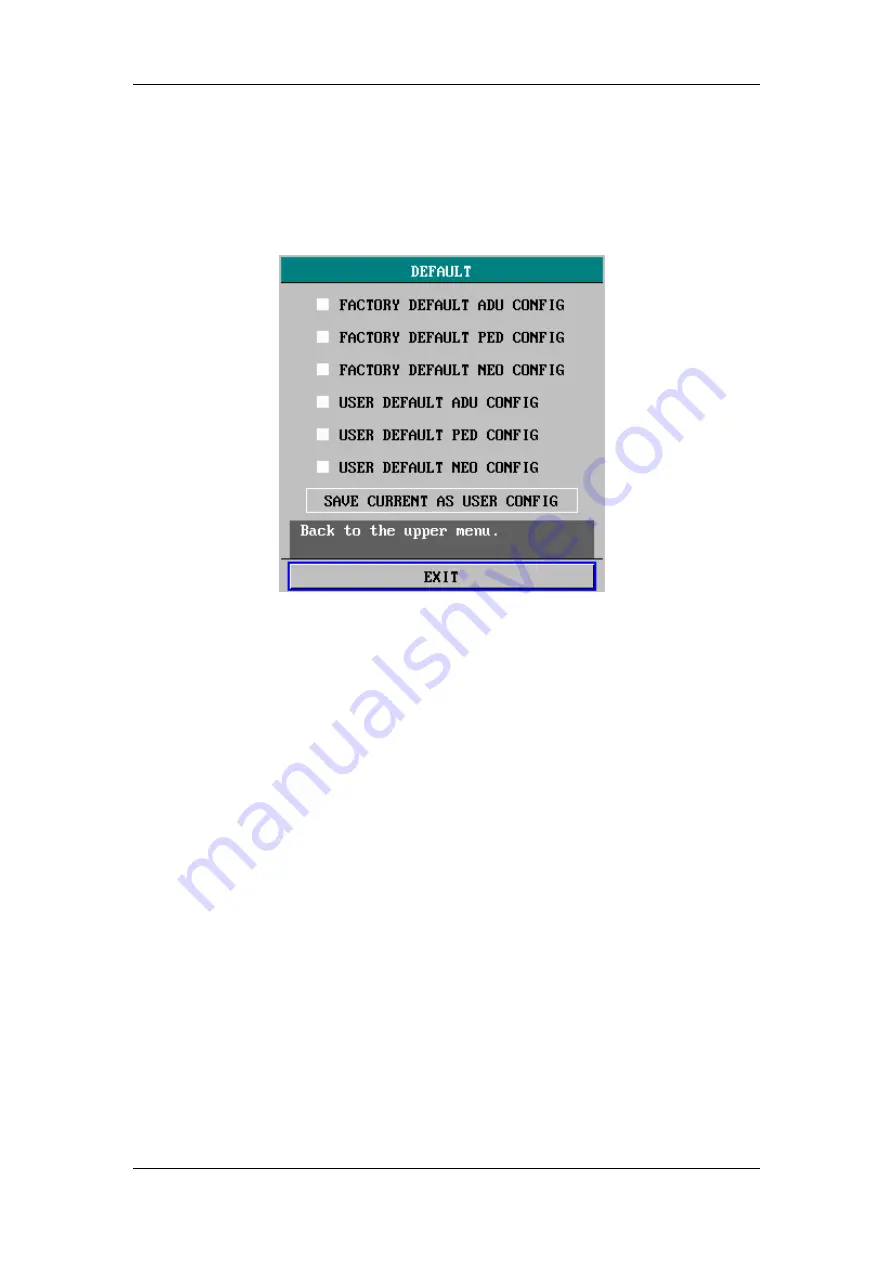
Select DEFAULT>> in SYSTEM MENU. The following menu appears.
Figure 4-5 Default Setup
Restoring Factory Default Configuration
1. Rotate the control knob and select the desired configuration.
2. Select EXIT, and a CONFIRM DEFAULT CONFIG dialog box pops up.
3. Select YES to restore the monitor to the selected default configuration, or select
NO to cancel the operation.
Saving Current Configuration as User Default Configuration
You can also modify the configuration of the monitor and save the modified
configuration as the user-defined default configuration of the corresponding patient
type. When the monitor begins monitoring a new patient, you may to choose the
user-defined default configuration directly, loosing from performing the settings
again. However, the user-defined configuration must be appropriate and correct.
1. Verify the modified configuration is appropriate and correct.
2. Select the SAVE CURRENT AS USER CONFIG option.
3. Select YES in the popup dialog box to save current configuration as the
user-defined default configuration.
4. Select NO to cancel the operation.
Summary of Contents for PM-9000
Page 1: ...PM 9000 Patient Monitor Operation Manual...
Page 2: ......
Page 14: ...Contents XII FOR YOUR NOTES...
Page 42: ...The Basics 2 18 FOR YOUR NOTES...
Page 54: ...Installation and Maintenance 3 12 FOR YOUR NOTES...
Page 106: ...Alarms 6 12 FOR YOUR NOTES...
Page 131: ...10 1 10 Drug Calculation 10 1 Drug Calculation 10 2 10 2 Titration Table 10 5...
Page 184: ...ECG RESP Monitoring 11 48 FOR YOUR NOTES...
Page 216: ...SpO2 Monitoring 12 32 FOR YOUR NOTES...
Page 276: ...CO Monitoring 16 14 FOR YOUR NOTES...
Page 377: ......
Page 378: ...P N 9100 20 11311 6 2...


