Chapter 15 DRYPRO 832 Utility Tool
15-16
15.7 Logo Setup
The logo mark output to the film can be set.
Logo data
Logo data that meets the following requirements must be prepared beforehand and saved to Printlink5-IN.
Logo output position
Logo mark is output to
“15.3 Print Condition (Page 15-9)”
in
“
Printing positions of logo, patient information,
and stamp characters (Page 15-11)”
.
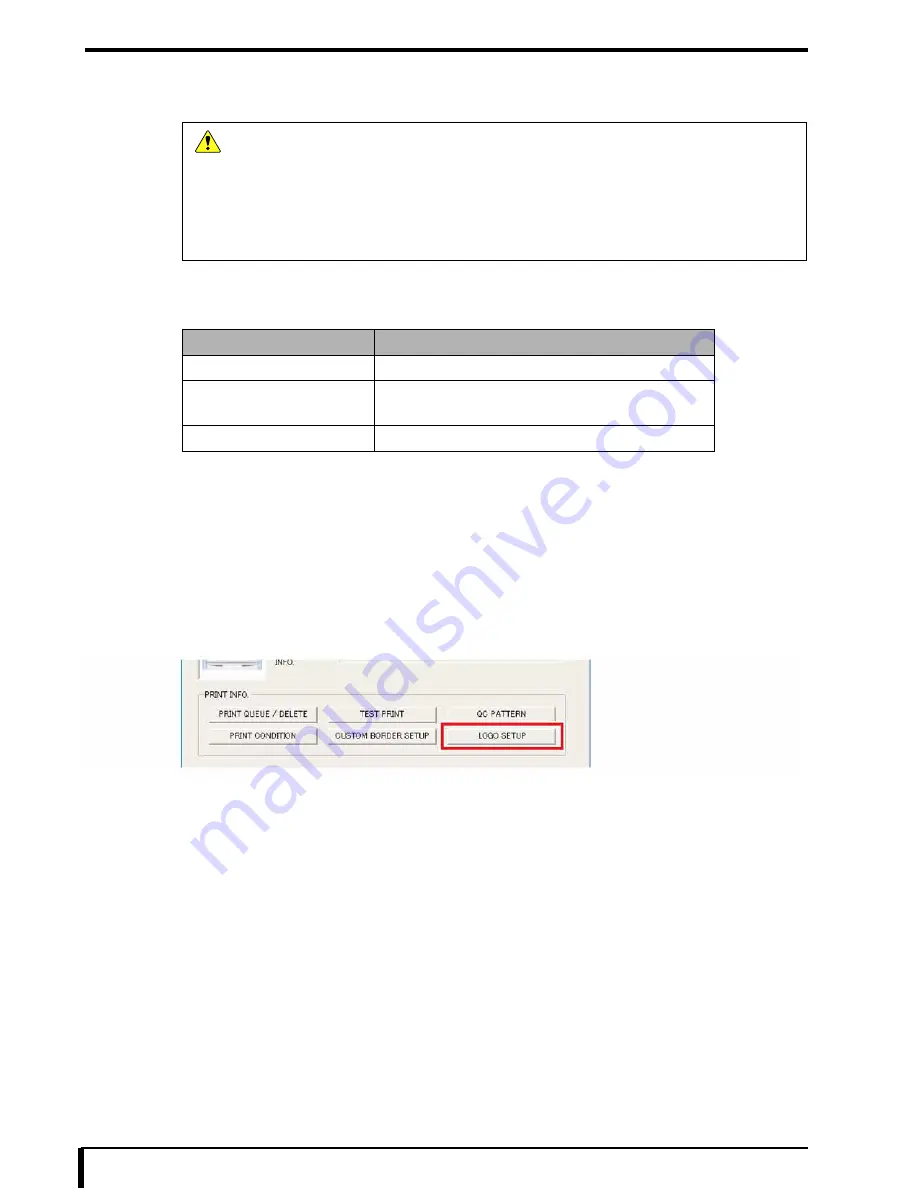
1
Refer to
“15.1 DRYPRO 832 Utility Tool Start (Page 15-2)”
, and open the maintenance menu
window of the DRYPRO 832 Utility Tool.
2
Click the [LOGO SETUP] button under “PRINT INFO”.
The “LOGO SETUP” window appears.
Caution
•
Save the original logo data into the specified folder of the PC, in order to be backed up.
•
The logo mark cannot be set from the maintenance tool.
•
If the stamp area and logo mark output position overlap one another, the stamp area takes
precedence over the logo mark output position.
•
Settings by CH cannot be made, so one setting is made for each system.
•
To use the “OVERLAY” function of Printlink5-IN, use the Printlink5-IN logo settings, and set
the DRYPRO 832 logo data output to “OFF”.
Item
Requirements
File format
bmp format
File size (recommended
value)
•
86
×
86 pixels (maximum 110 pixels)
•
Any aspect ratio may be selected.
Tone
Grayscale 8 bits
Summary of Contents for Drypro 832
Page 2: ......
Page 12: ......
Page 22: ......
Page 28: ......
Page 74: ......
Page 118: ......
Page 228: ......
Page 242: ......
Page 388: ......
Page 498: ......
Page 521: ...18 23 18 5 Block Diagram ...
Page 527: ...18 29 18 7 Printing Operation Load Timing Chart Standard 1 ch ...
Page 529: ......


