Interfaces
Local Area Networks (LANs)
TX54 User Guide
169
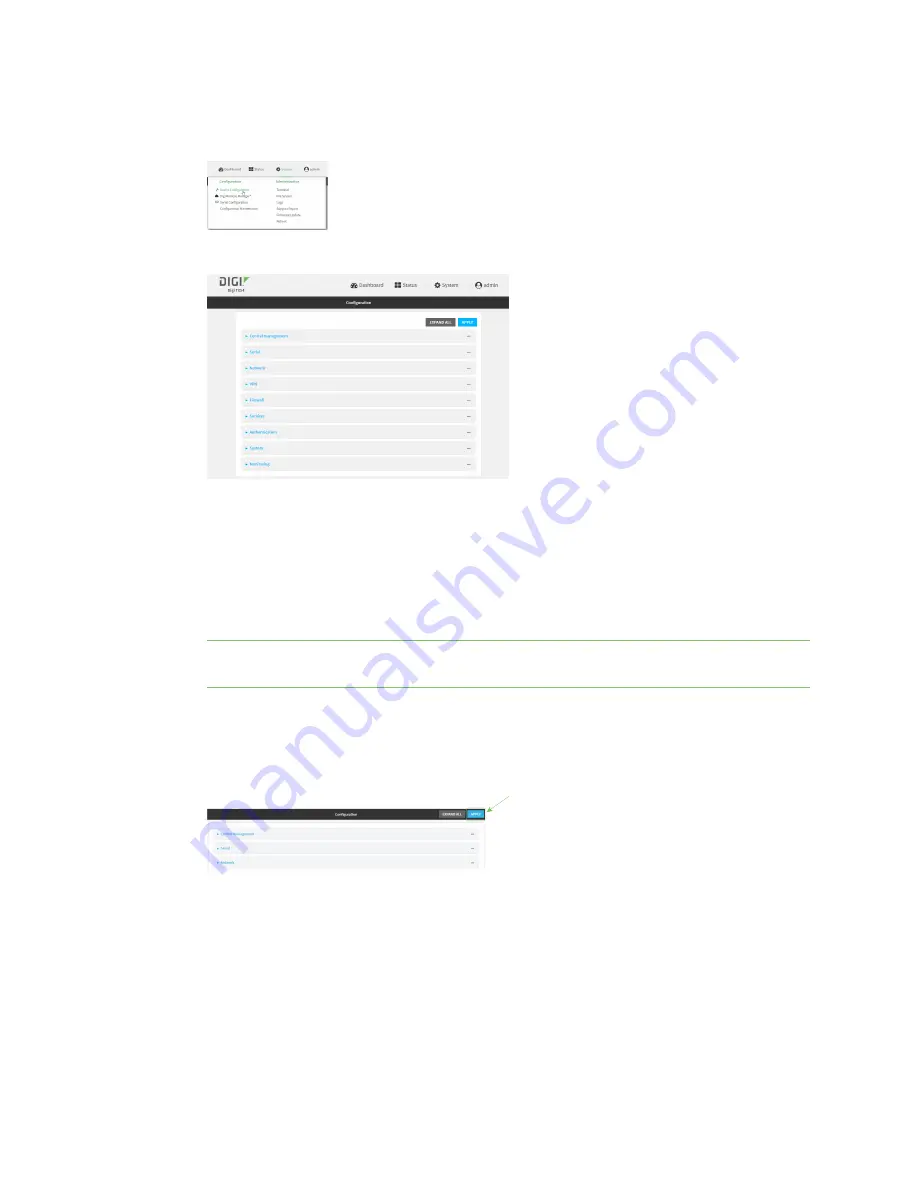
1. Log into the TX54 WebUI as a user with full Admin access rights.
2. On the menu, click
System
. Under
Configuration
, click
Device Configuration
.
The
Configuration
window is displayed.
3. Click
Network
>
Interfaces
.
4. Click to expand an existing LAN, or create a new LAN. See
.
5. Click to expand
IPv4
>
DHCP server
>
Advanced settings
>
Static leases
.
6. For
Add Static lease
, click
.
7. Type the
MAC address
of the device associated with this static lease.
8. Type the
IP address
for the static lease.
Note
The IP address here should be outside of the DHCP server's configured lease range. See
for further information about the lease range.
9. (Optional) For
Hostname
, type a label for the static lease. This does not have to be the
device's actual hostname.
10. Repeat for each additional DHCP static lease.
11. Click
Apply
to save the configuration and apply the change.
Command line
1. Log into the TX54 command line as a user with full Admin access rights.
Depending on your device configuration, you may be presented with an
Access selection
menu
. Type
admin
to access the Admin CLI.
Summary of Contents for TX54
Page 1: ...TX54 User Guide Firmware version 22 2 ...
Page 190: ...Interfaces Bridging TX54 User Guide 190 ...
Page 293: ...Hotspot Hotspot configuration TX54 User Guide 293 ...
Page 332: ...Hotspot Show hotspot status and statistics TX54 User Guide 332 ...
Page 584: ...Services Simple Network Management Protocol SNMP TX54 User Guide 584 4 Click Download ...


