To continue this tutorial, go to
Exercise 3: Using the Panorama Window
(page
12).
Exercise 3: Using the Panorama Window
In this exercise, you will learn how you can use and customize the Panorama
window.
For more information, see the AutoCAD Civil 3D Help topic The Panorama
Window.
This tutorial continues from
Exercise 2: Understanding the Toolspace
(page
9).
Display object data in the Panorama window
NOTE
This tutorial uses Intro-1.dwg from the previous tutorial.
1
Use the
Pan and
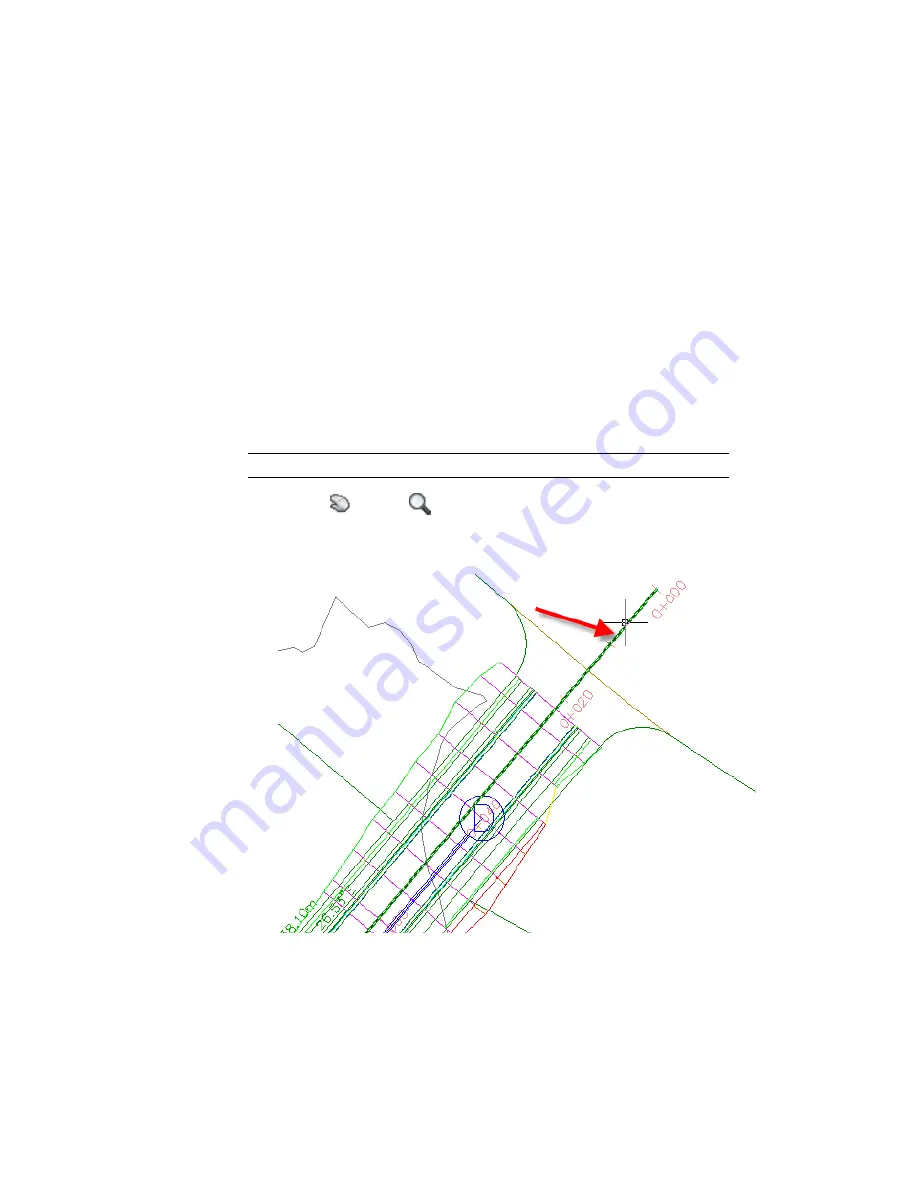
Zoom controls to locate the beginning of the
alignment and pipe network on the far right side of the site.
2
In the drawing, click the green alignment.
12 | Chapter 2 Getting Started Tutorials
Summary of Contents for AUTOCAD PLANT 3D 2011 - SYSTEM REQUIREMENTS
Page 1: ...AutoCAD Civil 3D 2011 Tutorials April 2010 ...
Page 58: ...46 ...
Page 70: ...58 ...
Page 73: ...Tutorial Creating and Adding Data to a Surface 61 ...
Page 140: ...128 ...
Page 378: ...7 Press Enter 366 Chapter 10 Parcels Tutorials ...
Page 385: ...8 Press Enter Exercise 2 Swinging One End of a Parcel Lot Line 373 ...
Page 432: ...420 ...
Page 470: ...458 ...
Page 506: ...494 Chapter 13 Corridors Tutorials ...
Page 580: ...568 ...
Page 668: ...656 ...
Page 678: ...23 Change your view to SW isometric 666 Chapter 18 Part Builder Tutorials ...
Page 679: ...24 Change your visual style to Conceptual Exercise 2 Defining the Manhole Geometry 667 ...
Page 706: ...694 Chapter 18 Part Builder Tutorials ...
Page 830: ...818 ...
Page 832: ...tutorial folder AutoCAD Civil 3D installation location Help Civil Tutorials 820 Glossary ...


