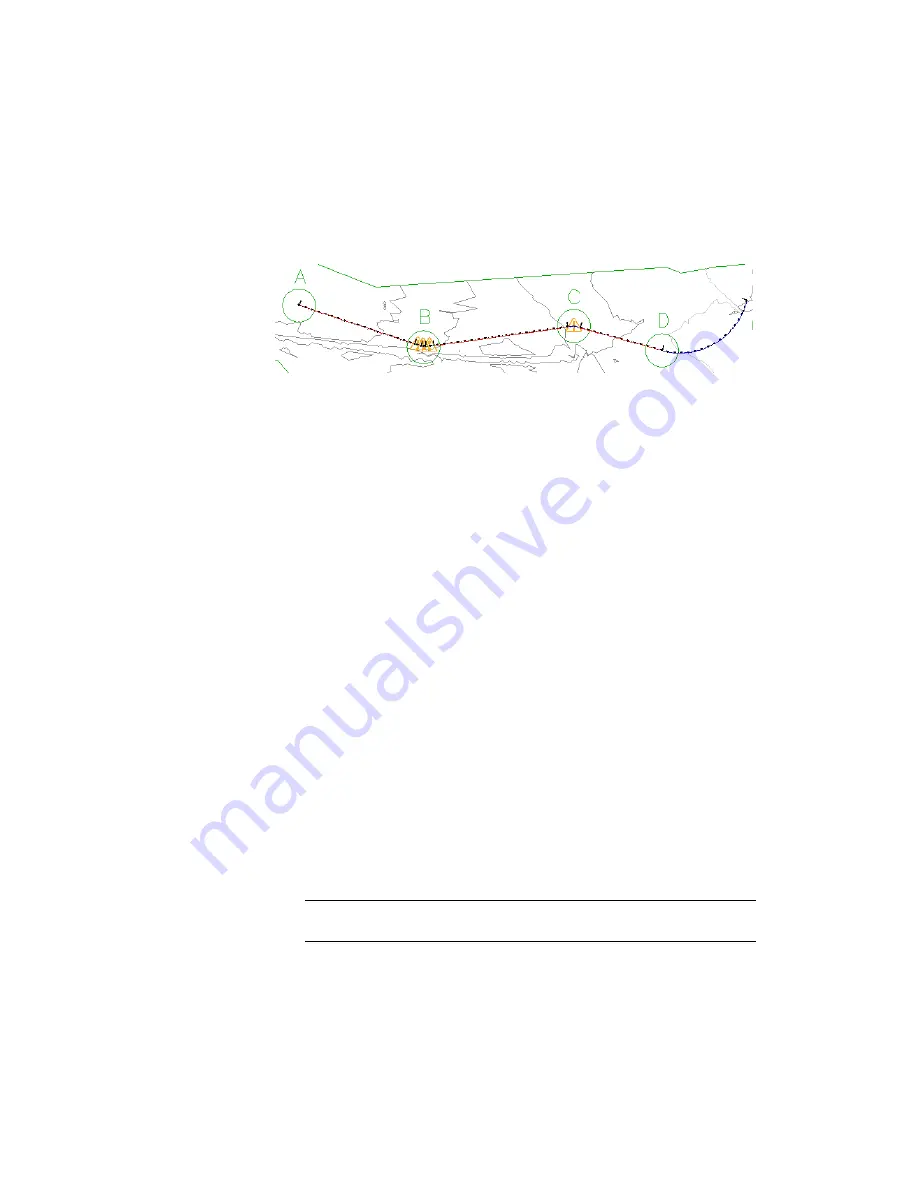
Notice that a warning symbol is not displayed on this curve. The radius
value you entered in step 4 exceeds the minimum value defined in the
minimum radius table that you specified.
To continue this tutorial, go to
Exercise 2: Viewing and Correcting Alignment
Design Criteria Violations
(page 253).
Exercise 2: Viewing and Correcting Alignment Design
Criteria Violations
In this exercise, you will examine alignment design criteria violations, and
then learn how to correct a criteria violation.
When a sub-entity violates either a criteria or design check, a warning symbol
is displayed on the sub-entity in the drawing window, Alignment Entities
vista, and Alignment Layout Parameters dialog box. When the cursor is hovered
over a warning symbol in the drawing window, a tooltip displays information
about the violation. If a design criteria has been violated, the tooltip displays
the criteria that has been violated, as well as the minimum value required to
meet the criteria. If a design check has been violated, the tooltip displays the
name of the design check that has been violated.
For more information, see Viewing and Correcting Alignment Design Criteria
Violations.
This exercise continues from
Exercise 1: Drawing an Alignment that Refers to
Design Criteria
(page 248).
Check the alignment design for criteria violations
1
Open Align-7B.dwg, which is located in the
tutorial drawings folder
(page
819)
.
2
Pan and zoom until you can see Circles B and C on the surface.
TIP
The warning symbols do not automatically scale when you zoom in.
Enter
REGEN
on the command line to resize the warning symbols.
Exercise 2: Viewing and Correcting Alignment Design Criteria Violations | 253
Summary of Contents for AUTOCAD PLANT 3D 2011 - SYSTEM REQUIREMENTS
Page 1: ...AutoCAD Civil 3D 2011 Tutorials April 2010 ...
Page 58: ...46 ...
Page 70: ...58 ...
Page 73: ...Tutorial Creating and Adding Data to a Surface 61 ...
Page 140: ...128 ...
Page 378: ...7 Press Enter 366 Chapter 10 Parcels Tutorials ...
Page 385: ...8 Press Enter Exercise 2 Swinging One End of a Parcel Lot Line 373 ...
Page 432: ...420 ...
Page 470: ...458 ...
Page 506: ...494 Chapter 13 Corridors Tutorials ...
Page 580: ...568 ...
Page 668: ...656 ...
Page 678: ...23 Change your view to SW isometric 666 Chapter 18 Part Builder Tutorials ...
Page 679: ...24 Change your visual style to Conceptual Exercise 2 Defining the Manhole Geometry 667 ...
Page 706: ...694 Chapter 18 Part Builder Tutorials ...
Page 830: ...818 ...
Page 832: ...tutorial folder AutoCAD Civil 3D installation location Help Civil Tutorials 820 Glossary ...


