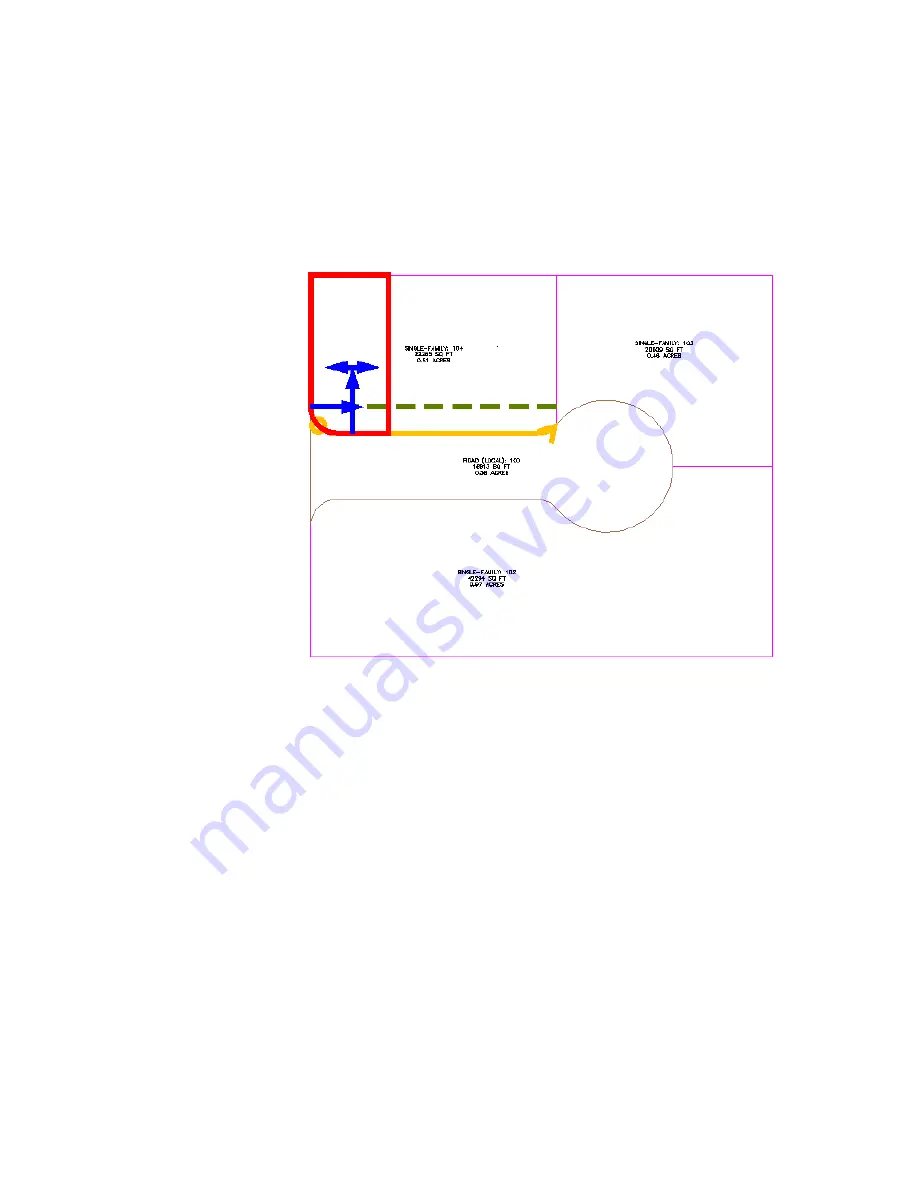
Preview graphics of the parcel creation parameters and proposed solution
are displayed. The graphics are similar to those that were displayed while
you were specifying parcel creation parameters in the Parcel Layout Tools
window.
6
Press Enter.
The new parcel is created and labeled, and a preview of the next parcel
is displayed in the drawing.
7
In the Parcel Layout Tools dialog box, for Minimum Area, enter 8000.
Notice that the preview graphic updates to reflect the changed area value.
8
Press Enter.
Two new parcels are created and labeled.
Exercise 3: Subdividing a Parcel with a Slide Line | 351
Summary of Contents for AUTOCAD PLANT 3D 2011 - SYSTEM REQUIREMENTS
Page 1: ...AutoCAD Civil 3D 2011 Tutorials April 2010 ...
Page 58: ...46 ...
Page 70: ...58 ...
Page 73: ...Tutorial Creating and Adding Data to a Surface 61 ...
Page 140: ...128 ...
Page 378: ...7 Press Enter 366 Chapter 10 Parcels Tutorials ...
Page 385: ...8 Press Enter Exercise 2 Swinging One End of a Parcel Lot Line 373 ...
Page 432: ...420 ...
Page 470: ...458 ...
Page 506: ...494 Chapter 13 Corridors Tutorials ...
Page 580: ...568 ...
Page 668: ...656 ...
Page 678: ...23 Change your view to SW isometric 666 Chapter 18 Part Builder Tutorials ...
Page 679: ...24 Change your visual style to Conceptual Exercise 2 Defining the Manhole Geometry 667 ...
Page 706: ...694 Chapter 18 Part Builder Tutorials ...
Page 830: ...818 ...
Page 832: ...tutorial folder AutoCAD Civil 3D installation location Help Civil Tutorials 820 Glossary ...


