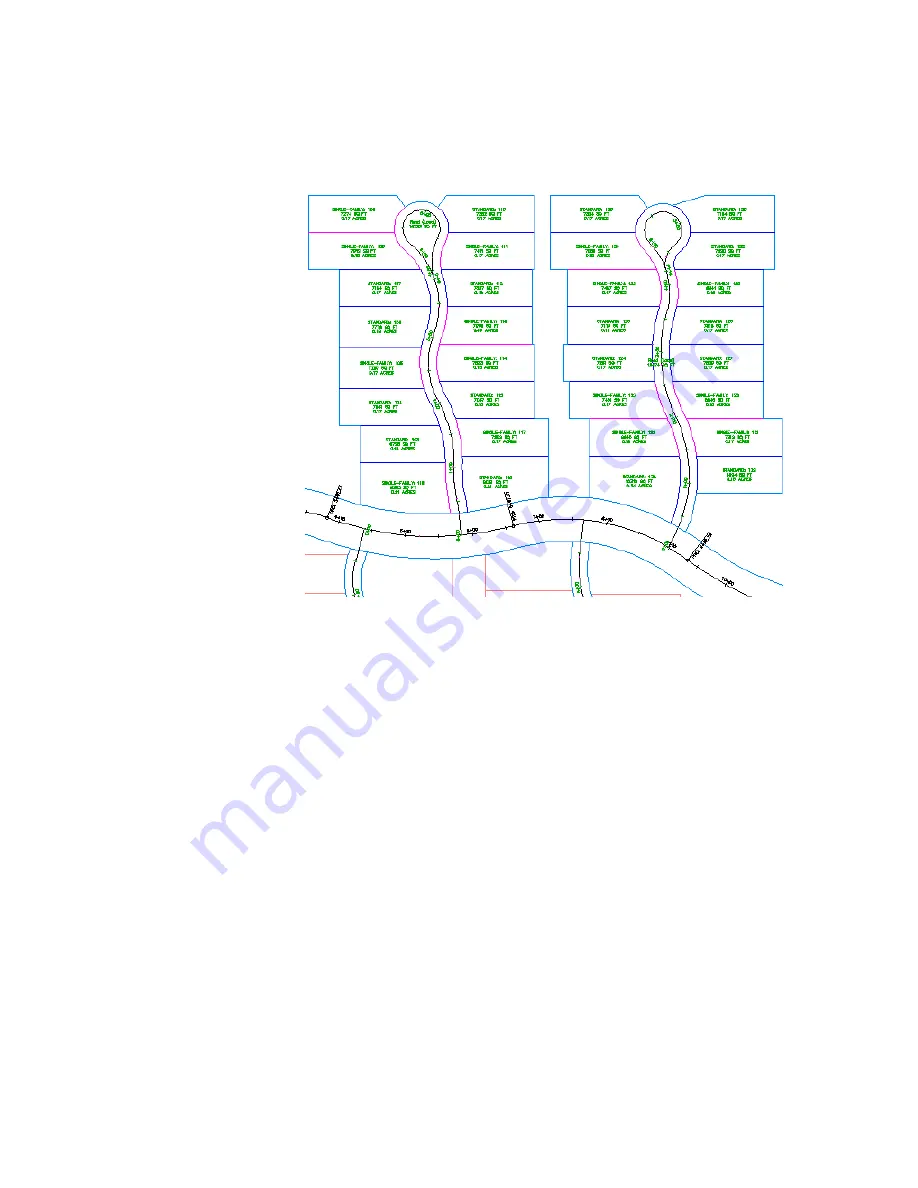
Further exploration:
Change the display order again, moving the Road
(Local) parcels to the top of the display order, then moving them to a
position between Standard and Single-Family. These settings change the
display of the curved road edges.
6
Click OK.
To continue this tutorial, go to
Exercise 2: Exporting Parcel Data
(page 385).
Exercise 2: Exporting Parcel Data
In this exercise, you will generate a mapcheck report for the parcels in the
residential road at the top right of the drawing.
In AutoCAD Civil 3D you can export inverse or mapcheck reports for either
a single parcel, a series of parcels, or all parcels in a site.
For more information, see the AutoCAD Civil 3D Help topic Exporting a Parcel
Inverse or Mapcheck Report.
Exercise 2: Exporting Parcel Data | 385
Summary of Contents for AUTOCAD PLANT 3D 2011 - SYSTEM REQUIREMENTS
Page 1: ...AutoCAD Civil 3D 2011 Tutorials April 2010 ...
Page 58: ...46 ...
Page 70: ...58 ...
Page 73: ...Tutorial Creating and Adding Data to a Surface 61 ...
Page 140: ...128 ...
Page 378: ...7 Press Enter 366 Chapter 10 Parcels Tutorials ...
Page 385: ...8 Press Enter Exercise 2 Swinging One End of a Parcel Lot Line 373 ...
Page 432: ...420 ...
Page 470: ...458 ...
Page 506: ...494 Chapter 13 Corridors Tutorials ...
Page 580: ...568 ...
Page 668: ...656 ...
Page 678: ...23 Change your view to SW isometric 666 Chapter 18 Part Builder Tutorials ...
Page 679: ...24 Change your visual style to Conceptual Exercise 2 Defining the Manhole Geometry 667 ...
Page 706: ...694 Chapter 18 Part Builder Tutorials ...
Page 830: ...818 ...
Page 832: ...tutorial folder AutoCAD Civil 3D installation location Help Civil Tutorials 820 Glossary ...


