


5-45
SCANNER/INTERNET FAX
Contents
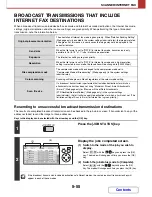
SENDING A FAX IN INTERNET FAX MODE
The basic procedure for sending a fax in Internet fax mode is explained below. This procedure can also be used to
perform direct transmission by Direct SMTP.
Keys in the display can be selected with the arrow keys and the [OK] key.
When a default address is configured in "Default Address Setting" (Web page only) in the system settings (administrator), the
mode cannot be changed, the destination cannot be changed, and destinations cannot be added. To switch to Internet fax
mode, select the [Cancel] key in the display, press the [OK] key, and follow the steps below.
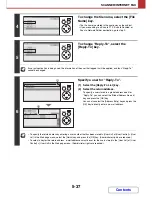
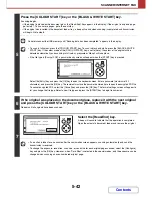
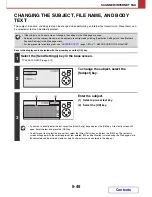
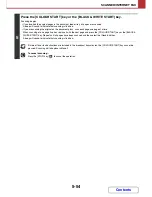
1
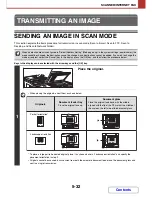
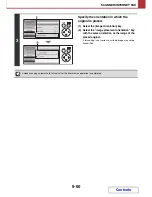
Place the original.
Place the original face up in the document feeder tray, or face
down on the document glass.
•
Image rotation
An A5 (5-1/2" x 8-1/2") or B5 size original in landscape orientation will be rotated 90 degrees and transmitted as an
A5 (5-1/2" x 8-1/2") or B5 image in portrait orientation.
• Originals cannot be scanned in succession from both the automatic document feeder and the document glass and
sent in a single transmission.
System Settings (Administrator): Rotation Sending Setting (Web page only)
This is used to select whether or not a scanned original image is rotated before transmission.
Initially a B5 landscape original is set to be rotated and sent as a B5 portrait image, and an A5 (5-1/2" x 8-1/2")
landscape original is set to be rotated and sent as an A5 (5-1/2" x 8-1/2") portrait image.
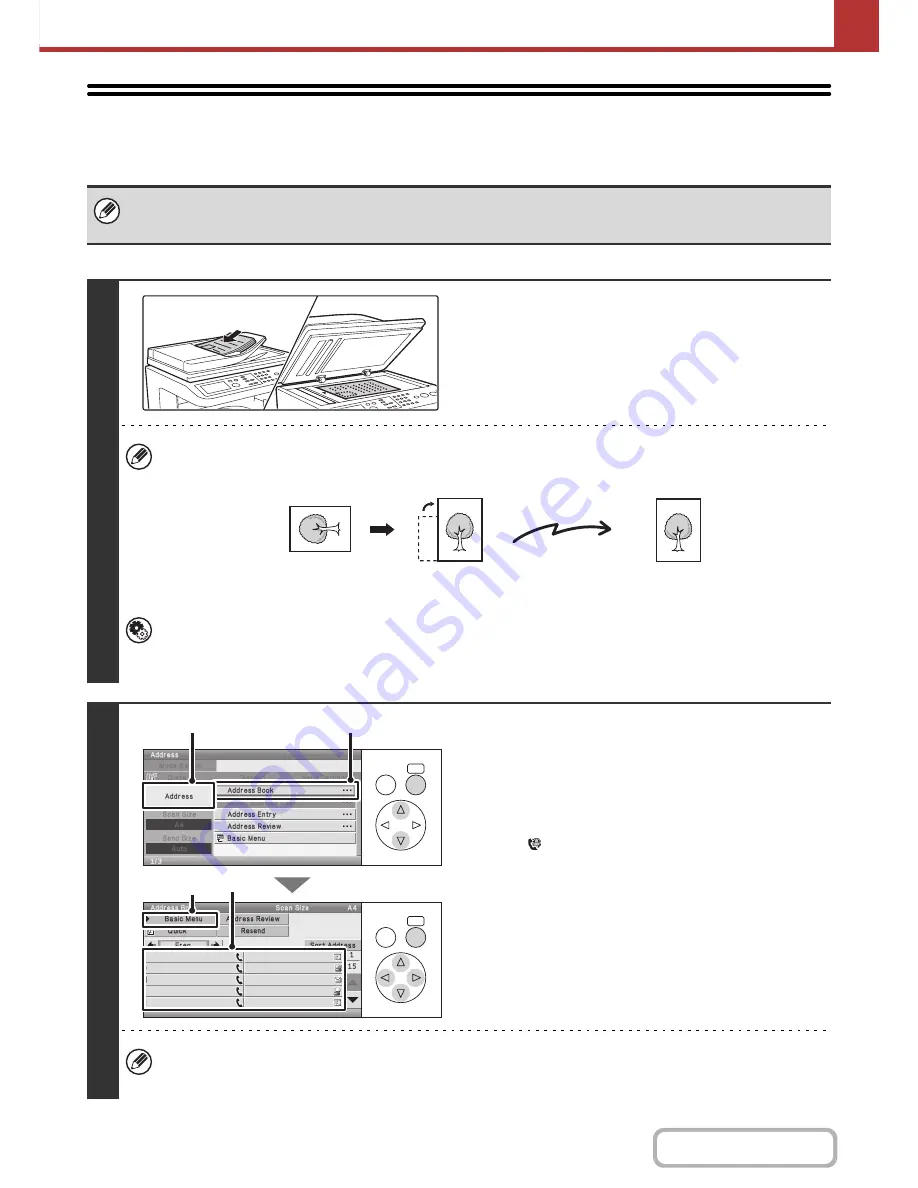
2
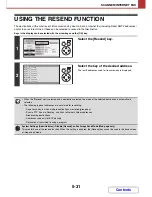
Specify the destination.
(1) Select the [Address] key in the base screen.
(2) Select the [Address Book] key.
(3) Select the key of the desired destination.
The e-mail address is specified as the return address.
The
icon appears in one-touch keys in which Internet
fax addresses are stored.
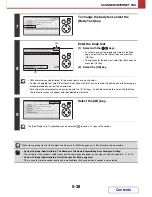
(4) Select the [Basic Menu] key.
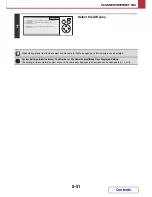
In addition to specification by a one-touch key, a destination can also be specified by a search number. You can also
manually enter a destination or look up a destination in a global address book. For more information, see "
ENTERING
DESTINATIONS
" (page 5-22).
Transmission
OK
BACK
OK
BACK
AAA AAA
BBB BBB
CCC CCC
DDD DDD
EEE EEE
FFF FFF
GGG GGG
HHH HHH
III III
JJJ JJJ
(2)
(4)
(1)
(3)
Содержание MX-C310
Страница 5: ...Make a copy on this type of paper Envelopes and other special media Transparency film ...
Страница 7: ...Assemble output into a pamphlet Create a pamphlet Staple output Create a blank margin for punching ...
Страница 10: ...Conserve Print on both sides of the paper Print multiple pages on one side of the paper ...
Страница 33: ...Search for a file abc Search for a file using a keyword ...
Страница 34: ...Organize my files Delete a file Periodically delete files ...
Страница 224: ...3 18 PRINTER Contents 4 Click the Print button Printing begins ...
Страница 706: ...MXC310 EX Z1 Operation Guide MX C310 MX C380 MX C400 MODEL ...