


5-34
SCANNER/INTERNET FAX
Contents
3
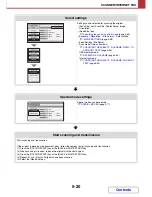
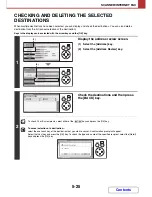
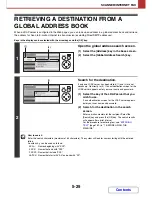
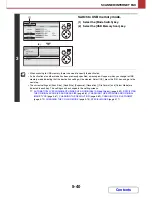
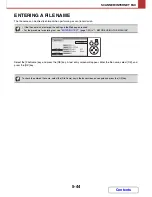
Check the original scan size and
placement orientation.
To make sure that the original is scanned in the correct
orientation (the orientation in which the top edge of the original
appears at the top of the display), check the size and
orientation of the original placed in step 1.
(1) Check the scan size.
Check if the size of the placed original is displayed in the
[Scan Size] key. If the displayed size is different from the
size of the placed original, set the original size.
☞
SPECIFYING THE ORIGINAL SCAN SIZE AND
SEND SIZE
(page 5-61)
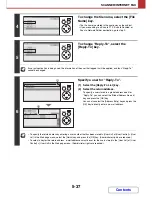
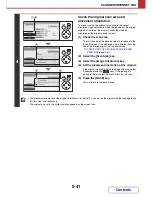
(2) Select the [Scan Size] key.
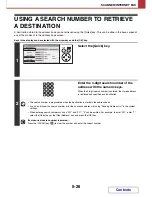
(3) Select the [Image Orientation] key.
(4) Set the placement orientation of the original.
If the original is placed with the top edge at the top, select
[Landscape] with the
keys. If the top edge is
placed to the left, select [Portrait]. Press the [OK] key.
(5) Press the [BACK] key.
You will return to the basic screen.
• The placement orientation of the original is initially set to [Portrait]. If you placed the original with the top edge to the
left, this step is not necessary.
• The original size set in the system settings appears as the original size.
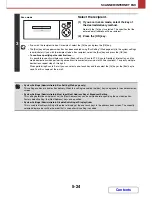
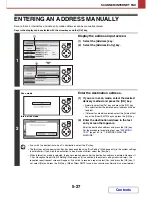
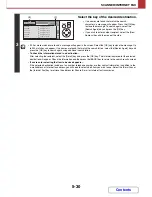
4
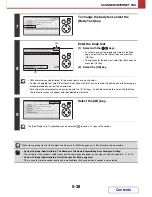
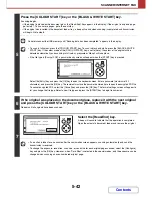
Press the [COLOUR START] key or the [BLACK & WHITE START] key.
Scanning begins.
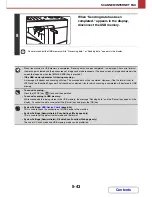
• If the original is placed on the document glass, the [Read-End] key appears in the display. If the original is only one page,
go to step 6. To scan more pages, go to the next step.
• If the original was inserted in the document feeder tray, a beep will sound when scanning is completed and transmission
will take place.
• To scan in full colour, press the [COLOUR START] key. To scan in black and white, press the [BLACK & WHITE
START] key. If the colour mode of the [COLOUR START] key is set to [Auto], the colour of the original will be
detected automatically and scanning in full colour, greyscale or Mono2 will take place.
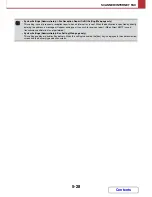
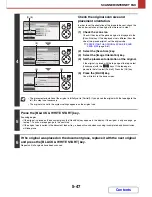
• If the file type is [Encrypt PDF], a password entry screen will appear when the [START] key is pressed.
Select the [Entry] key and press the [OK] key to open the keyboard screen. Enter a password (maximum of 32
characters), and press the [OK] key. The recipient must use the password entered here to open the encrypted PDF
file.
To cancel encrypted PDF, select the [Cancel] key and press the [OK] key. The format settings screen will appear to
let you change the file type. Select a new file type and press the [START] key to begin transmission.
OK
BACK
OK
BACK
OK
BACK
(1), (2)
(3)
(4)
(5)
OK
BACK
Содержание MX-C310
Страница 5: ...Make a copy on this type of paper Envelopes and other special media Transparency film ...
Страница 7: ...Assemble output into a pamphlet Create a pamphlet Staple output Create a blank margin for punching ...
Страница 10: ...Conserve Print on both sides of the paper Print multiple pages on one side of the paper ...
Страница 33: ...Search for a file abc Search for a file using a keyword ...
Страница 34: ...Organize my files Delete a file Periodically delete files ...
Страница 224: ...3 18 PRINTER Contents 4 Click the Print button Printing begins ...
Страница 706: ...MXC310 EX Z1 Operation Guide MX C310 MX C380 MX C400 MODEL ...