


4-63
FACSIMILE
Contents
CHECKING THE IMAGE BEFORE PRINTING
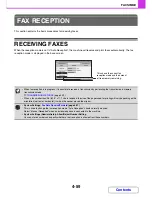
When "Received Data Image Check Setting" (Web page only) is enabled* in the system settings (administrator), you
can check a received image in the display before printing it out. When this function is enabled, follow the steps below to
print a received image.
* The factory default setting is disabled.
Keys in the display can be selected with the arrow keys and the [OK] key.
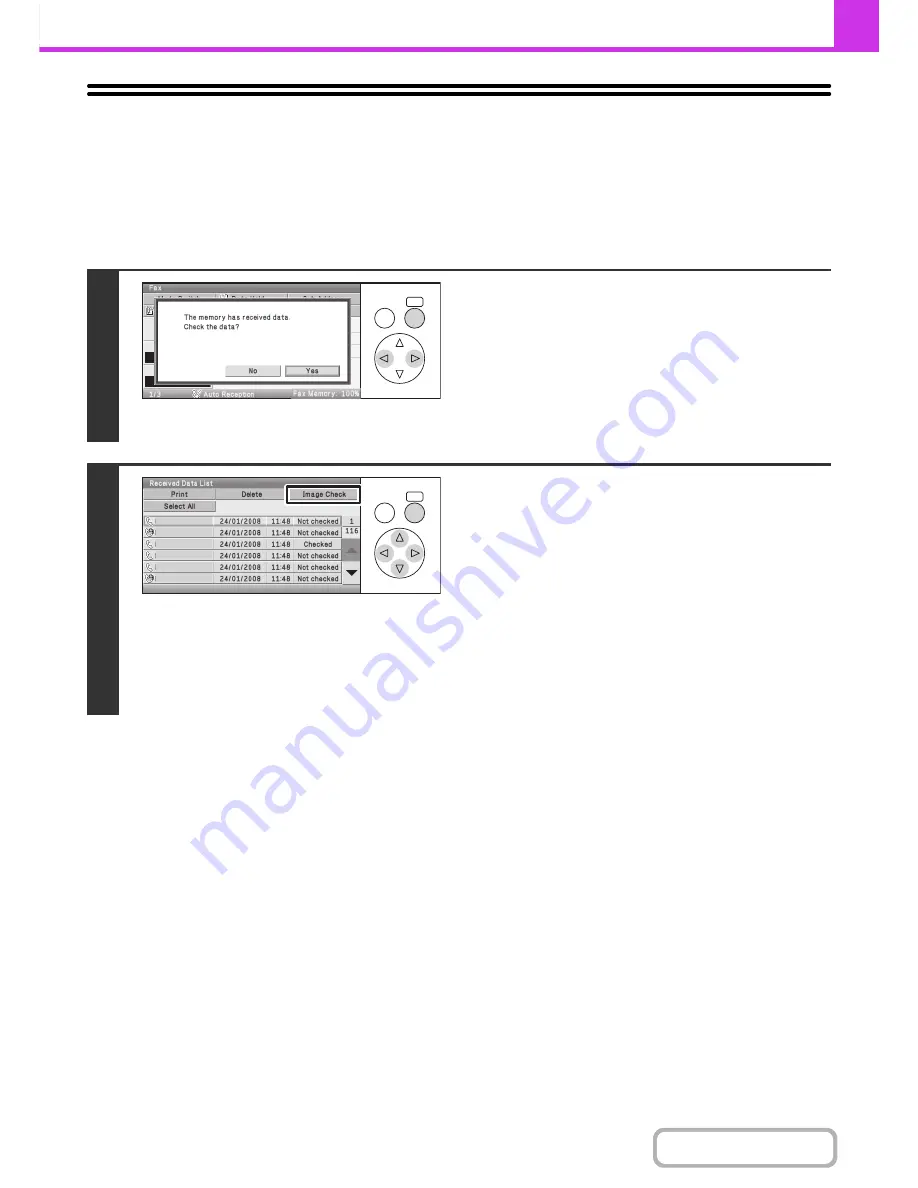
1
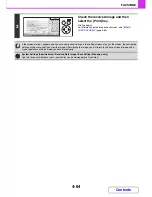
When an image is received, a
confirmation prompt will appear. Select
the [Yes] key.
If this message appears while you are configuring settings of
any type and you select the [Yes] key, the settings that you are
configuring will be cancelled. If this message appears in
another mode, you will return to the base screen of image send
mode after checking the image.
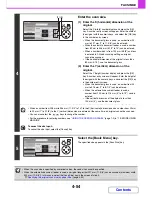
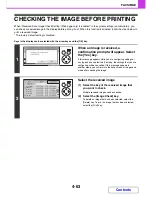
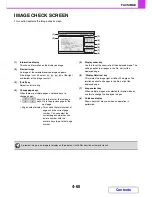
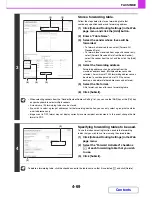
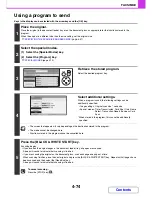
2
Select the received image
(1) Select the key of the received image that
you want to check.
Multiple received images can be checked.
(2) Select the [Image Check] key.
To delete an image that has been selected, select the
[Delete] key. To print an image that has been selected,
select the [Print] key.
OK
BACK
OK
BACK
BBB BBB
9876543210
0612345678
0123456789
CCC CCC
0123456789
Содержание MX-C310
Страница 5: ...Make a copy on this type of paper Envelopes and other special media Transparency film ...
Страница 7: ...Assemble output into a pamphlet Create a pamphlet Staple output Create a blank margin for punching ...
Страница 10: ...Conserve Print on both sides of the paper Print multiple pages on one side of the paper ...
Страница 33: ...Search for a file abc Search for a file using a keyword ...
Страница 34: ...Organize my files Delete a file Periodically delete files ...
Страница 224: ...3 18 PRINTER Contents 4 Click the Print button Printing begins ...
Страница 706: ...MXC310 EX Z1 Operation Guide MX C310 MX C380 MX C400 MODEL ...