


Chapter 5: Using the EMX
77
3.
The MAC address is displayed as "M:XX", where XX are two digits of
the MAC address. The LCD will cycle through the MAC address from
the first two digits to the final two.
For example, if the MAC address is 00:0d:5d:03:5E:1A, the LCD
display shows the following information one after another:
M 00 --> M:0d --> M:5d --> M:03 --> M:5E --> M:1A
Note that 'M' is NOT followed by the colon symbol when showing the
first two digits of the MAC address.
USB-Cascaded Device's Position
Note: As of release 3.3.10, the following cascading information is no
longer available in the bridging mode, but remains available in the
port forwarding mode.
A cascaded device's position is available by operating the LCD display.
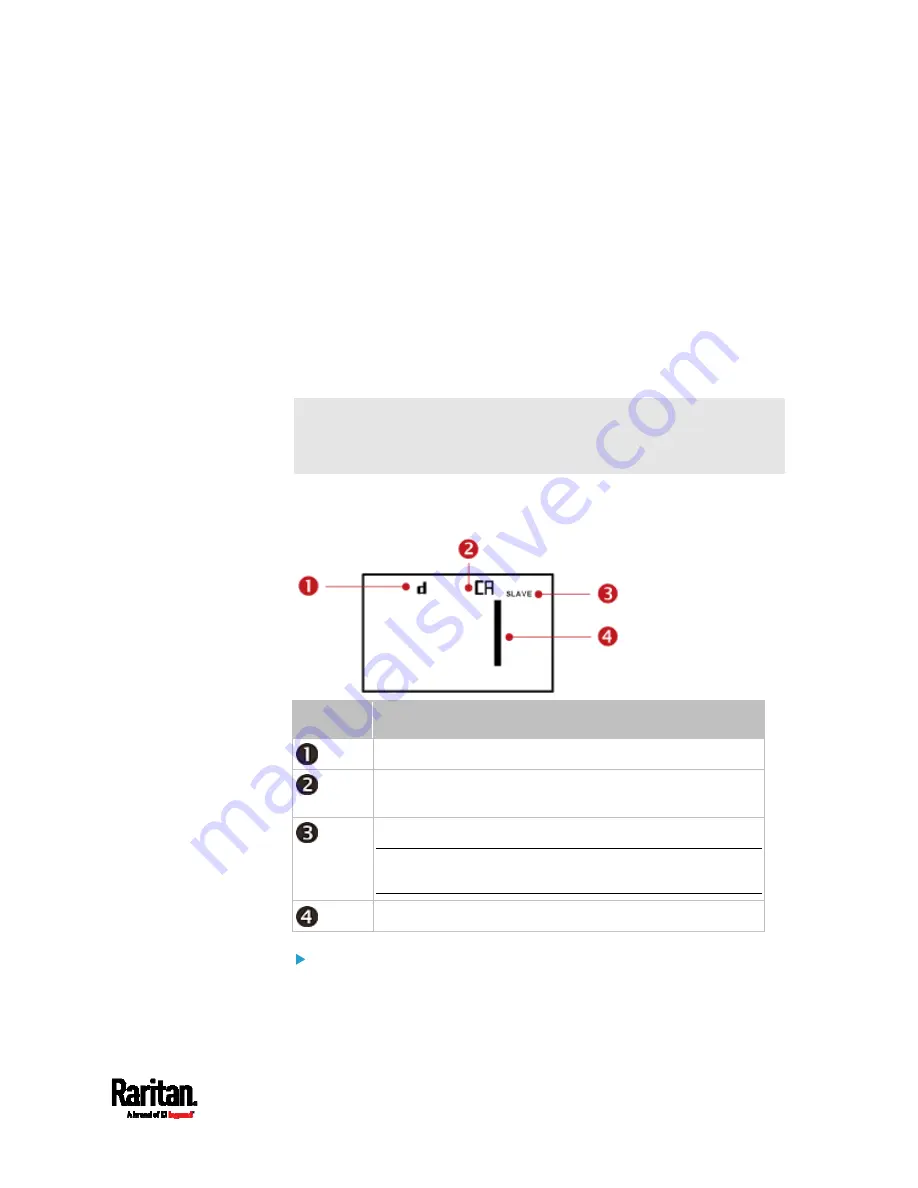
Below illustrates a slave device's position.
Section
Example information
"d" means the LCD display has entered the Device mode.
"CA" indicates that the cascading information is being
displayed.
"SLAVE" indicates that this EMX is a slave device.
Note: For a master device, it shows the word "MASTER"
instead.
The number 1 means the device position is Slave 1.
To retrieve the device's USB-cascading position information:
1.
Press the MODE button to enter the Device mode, indicated by a 'd'
in at the top left of the display.
Содержание EMX2-111
Страница 69: ...Chapter 4 Connecting External Equipment Optional 57...
Страница 78: ...Chapter 5 Using the EMX 66 EMX2 888...
Страница 442: ...Appendix A Specifications 430 RS 485 Pin signal definition 6 D bi direction al Data 7 8...
Страница 488: ...Appendix E LDAP Configuration Illustration 476 2 The EMX_Admin role is created...
Страница 507: ...Appendix G RADIUS Configuration Illustration 495 Note If your EMX uses PAP then select PAP...
Страница 508: ...Appendix G RADIUS Configuration Illustration 496 10 Select Standard to the left of the dialog and then click Add...
Страница 509: ...Appendix G RADIUS Configuration Illustration 497 11 Select Filter Id from the list of attributes and click Add...
Страница 512: ...Appendix G RADIUS Configuration Illustration 500 14 The new attribute is added Click OK...
Страница 513: ...Appendix G RADIUS Configuration Illustration 501 15 Click Next to continue...


