


Chapter 4: Connecting External Equipment (Optional)
36
b.
Connect one end of the network cable to the RJ-45 connector
labeled "Output" on the previous composite asset strip.
c.
Connect the other end of the cable to the RJ-45 connector
labeled "Input" on the subsequent composite asset strip.
d.
Repeat the above steps to connect more composite asset strips.
See
Daisy-Chain Limitations of Composite Asset Strips
(on
page 36) for the maximum number of composite asset strips
supported per chain.
e.
It is highly recommended using the cable ties to help hold the
weight of all connecting cables.
4.
Repeat Step 2 to connect IT devices to the other composite asset
strips in the chain.
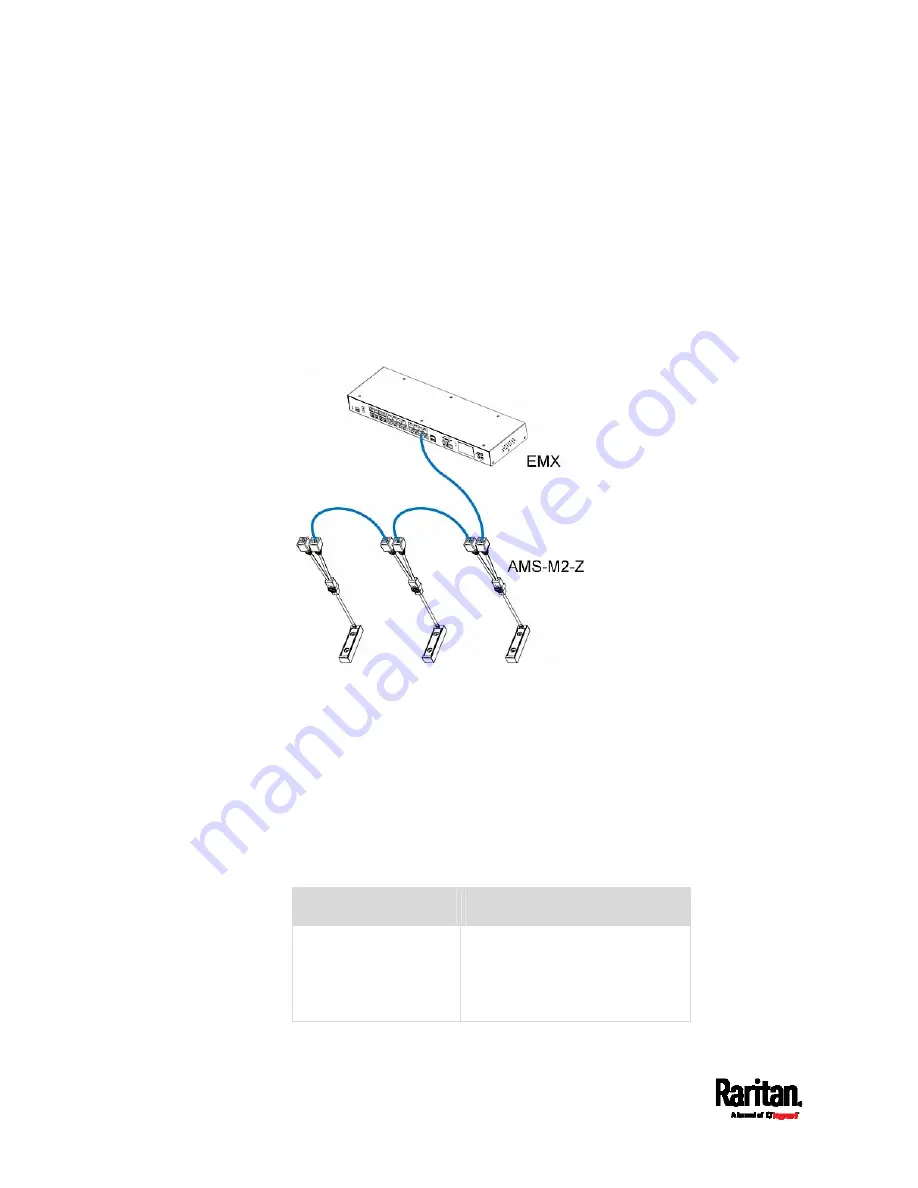
Daisy-Chain Limitations of Composite Asset Strips
There are some limitations when daisy chaining composite asset strips
"AMS-Mx-Z," where x is a number.
The maximum cable length between composite asset strips is 2
meters, but the total cable length cannot exceed 10 meters.
The maximum number of composite asset strips that can be daisy
chained depend on the Raritan product you purchased.
Raritan devices
Maximum strips per chain
EMX2-111,
PX2 PDUs,
BCM1 (NOT BCM2
series)
Up to 4 composite asset strips
are supported.
Содержание EMX2-111
Страница 69: ...Chapter 4 Connecting External Equipment Optional 57...
Страница 78: ...Chapter 5 Using the EMX 66 EMX2 888...
Страница 442: ...Appendix A Specifications 430 RS 485 Pin signal definition 6 D bi direction al Data 7 8...
Страница 488: ...Appendix E LDAP Configuration Illustration 476 2 The EMX_Admin role is created...
Страница 507: ...Appendix G RADIUS Configuration Illustration 495 Note If your EMX uses PAP then select PAP...
Страница 508: ...Appendix G RADIUS Configuration Illustration 496 10 Select Standard to the left of the dialog and then click Add...
Страница 509: ...Appendix G RADIUS Configuration Illustration 497 11 Select Filter Id from the list of attributes and click Add...
Страница 512: ...Appendix G RADIUS Configuration Illustration 500 14 The new attribute is added Click OK...
Страница 513: ...Appendix G RADIUS Configuration Illustration 501 15 Click Next to continue...


