


Chapter 6: Using the Web Interface
118
2.
Confirm the operation on the confirmation message. An actuator's
state is marked in red when it is turned on.
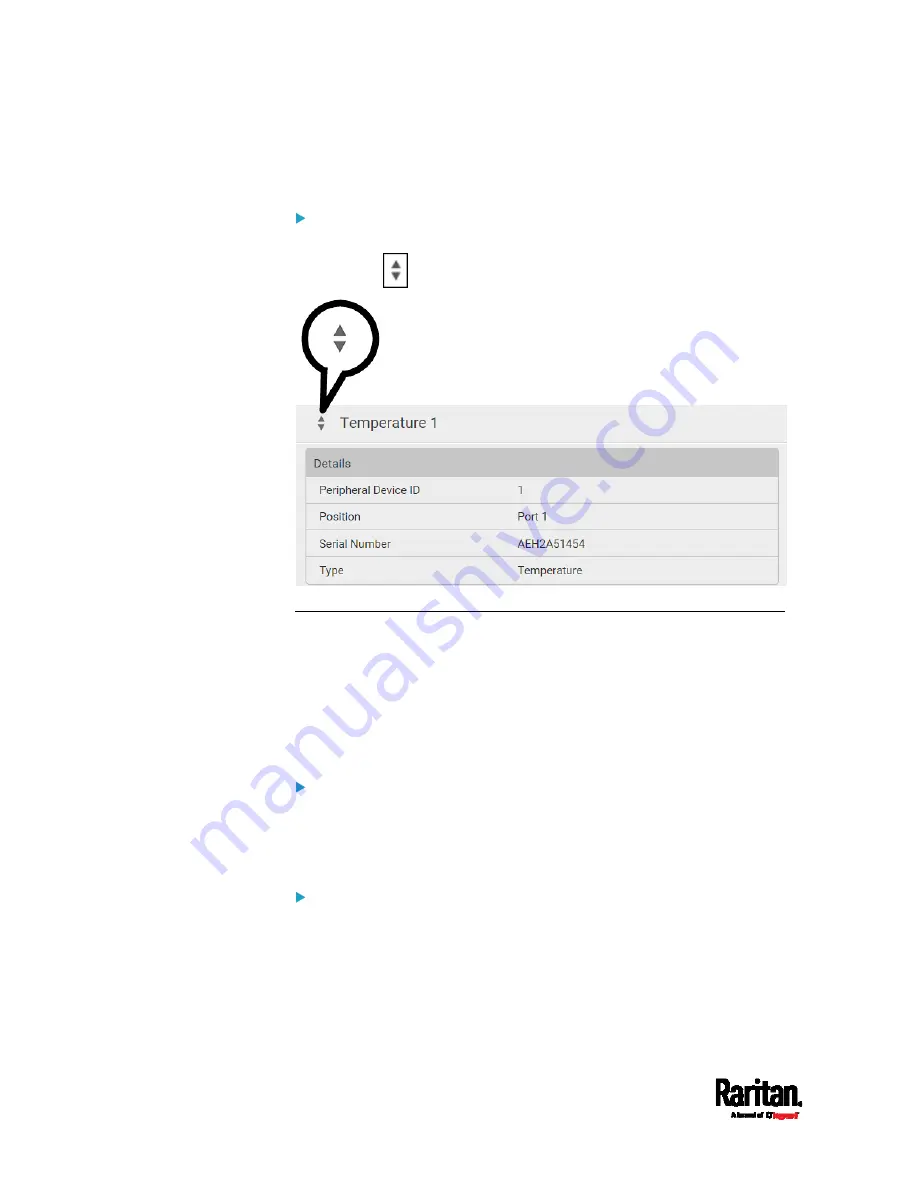
Other operations:
You can go to another sensor's or actuators's data/setup page by clicking
the selector
on the top-left corner.
Sensor/Actuator Location Example
Use the X, Y and Z coordinates to describe each sensor's or actuator's
physical location in the data center. See
Individual Sensor/Actuator
Pages
(on page 114).
The X, Y and Z values act as additional attributes and are not tied to any
specific measurement scheme. Therefore, you can use
non-measurement values.
Example:
X =
Brown Cabinet Row
Y =
Third Rack
Z =
Top of Cabinet
Values of the X, Y and Z coordinates:
X and Y: They can be any alphanumeric values comprising 0 to 24
characters.
Z: When the Z coordinate format is set to
Rack Units, it can be any
number ranging from 0 to 60. When its format is set to
Free-Form, it
can be any alphanumeric value comprising 0 to 24 characters. See
EMX
(on page 98).
Содержание EMX2-111
Страница 69: ...Chapter 4 Connecting External Equipment Optional 57...
Страница 78: ...Chapter 5 Using the EMX 66 EMX2 888...
Страница 442: ...Appendix A Specifications 430 RS 485 Pin signal definition 6 D bi direction al Data 7 8...
Страница 488: ...Appendix E LDAP Configuration Illustration 476 2 The EMX_Admin role is created...
Страница 507: ...Appendix G RADIUS Configuration Illustration 495 Note If your EMX uses PAP then select PAP...
Страница 508: ...Appendix G RADIUS Configuration Illustration 496 10 Select Standard to the left of the dialog and then click Add...
Страница 509: ...Appendix G RADIUS Configuration Illustration 497 11 Select Filter Id from the list of attributes and click Add...
Страница 512: ...Appendix G RADIUS Configuration Illustration 500 14 The new attribute is added Click OK...
Страница 513: ...Appendix G RADIUS Configuration Illustration 501 15 Click Next to continue...


