


Chapter 6: Using the Web Interface
283
3.
If the latest saved snapshot is not listed yet, click
> Refresh on
the top of the list.
4.
To manually delete any images:
a.
Select the checkboxes of the images you want to remove.
To select all images, select the top-most checkbox in the
header row.
b.
On the top of the list, click
> Delete Selected.
c.
Click Delete on the confirmation message.
To configure the storage settings:
1.
Click
> Settings.
2.
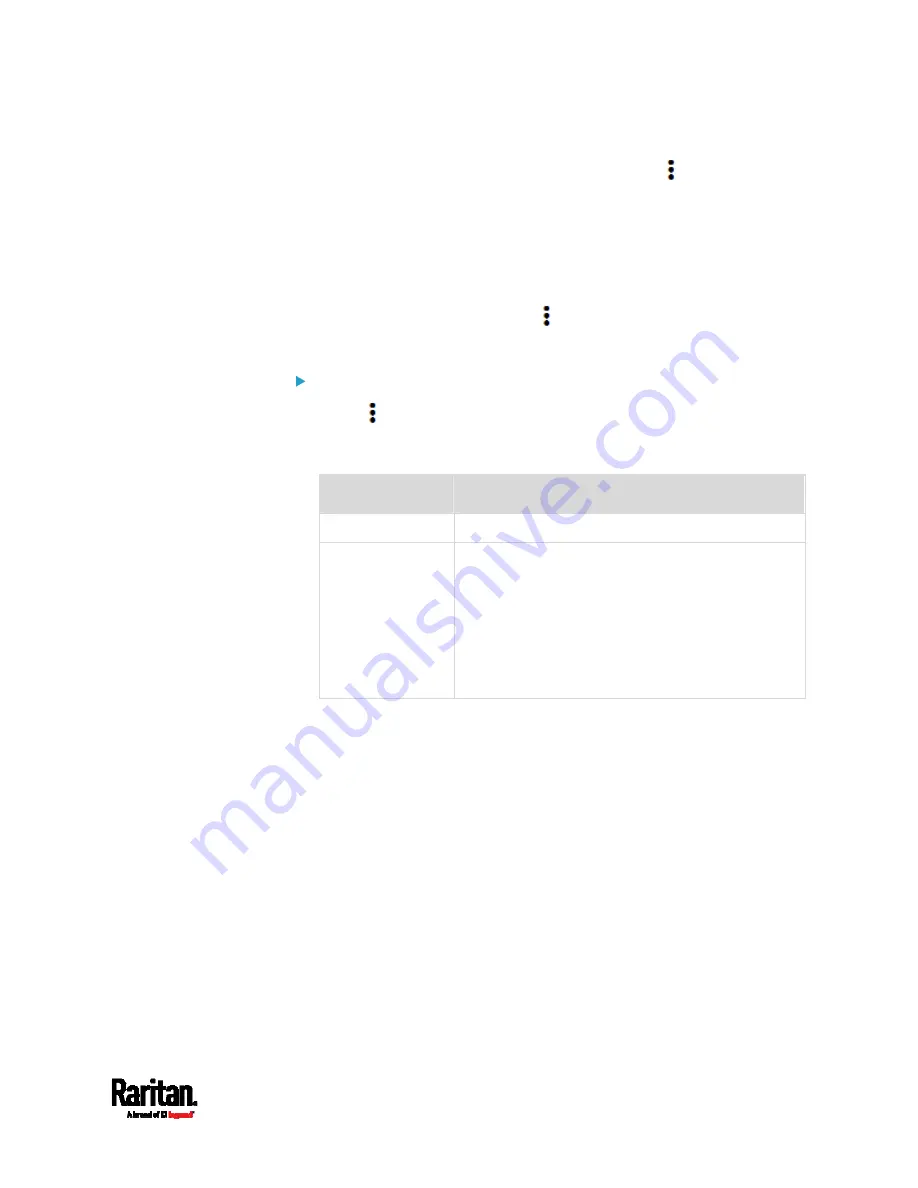
Click the Storage Type field to select the desired storage location
and configure as needed.
Storage location
Description
Local
Local means the EMX. This is default.
CIFS/Samba
Snapshots will be saved on a Common Internet File
System/Samba. Configure the following fields for
this server:
Server - the desired CIFS/Samba server
Share/Folder - this is the share drive/folder
Username - for server access
Password - for server access
3.
In the Capacity field, type values to determine the maximum number
of snapshots that can be saved on the selected storage location.
4.
Click Save.
Содержание EMX2-111
Страница 69: ...Chapter 4 Connecting External Equipment Optional 57...
Страница 78: ...Chapter 5 Using the EMX 66 EMX2 888...
Страница 442: ...Appendix A Specifications 430 RS 485 Pin signal definition 6 D bi direction al Data 7 8...
Страница 488: ...Appendix E LDAP Configuration Illustration 476 2 The EMX_Admin role is created...
Страница 507: ...Appendix G RADIUS Configuration Illustration 495 Note If your EMX uses PAP then select PAP...
Страница 508: ...Appendix G RADIUS Configuration Illustration 496 10 Select Standard to the left of the dialog and then click Add...
Страница 509: ...Appendix G RADIUS Configuration Illustration 497 11 Select Filter Id from the list of attributes and click Add...
Страница 512: ...Appendix G RADIUS Configuration Illustration 500 14 The new attribute is added Click OK...
Страница 513: ...Appendix G RADIUS Configuration Illustration 501 15 Click Next to continue...


