116
Operator Panel
3
Touch Panel
• Specifies the settings by directly tapping the screen.
• Displays various settings, instructions, and error messages.
4
Ready / Error LED
• Shows a green light when the printer is ready and a blinking green light when data is being received.
• Shows an amber light when an error occurs and a blinking amber light when an unrecoverable print error
occurs.
5
Number Pad
• Enters numbers and characters.
6
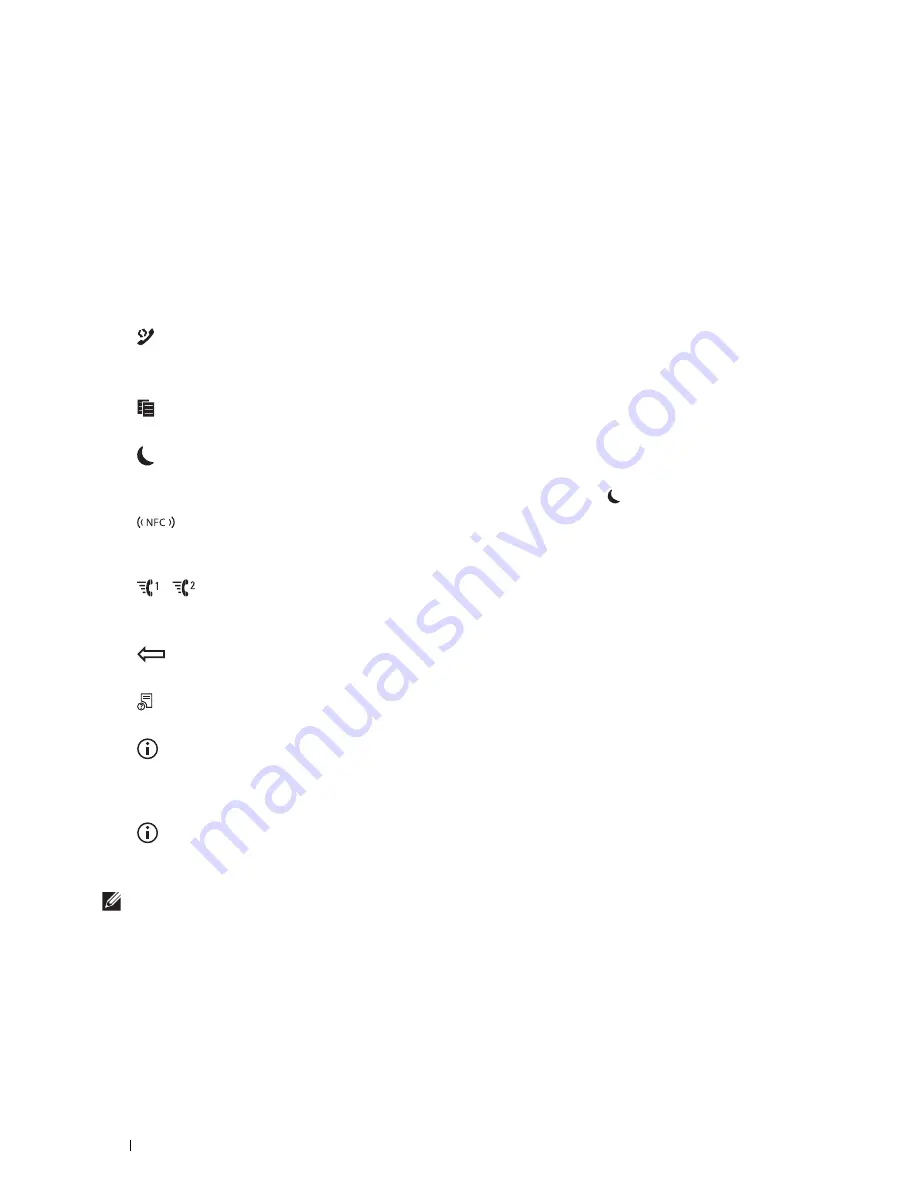
(Redial / Pause)
button
• Calls up the last called number.
• Inserts a pause into a telephone number.
7
(
Copy
) button
• Starts copying the document. Effective only from the
Home
screen while you are logged in to the printer.
8
(Power Saver)
button
• Enters or exits the Power Saver mode. When the printer is not used for a while, it enters the Power Saver mode
to reduce power consumption. When the Power Saver mode is active, the
(Power Saver) button blinks.
9
(
NFC
) reader
• Starts communication between the printer and an NFC card or a mobile device with the NFC function when
the card or the device is tapped to the reader.
10
/
(
Speed Dial 1
/
Speed Dial 2
) button
• Starts faxing the document to the number registered as "001" and "002" respectively of the FAX Speed Dial.
Effective only when the
Home
screen is displayed.
11
(Delete)
button
• Deletes numbers and characters.
12
(Job Status)
button
• Moves to the
Job Status
screen. From this screen, you can check or cancel active jobs.
13
(Information) Wi-Fi|WPS
button
• Moves to the
Information
screen. You can access various information and settings menu including Wi-Fi and
Wi-Fi Direct features, check the name of the connected device via Wi-Fi Direct, check consumable levels and
network status, and print various types of reports and lists.
14
(Information)
button
• Moves to the
Information
screen. You can access various information and settings menu, check consumable
levels and network status, and print various types of reports and lists.
NOTE:
Moving to a different menu or returning to a previous screen cancels the current entry or setting. Be sure to select
OK
to
save the current entry or setting.
Содержание H815dw
Страница 2: ......
Страница 24: ...24 Contents Template Last Updated 2 7 2007 ...
Страница 26: ...26 ...
Страница 30: ...30 Notes Cautions and Warnings ...
Страница 32: ...32 Dell Cloud Multifunction Printer H815dw Dell Smart Multifunction Printer S2815dn User s Guide ...
Страница 38: ...38 Product Features ...
Страница 44: ...44 About the Printer ...
Страница 46: ...46 ...
Страница 48: ...48 Overview of the Printer Setup ...
Страница 86: ...86 Loading Paper ...
Страница 100: ...100 Installing Printer Drivers on Windows Computers ...
Страница 104: ...104 Installing Printer Drivers on Macintosh Computers ...
Страница 114: ...114 ...
Страница 180: ...180 Dell Printer Configuration Web Tool ...
Страница 282: ...282 ...
Страница 316: ...316 Copying ...
Страница 344: ...344 Scanning For Apple Macintosh Password for Scanner Enter the password ...
Страница 380: ...380 Dell Document Hub ...
Страница 386: ...386 ...
Страница 404: ...404 Understanding Your Printer Software ...
Страница 424: ...424 Using Digital Certificates ...
Страница 434: ...434 Understanding Printer Messages ...
Страница 440: ...440 Specifications ...
Страница 441: ...441 Maintaining Your Printer 31 Maintaining Your Printer 443 32 Clearing Jams 469 ...
Страница 442: ...442 ...
Страница 451: ...Maintaining Your Printer 451 8 Close the front cover and put back the operator panel to the original position ...
Страница 468: ...468 Maintaining Your Printer ...
Страница 476: ...476 Clearing Jams 8 Insert the MPF into the printer 9 Close the rear cover ...
Страница 482: ...482 Clearing Jams 7 Press down the levers on both sides of the fusing unit 8 Close the rear cover ...
Страница 499: ...499 Troubleshooting 33 Troubleshooting Guide 501 ...
Страница 500: ...500 ...
Страница 530: ...530 Troubleshooting Guide ...
Страница 531: ...531 Appendix Appendix 533 ...
Страница 532: ...532 ...


