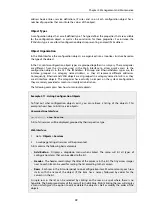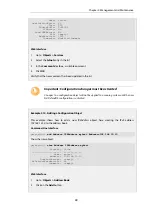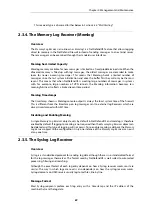
After modifying several configuration objects, you might want to see a list of the objects that
were changed, added and removed since the last commit.
Example 2.17. Listing Modified Configuration Objects
This example shows how to list configuration objects that have been modified.
Command-Line Interface
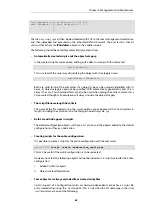
gw-world:/> show -changes
Type
Object
-------------
------
-
IP4Address
myhost
*
ServiceTCPUDP
telnet
A "+" character in front of the row indicates that the object has been added. A "*" character
indicates that the object has been modified. A "-" character indicates that the object has been
marked for deletion.
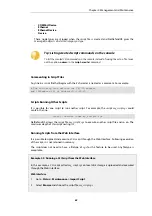
Web Interface
1.
Go to: Configuration > View Changes in the menu bar
A list of changes is displayed
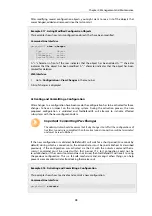
Activating and Committing a Configuration
After changes to a configuration have been made, the configuration has to be activated for those
changes to have an impact on the running system. During the activation process, the new
proposed configuration is validated and NetDefendOS will attempt to initialize affected
subsystems with the new configuration data.
Important: Committing IPsec Changes
The administrator should be aware that if any changes that affect the configurations of
live IPsec tunnels are committed, then those live tunnels connections will be terminated
and must be re-established.
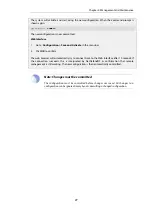
If the new configuration is validated, NetDefendOS will wait for a short period (30 seconds by
default) during which a connection to the administrator must be re-established. As described
previously, if the configuration was activated via the CLI with the
activate
command then a
commit
command must be issued within that period. If a lost connection could not be
re-established or if the
commit
command was not issued, then NetDefendOS will revert to using
the previous configuration. This is a fail-safe mechanism and, amongst others things, can help
prevent a remote administrator from locking themselves out.
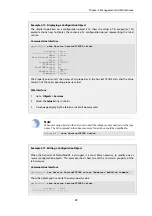
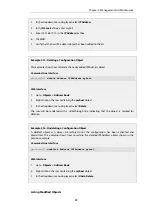
Example 2.18. Activating and Committing a Configuration
This example shows how to activate and commit a new configuration.
Command-Line Interface
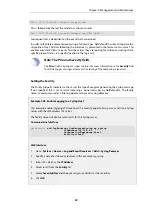
gw-world:/> activate
Chapter 2: Management and Maintenance
76
Содержание NetDefendOS
Страница 30: ...Figure 1 3 Packet Flow Schematic Part III Chapter 1 NetDefendOS Overview 30 ...
Страница 32: ...Chapter 1 NetDefendOS Overview 32 ...
Страница 144: ...Chapter 2 Management and Maintenance 144 ...
Страница 220: ... Enable DHCP passthrough Enable L2 passthrough for non IP protocols 4 Click OK Chapter 3 Fundamentals 220 ...
Страница 267: ... SourceNetwork lannet DestinationInterface any DestinationNetwork all nets 4 Click OK Chapter 3 Fundamentals 267 ...
Страница 284: ...Chapter 3 Fundamentals 284 ...
Страница 360: ...The ospf command options are fully described in the separate NetDefendOS CLI Reference Guide Chapter 4 Routing 360 ...
Страница 392: ...Chapter 4 Routing 392 ...
Страница 396: ...Web Interface 1 Go to Network Ethernet If1 2 Select Enable DHCP 3 Click OK Chapter 5 DHCP Services 396 ...
Страница 419: ... Host 2001 DB8 1 MAC 00 90 12 13 14 15 5 Click OK Chapter 5 DHCP Services 419 ...
Страница 420: ...Chapter 5 DHCP Services 420 ...
Страница 424: ...2 Now enter Name lan_Access Action Expect Interface lan Network lannet 3 Click OK Chapter 6 Security Mechanisms 424 ...
Страница 573: ...Chapter 6 Security Mechanisms 573 ...
Страница 575: ...This section describes and provides examples of configuring NAT and SAT rules Chapter 7 Address Translation 575 ...
Страница 607: ...Chapter 7 Address Translation 607 ...
Страница 666: ...Chapter 8 User Authentication 666 ...
Страница 775: ...Chapter 9 VPN 775 ...
Страница 819: ...Chapter 10 Traffic Management 819 ...
Страница 842: ...Chapter 11 High Availability 842 ...
Страница 866: ...Default Enabled Chapter 13 Advanced Settings 866 ...
Страница 879: ...Chapter 13 Advanced Settings 879 ...

