Downloading the Output File
As shown in one of the examples above, the
-write
option of
pcapdump
can save buffered packet
information to a file on the NetDefend Firewall.
These output files are placed into the NetDefendOS root directory and the filename is specified
in the
pcapdump
command line, usually with a filetype of
.cap
. The name of output files must
follow certain rules which are described below. Files can be downloaded to the local workstation
using Secure Copy (SCP) (see
). A list of all files in the NetDefendOS
root directory can be viewed by issuing the
ls
CLI command.
The
-cleanup
option will erase the files so cleanup should only be done after file download is
complete.
Output File Naming Restrictions
The name of the file used for pcapdump output must comply with the following rules:
•
Excluding the filename extension, the name may not exceed 8 characters in length.
•
The filename extension cannot exceed 3 characters in length.
•
The filename and extension can only contain the characters A-Z, 0-9, "-" and "_".
Combining Filters
It is possible to use several of these filter expressions together in order to further refine the
packets that are of interest. For example we might want to examine the packets going to a
particular destination port at a particular destination IP address.
Compatibility with Wireshark
The open source tool
Wireshark
(formerly called
Ethereal
) is an extremely useful analysis tool for
examining logs of captured packets. The industry standard
.pcap
file format used by
pcapdump
with its
-write
option means that it is compatible with Wireshark.
For more complete information about this topic, see
.
Using pcap through the Web Interface
All the functions described above are available in the Web Interface by going to Status > Tools >
PCAP. It is also possible to directly download the
.cap
file to the management workstation. If
Wireshark has been installed and the file association with it set up, the file can be opened directly
in the software.
2.6.7. The traceroute Command
Overview
The NetDefendOS
traceroute
CLI command provides information about the routes that packets
take as they traverse the routers in the external network and the round-trip transit time to and
from these routers.
Traceroute functions by sending packets with a
time-to-live
(TTL) value that starts at 1 and is
Chapter 2: Management and Maintenance
128
Содержание NetDefendOS
Страница 30: ...Figure 1 3 Packet Flow Schematic Part III Chapter 1 NetDefendOS Overview 30 ...
Страница 32: ...Chapter 1 NetDefendOS Overview 32 ...
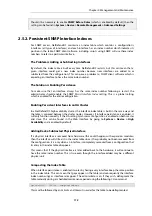
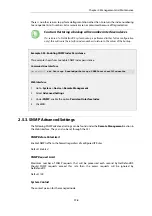
Страница 144: ...Chapter 2 Management and Maintenance 144 ...
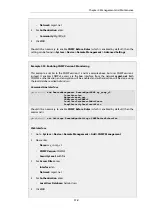
Страница 220: ... Enable DHCP passthrough Enable L2 passthrough for non IP protocols 4 Click OK Chapter 3 Fundamentals 220 ...
Страница 267: ... SourceNetwork lannet DestinationInterface any DestinationNetwork all nets 4 Click OK Chapter 3 Fundamentals 267 ...
Страница 284: ...Chapter 3 Fundamentals 284 ...
Страница 360: ...The ospf command options are fully described in the separate NetDefendOS CLI Reference Guide Chapter 4 Routing 360 ...
Страница 392: ...Chapter 4 Routing 392 ...
Страница 396: ...Web Interface 1 Go to Network Ethernet If1 2 Select Enable DHCP 3 Click OK Chapter 5 DHCP Services 396 ...
Страница 419: ... Host 2001 DB8 1 MAC 00 90 12 13 14 15 5 Click OK Chapter 5 DHCP Services 419 ...
Страница 420: ...Chapter 5 DHCP Services 420 ...
Страница 424: ...2 Now enter Name lan_Access Action Expect Interface lan Network lannet 3 Click OK Chapter 6 Security Mechanisms 424 ...
Страница 573: ...Chapter 6 Security Mechanisms 573 ...
Страница 575: ...This section describes and provides examples of configuring NAT and SAT rules Chapter 7 Address Translation 575 ...
Страница 607: ...Chapter 7 Address Translation 607 ...
Страница 666: ...Chapter 8 User Authentication 666 ...
Страница 775: ...Chapter 9 VPN 775 ...
Страница 819: ...Chapter 10 Traffic Management 819 ...
Страница 842: ...Chapter 11 High Availability 842 ...
Страница 866: ...Default Enabled Chapter 13 Advanced Settings 866 ...
Страница 879: ...Chapter 13 Advanced Settings 879 ...

