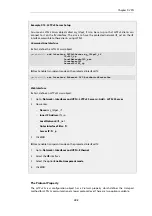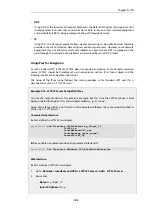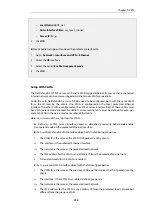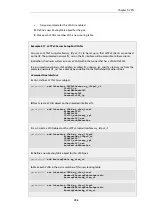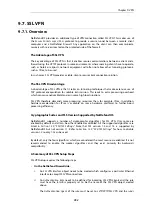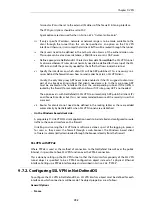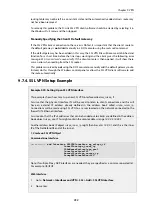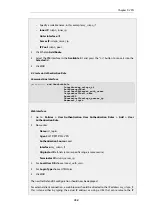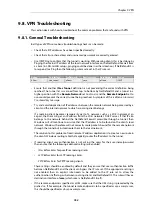
Figure 9.6. The SSL VPN Client Login
The difference between the two approaches above is that when the SSL VPN client software is
started by browsing to the SSL VPN interface, the correct settings for the tunnel are downloaded
to the SSL VPN client software and stored as the client's
configuration file
.
As long as these settings have not changed between tunnel sessions, it is possible to start the
SSL VPN client software running by selecting it in the
Start
menu and connecting to the same SSL
VPN interface. In particular, the SSL VPN client checks the certificate used by the SSL VPN
interface by comparing a
certificate fingerprint
stored in the configuration file with a fingerprint
sent by the interface.
The reason for checking the certificate in this way is that it solves the "man in the middle"
problem where a malicious third party might try to intercept communications between the
firewall and the client.
Custom Server Connection
When the SSL VPN client software is started, it is possible to connect to an SSL VPN interface on a
NetDefend Firewall that has not been connected to before. This is done by enabling the option
Specify Custom Server and explicitly specifying the IP address, port and login credentials for the
server.
With the Specify Custom Server option enabled, the SSL VPN client ignores any configuration
file parameters previously downloaded by an SSL VPN connection established using the web
interface. In particular, it does not check the certificate used by the firewall.
The disadvantage of using the custom server option is that there is no certificate checking and
the "man in the middle" problem remains.
Client Transfer Statistics
When the SSL VPN client is running, an icon for it will appear in the system tray. Clicking this icon
will bring up the client's interface showing amounts of data transferred since tunnel setup.
Chapter 9: VPN
757
Содержание NetDefendOS
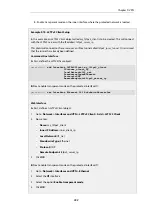
Страница 30: ...Figure 1 3 Packet Flow Schematic Part III Chapter 1 NetDefendOS Overview 30 ...
Страница 32: ...Chapter 1 NetDefendOS Overview 32 ...
Страница 144: ...Chapter 2 Management and Maintenance 144 ...
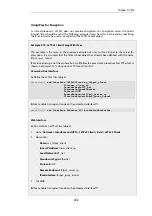
Страница 220: ... Enable DHCP passthrough Enable L2 passthrough for non IP protocols 4 Click OK Chapter 3 Fundamentals 220 ...
Страница 267: ... SourceNetwork lannet DestinationInterface any DestinationNetwork all nets 4 Click OK Chapter 3 Fundamentals 267 ...
Страница 284: ...Chapter 3 Fundamentals 284 ...
Страница 360: ...The ospf command options are fully described in the separate NetDefendOS CLI Reference Guide Chapter 4 Routing 360 ...
Страница 392: ...Chapter 4 Routing 392 ...
Страница 396: ...Web Interface 1 Go to Network Ethernet If1 2 Select Enable DHCP 3 Click OK Chapter 5 DHCP Services 396 ...
Страница 419: ... Host 2001 DB8 1 MAC 00 90 12 13 14 15 5 Click OK Chapter 5 DHCP Services 419 ...
Страница 420: ...Chapter 5 DHCP Services 420 ...
Страница 424: ...2 Now enter Name lan_Access Action Expect Interface lan Network lannet 3 Click OK Chapter 6 Security Mechanisms 424 ...
Страница 573: ...Chapter 6 Security Mechanisms 573 ...
Страница 575: ...This section describes and provides examples of configuring NAT and SAT rules Chapter 7 Address Translation 575 ...
Страница 607: ...Chapter 7 Address Translation 607 ...
Страница 666: ...Chapter 8 User Authentication 666 ...
Страница 775: ...Chapter 9 VPN 775 ...
Страница 819: ...Chapter 10 Traffic Management 819 ...
Страница 842: ...Chapter 11 High Availability 842 ...
Страница 866: ...Default Enabled Chapter 13 Advanced Settings 866 ...
Страница 879: ...Chapter 13 Advanced Settings 879 ...

