6.
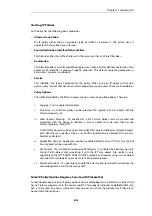
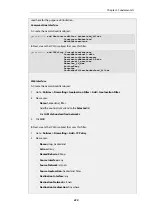
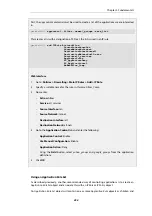
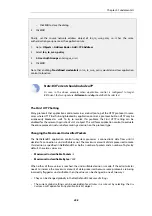
Open the Web node and select
http
from the list of matching applications
7.
Press the Select button to close the filter dialog
Define an
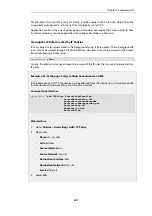
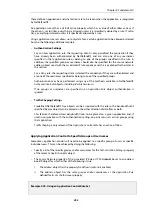
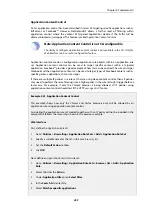
Application Content
filter:
1.
Select the
Content Control
tab
2.
Set User Agent to
Allow Selected
3.
In the blank text field type
firefox
followed by enter and the
chrome
followed by enter.
4.
Click OK
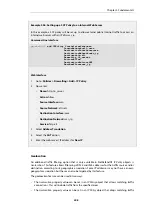
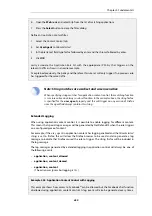
Lastly, associate this
Application Rule Set
with the appropriate
IP Policy
that triggers on the
relevant traffic as shown in an earlier example.
As explained previously, the policy and therefore this rule set will only trigger if no previous rule
has triggered for the same traffic.
Note: String matches are a subset and case insensitive
When specifying string matches for application content control, the matching function
is case insensitive and always a subset function. In the example above, the string firefox
is specified for the
user_agent
property and this will trigger on any version of Firefox
since the agent field always contains this string.
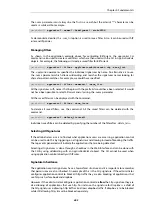
Extended Logging
When using application content control, it is possible to enable logging for different content.
This means that special log messages will be generated by NetDefendOS when the rule triggers
on a configured piece of content.
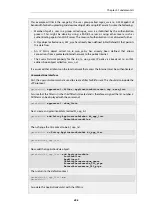
For example, if the
user_agent
in application content has logging enabled and the
Allow Selected
string is set to
firefox
, this will allow the Firefox browser to be used and also generate a log
message to indicate that Firefox caused the rule to trigger. The string
firefox
will be included in
the log message.
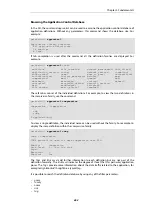
The log messages generated by extended logging in application control will always be one of
the following events:
•
application_content_allowed
•
application_content_denied
•
application_content
(The action was
Ignore
but logging is
Yes
.)
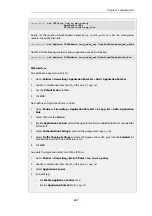
Example 3.42. Application Content Control with Logging
This example shows how access to Facebook™ can be allowed but the Facebook chat function
disallowed using application content control. A log event will also be generated every time a
Chapter 3: Fundamentals
260
Содержание NetDefendOS
Страница 30: ...Figure 1 3 Packet Flow Schematic Part III Chapter 1 NetDefendOS Overview 30 ...
Страница 32: ...Chapter 1 NetDefendOS Overview 32 ...
Страница 144: ...Chapter 2 Management and Maintenance 144 ...
Страница 220: ... Enable DHCP passthrough Enable L2 passthrough for non IP protocols 4 Click OK Chapter 3 Fundamentals 220 ...
Страница 267: ... SourceNetwork lannet DestinationInterface any DestinationNetwork all nets 4 Click OK Chapter 3 Fundamentals 267 ...
Страница 284: ...Chapter 3 Fundamentals 284 ...
Страница 360: ...The ospf command options are fully described in the separate NetDefendOS CLI Reference Guide Chapter 4 Routing 360 ...
Страница 392: ...Chapter 4 Routing 392 ...
Страница 396: ...Web Interface 1 Go to Network Ethernet If1 2 Select Enable DHCP 3 Click OK Chapter 5 DHCP Services 396 ...
Страница 419: ... Host 2001 DB8 1 MAC 00 90 12 13 14 15 5 Click OK Chapter 5 DHCP Services 419 ...
Страница 420: ...Chapter 5 DHCP Services 420 ...
Страница 424: ...2 Now enter Name lan_Access Action Expect Interface lan Network lannet 3 Click OK Chapter 6 Security Mechanisms 424 ...
Страница 573: ...Chapter 6 Security Mechanisms 573 ...
Страница 575: ...This section describes and provides examples of configuring NAT and SAT rules Chapter 7 Address Translation 575 ...
Страница 607: ...Chapter 7 Address Translation 607 ...
Страница 666: ...Chapter 8 User Authentication 666 ...
Страница 775: ...Chapter 9 VPN 775 ...
Страница 819: ...Chapter 10 Traffic Management 819 ...
Страница 842: ...Chapter 11 High Availability 842 ...
Страница 866: ...Default Enabled Chapter 13 Advanced Settings 866 ...
Страница 879: ...Chapter 13 Advanced Settings 879 ...

