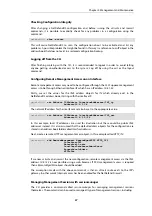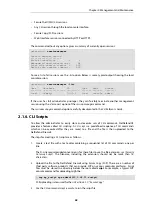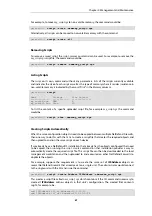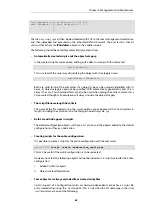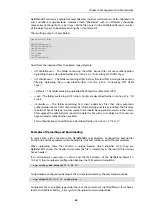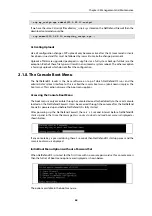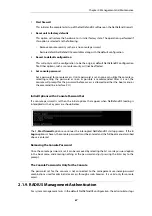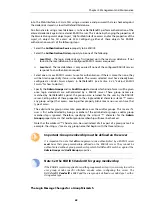
•
Interface: lan
•
Network: lannet
4.
Click OK
Automatic Authentication with SSH Keys
By default, SSH access requires a username and password to be entered. An alternative is to
authenticate automatically by using
SSH keys
. This method of authentication is useful when using
scripts.
Authentication in this way requires that the public key file of a public/private key pair is
uploaded to NetDefendOS and associated with the relevant
User
object. Both the public and
private key files are installed in the connecting SSH client.
SSH key authentication is enabled with the following steps:
1.
Create a suitable set of key files using a third party tool. Key generation can also be done
directly within some SSH clients. The key files will consist of a private key file and a public
key file. By convention, these are often called
id_rsa
(the private key) and
id_rsa.pub
(the
public key).
2.
Install the key files into the SSH client. This may already have been done if the client was
used to generate the keys.
3.
Upload the public key file to NetDefendOS using SCP. The file must be stored in the
NetDefendOS folder called
sshclientkeys
(SCP and this folder are described further in
).
The public key file will usually have an original filetype of
.pub
but the filename on
NetDefendOS cannot have a period (".") in the name. If the local filename of the certificate's
public key file is
id_rsa.pub
, this must become something without the period in
NetDefendOS storage. For example, it could get the new name
my_public_ssh_key
and it
might be uploaded to NetDefendOS with an SCP client command similar to the following:
> scp id_rsa.pub [email protected]:sshclientkeys/my_public_ssh_key
4.
In NetDefendOS, set the
SSH Keys
property of the relevant
User
object to be the uploaded
public key file. For example, the user
admin
could be assigned the key file
my_public_ssh_key
. This step is described in detail in the example below.
5.
Connect to NetDefendOS using SSH with key authentication. Authentication will now occur
automatically and there will be no prompt for credentials to be entered.
Example 2.8. Enabling SSH Authentication Using SSH Keys
This example shows how to enable automatic SSH authentication for the user
admin
. It is
assumed that an SSH public key file called
my_ssh_cert
has already been uploaded to
NetDefendOS's
sshclientkeys
folder using SCP.
Command-Line Interface
Chapter 2: Management and Maintenance
53
Содержание NetDefendOS
Страница 30: ...Figure 1 3 Packet Flow Schematic Part III Chapter 1 NetDefendOS Overview 30 ...
Страница 32: ...Chapter 1 NetDefendOS Overview 32 ...
Страница 144: ...Chapter 2 Management and Maintenance 144 ...
Страница 220: ... Enable DHCP passthrough Enable L2 passthrough for non IP protocols 4 Click OK Chapter 3 Fundamentals 220 ...
Страница 267: ... SourceNetwork lannet DestinationInterface any DestinationNetwork all nets 4 Click OK Chapter 3 Fundamentals 267 ...
Страница 284: ...Chapter 3 Fundamentals 284 ...
Страница 360: ...The ospf command options are fully described in the separate NetDefendOS CLI Reference Guide Chapter 4 Routing 360 ...
Страница 392: ...Chapter 4 Routing 392 ...
Страница 396: ...Web Interface 1 Go to Network Ethernet If1 2 Select Enable DHCP 3 Click OK Chapter 5 DHCP Services 396 ...
Страница 419: ... Host 2001 DB8 1 MAC 00 90 12 13 14 15 5 Click OK Chapter 5 DHCP Services 419 ...
Страница 420: ...Chapter 5 DHCP Services 420 ...
Страница 424: ...2 Now enter Name lan_Access Action Expect Interface lan Network lannet 3 Click OK Chapter 6 Security Mechanisms 424 ...
Страница 573: ...Chapter 6 Security Mechanisms 573 ...
Страница 575: ...This section describes and provides examples of configuring NAT and SAT rules Chapter 7 Address Translation 575 ...
Страница 607: ...Chapter 7 Address Translation 607 ...
Страница 666: ...Chapter 8 User Authentication 666 ...
Страница 775: ...Chapter 9 VPN 775 ...
Страница 819: ...Chapter 10 Traffic Management 819 ...
Страница 842: ...Chapter 11 High Availability 842 ...
Страница 866: ...Default Enabled Chapter 13 Advanced Settings 866 ...
Страница 879: ...Chapter 13 Advanced Settings 879 ...

