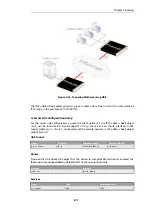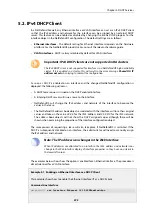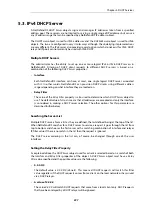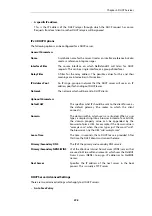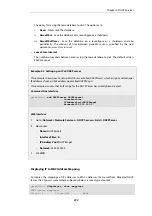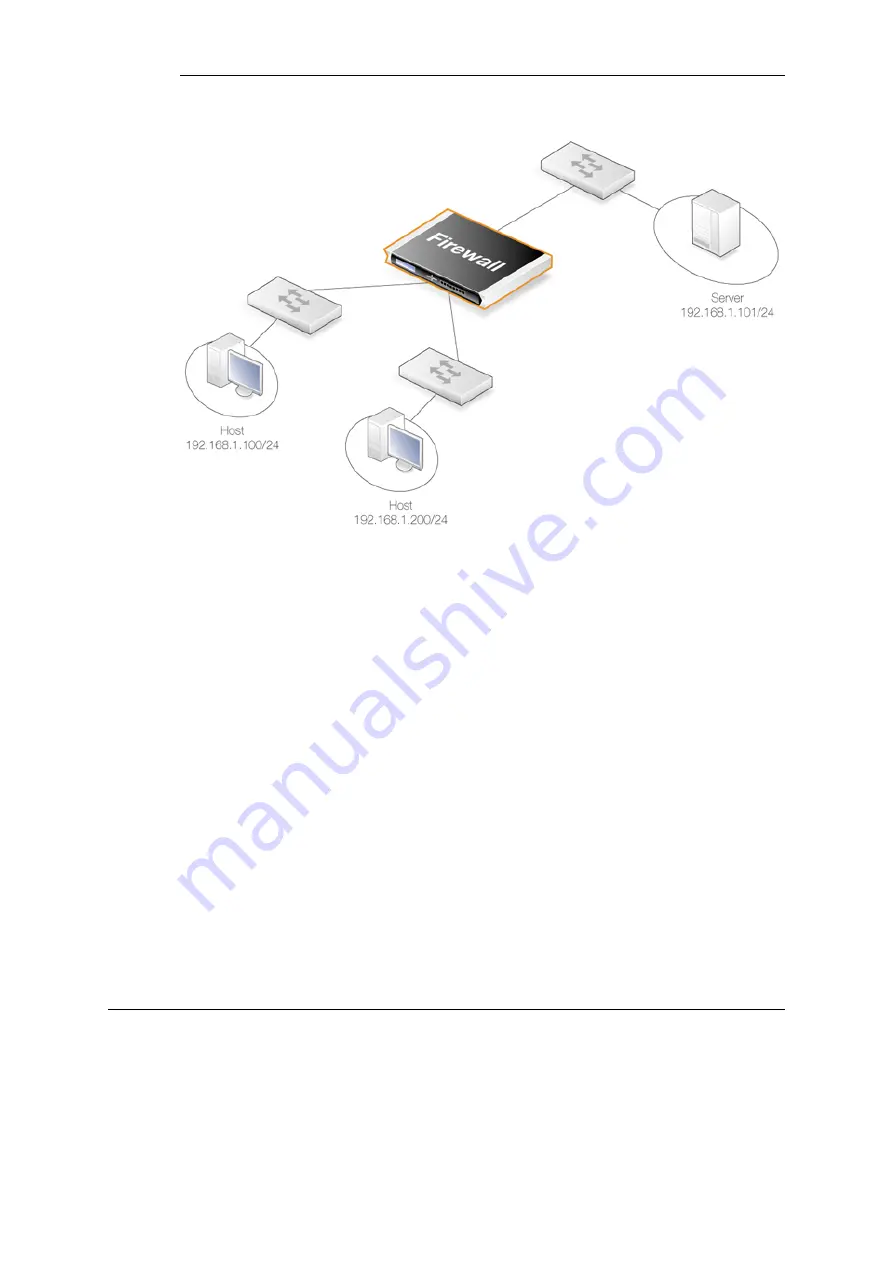
Figure 4.26. An Example BPDU Relaying Scenario
Implementing BPDU Relaying
The NetDefendOS BDPU relaying implementation only carries STP messages. These STP
messages can be of three types:
•
Normal Spanning Tree Protocol (STP)
•
Rapid Spanning Tree Protocol (RSTP)
•
Multiple Spanning Tree Protocol (MSTP)
•
Cisco proprietary PVST+ Protocol (Per VLAN Spanning Tree Plus)
NetDefendOS checks the contents of BDPU messages to make sure the content type is
supported. If it is not, the frame is dropped.
Enabling/Disabling BPDU Relaying
BPDU relaying is disabled by default and can be controlled through the advanced setting Relay
Spanning-tree BPDUs. Logging of BPDU messages can also be controlled through this setting.
When enabled, all incoming STP, RSTP and MSTP BPDU messages are relayed to all transparent
interfaces in the same routing table, except the incoming interface.
4.8.5. MPLS Pass Through
Multi-protocol Label Switching
(MPLS) is a standard that allows the attaching of
labels
to IP
packets to provide information about the packet's eventual destination. The router that initially
attached the MPLS label is known as the
ingress router
.
Network nodes that support MPLS can then use this attached information to route packets
Chapter 4: Routing
389
Содержание NetDefendOS
Страница 30: ...Figure 1 3 Packet Flow Schematic Part III Chapter 1 NetDefendOS Overview 30 ...
Страница 32: ...Chapter 1 NetDefendOS Overview 32 ...
Страница 144: ...Chapter 2 Management and Maintenance 144 ...
Страница 220: ... Enable DHCP passthrough Enable L2 passthrough for non IP protocols 4 Click OK Chapter 3 Fundamentals 220 ...
Страница 267: ... SourceNetwork lannet DestinationInterface any DestinationNetwork all nets 4 Click OK Chapter 3 Fundamentals 267 ...
Страница 284: ...Chapter 3 Fundamentals 284 ...
Страница 360: ...The ospf command options are fully described in the separate NetDefendOS CLI Reference Guide Chapter 4 Routing 360 ...
Страница 392: ...Chapter 4 Routing 392 ...
Страница 396: ...Web Interface 1 Go to Network Ethernet If1 2 Select Enable DHCP 3 Click OK Chapter 5 DHCP Services 396 ...
Страница 419: ... Host 2001 DB8 1 MAC 00 90 12 13 14 15 5 Click OK Chapter 5 DHCP Services 419 ...
Страница 420: ...Chapter 5 DHCP Services 420 ...
Страница 424: ...2 Now enter Name lan_Access Action Expect Interface lan Network lannet 3 Click OK Chapter 6 Security Mechanisms 424 ...
Страница 573: ...Chapter 6 Security Mechanisms 573 ...
Страница 575: ...This section describes and provides examples of configuring NAT and SAT rules Chapter 7 Address Translation 575 ...
Страница 607: ...Chapter 7 Address Translation 607 ...
Страница 666: ...Chapter 8 User Authentication 666 ...
Страница 775: ...Chapter 9 VPN 775 ...
Страница 819: ...Chapter 10 Traffic Management 819 ...
Страница 842: ...Chapter 11 High Availability 842 ...
Страница 866: ...Default Enabled Chapter 13 Advanced Settings 866 ...
Страница 879: ...Chapter 13 Advanced Settings 879 ...

