


Setting up the TI-Nspire™ Navigator™ Teacher Software
17
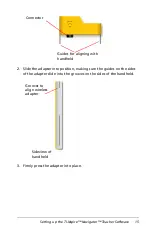
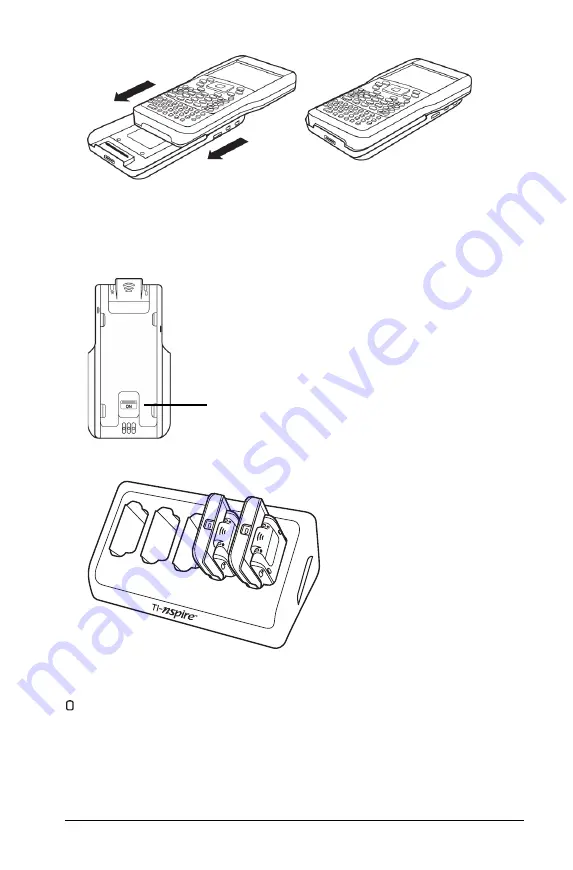
3. Press firmly to make a good connection. When properly connected,
the TI-Nspire™ handheld appears to be sitting on top of the cradle.
4. Lock the handheld in place by sliding the lock on the back of the
cradle to the ON position.
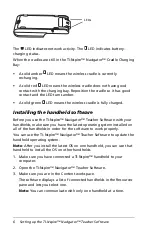
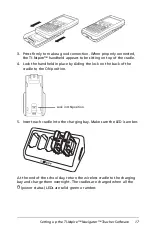
5. Insert each cradle into the charging bay. Make sure the LED is amber.
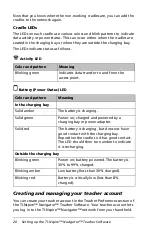
At the end of the school day, return the wireless cradle to the charging
bay and charge them overnight. The cradles are charged when all the
(power status) LEDs are solid green or amber.
Lock in ON position.
Summary of Contents for TI-Nspire
Page 38: ...26 Setting up the TI Nspire Navigator Teacher Software ...
Page 46: ...34 Getting started with the TI Nspire Navigator Teacher Software ...
Page 84: ...72 Using the Content Workspace ...
Page 180: ...168 Capturing Screens ...
Page 256: ...244 Embedding documents in web pages ...
Page 336: ...324 Polling students ...
Page 374: ...362 Using the Review Workspace ...
Page 436: ...424 Calculator ...
Page 450: ...438 Using Variables ...
Page 602: ...590 Using Lists Spreadsheet ...
Page 676: ...664 Using Notes You can also change the sample size and restart the sampling ...
Page 684: ...672 Libraries ...
Page 714: ...702 Programming ...
Page 828: ...816 Data Collection and Analysis ...
Page 846: ...834 Regulatory Information ...
Page 848: ...836 ...