Installation & Service Manual
289
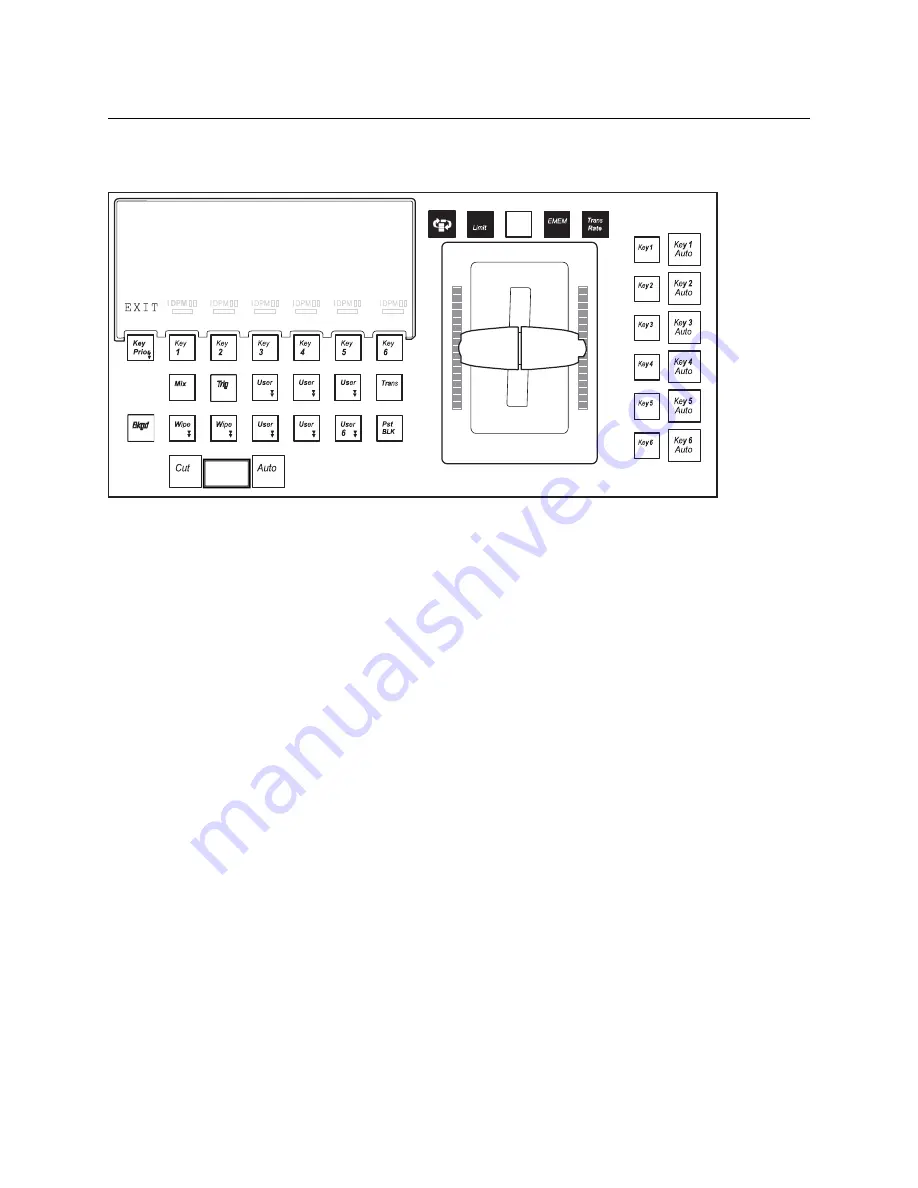
and top limits and pressing the
Auto
button. When done, press the
Key Prior
button to exit
calibration mode.
Button Hold Down for Lever Arm Calibration
Calibration settings are saved with the module. Disconnecting, reconnecting, or moving
the module to a different location on the Control Panel (including a different Stripe) should
not affect the calibration for that module.
Calibrating the Joystick
1
Press the
Home
button to take the Multi-Function module to its Home state.
2
Hold down the two bottom outside buttons below the Joystick and press the
Key 1
button on the upper left to put the module into Calibration mode.
3
Follow the instructions displayed, rotating the Joystick and pressing the bottom right
button labeled
NEXT
.
Result: The
NEXT
button label changes to
END
.
4
Press the
END
button to complete the calibration and return the module to its Home
state.
8623266_68
MOVE THE FADER TO BOTTOM
Ptn
Run
AND PRESS AUTO BUTTON
Cut
Cut
Cut
Cut
1
2
3
PVW
Cut
1
2
4
5
Cut
1.□□
Summary of Contents for KARRERA
Page 47: ...Installation Service Manual 23 15 RU Dimensions Side View ...
Page 49: ...Installation Service Manual 25 15RUVideo Processor Views 15 RU Front View withDoor Removed ...
Page 50: ...Frame Installation 26 15 RU Rear ViewIP Gearbox Conversion 15RU Front View withDoor Removed ...
Page 52: ...Frame Installation 28 PowerSupplyFrameDimensions TopView ...
Page 171: ...Installation Service Manual 147 ...
Page 204: ...Basic Configuration 180 ...
Page 208: ...Basic Configuration 184 green ...
Page 234: ...Basic Configuration 210 ...
Page 265: ...Installation Service Manual 241 ...
Page 296: ...External Interfaces 272 PBus and GPI Enables ...
Page 366: ...Maintenance 342 ...
Page 367: ...Installation Service Manual 343 ...
Page 368: ...Maintenance 344 ...


