Maintenance 6. Joint #2
C12 Rev.3
199
7.
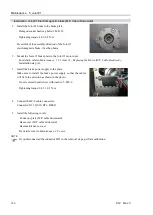
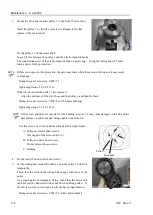
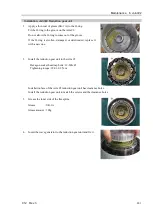
Remove the Arm #2.
Hexagon socket head cap bolts (with a plain washer):
16-M6
×
35
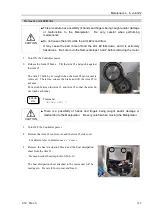
Remove a wave washer on the Arm #1 side.
The wave washer will be used again. Be careful not to lose it.
Wipe grease on the part while removing it.
CAUTION
■
By removing the bolts, the Arm #1, #2, #3, #4, #5, and #6(end effector) can be
separated. There is a possibility of hands and fingers being caught and/or
damage or malfunction to the Manipulator. Be very careful when removing the
arm. Have at least two workers so that one can support the Manipulator while
the other worker is removing the bolts.
■
The Arms are connected by the internal cables. When replacing the parts, place
the removed arm while not applying load on the cables. It may result in cable
disconnection.
8.
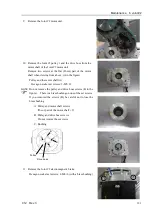
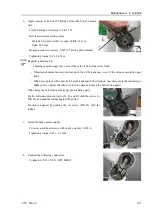
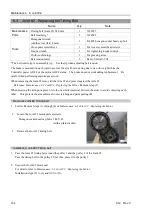
Remove the wave generator from the reduction gear unit.
If the wave generator unit does not come off easily, set the pulley
2 as shown in the photo to the shaft and pull out the parts.
Wipe grease on the part while removing it.
9.
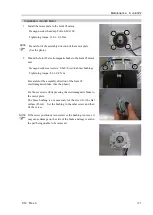
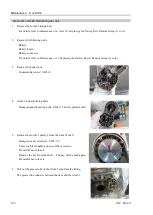
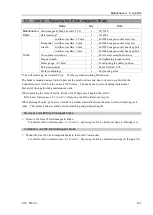
Remove the reduction gear unit from the Arm #2.
Hexagon socket head cap bolts (with plain washer):
12-M6
×
45
Wipe grease on the part while removing it.
Summary of Contents for C12 Series
Page 1: ...Rev 3 EM204R4255F 6 Axis Robots C12 series MANIPULATOR MANUAL ...
Page 2: ...Manipulator manual C12 series Rev 3 ...
Page 8: ...vi C12 Rev 3 ...
Page 14: ...Table of Contents xii C12 Rev 3 ...
Page 16: ......
Page 30: ...Setup Operation 2 Specifications 16 C12 Rev 3 2 4 Outer Dimensions Unit mm ...
Page 84: ......
Page 155: ...Maintenance 4 Cable Unit C12 Rev 3 141 4 2 Connector Pin Assignment 4 2 1 Signal Cable ...
Page 156: ...Maintenance 4 Cable Unit 142 C12 Rev 3 ...
Page 157: ...Maintenance 4 Cable Unit C12 Rev 3 143 ...
Page 158: ...Maintenance 4 Cable Unit 144 C12 Rev 3 4 2 2 Power Cable ...


