Maintenance 5. Joint #1
C12 Rev.3
149
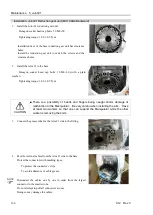
Removal: Joint #1 Motor (M/C Cable Backward)
1.
Turn OFF the Controller.
2.
Remove the base maintenance cover.
For details, refer to
Maintenance: 3. Covers
.
3.
Remove the connector plate (M/C cable backward).
For details, refer to
Maintenance: 3. Covers
.
4.
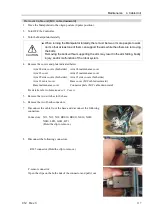
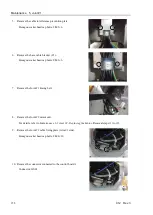
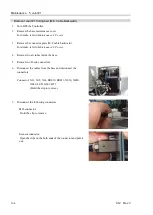
Disconnect the cables from the base and disconnect the connectors.
Connector: X11, X010, BT1, BR011
(Hold the clip to remove.)
When replacing only the brake, do not disconnect the connector
BT1. If the connector is disconnected, perform calibration.
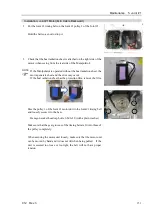
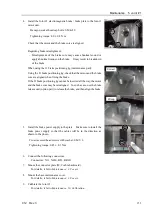
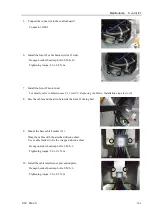
Remove the heat radiation block
1.
Remove the wire tie and the bolts to remove the heat radiation block
Hexagon socket head cap bolts: M5×15
Wire tie: AB350
2.
Remove the heat radiation sheet between the heat radiation block and the motor.
The heat radiation block, the heat radiation sheet, and the bolts will be used again. Be careful not to
lose them.
Be careful not to tear the heat radiation sheet.
5.
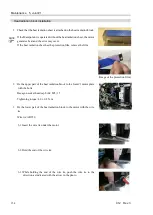
Remove the brake power supply.
Cross recessed head screws with washer: 2-M3×6
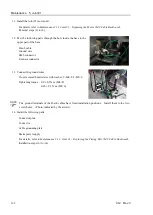
6.
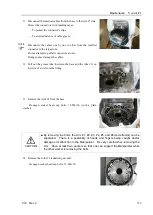
Remove the Joint #1 brake plate from the Joint #1 motor unit.
Hexagon socket head cap bolts: 3-M4
×
20
NOTE
NOTE
Summary of Contents for C12 Series
Page 1: ...Rev 3 EM204R4255F 6 Axis Robots C12 series MANIPULATOR MANUAL ...
Page 2: ...Manipulator manual C12 series Rev 3 ...
Page 8: ...vi C12 Rev 3 ...
Page 14: ...Table of Contents xii C12 Rev 3 ...
Page 16: ......
Page 30: ...Setup Operation 2 Specifications 16 C12 Rev 3 2 4 Outer Dimensions Unit mm ...
Page 84: ......
Page 155: ...Maintenance 4 Cable Unit C12 Rev 3 141 4 2 Connector Pin Assignment 4 2 1 Signal Cable ...
Page 156: ...Maintenance 4 Cable Unit 142 C12 Rev 3 ...
Page 157: ...Maintenance 4 Cable Unit C12 Rev 3 143 ...
Page 158: ...Maintenance 4 Cable Unit 144 C12 Rev 3 4 2 2 Power Cable ...

