8 – Saving and recalling setting data
Storing using a control set on the USER
DEFINED CONTROL Screen
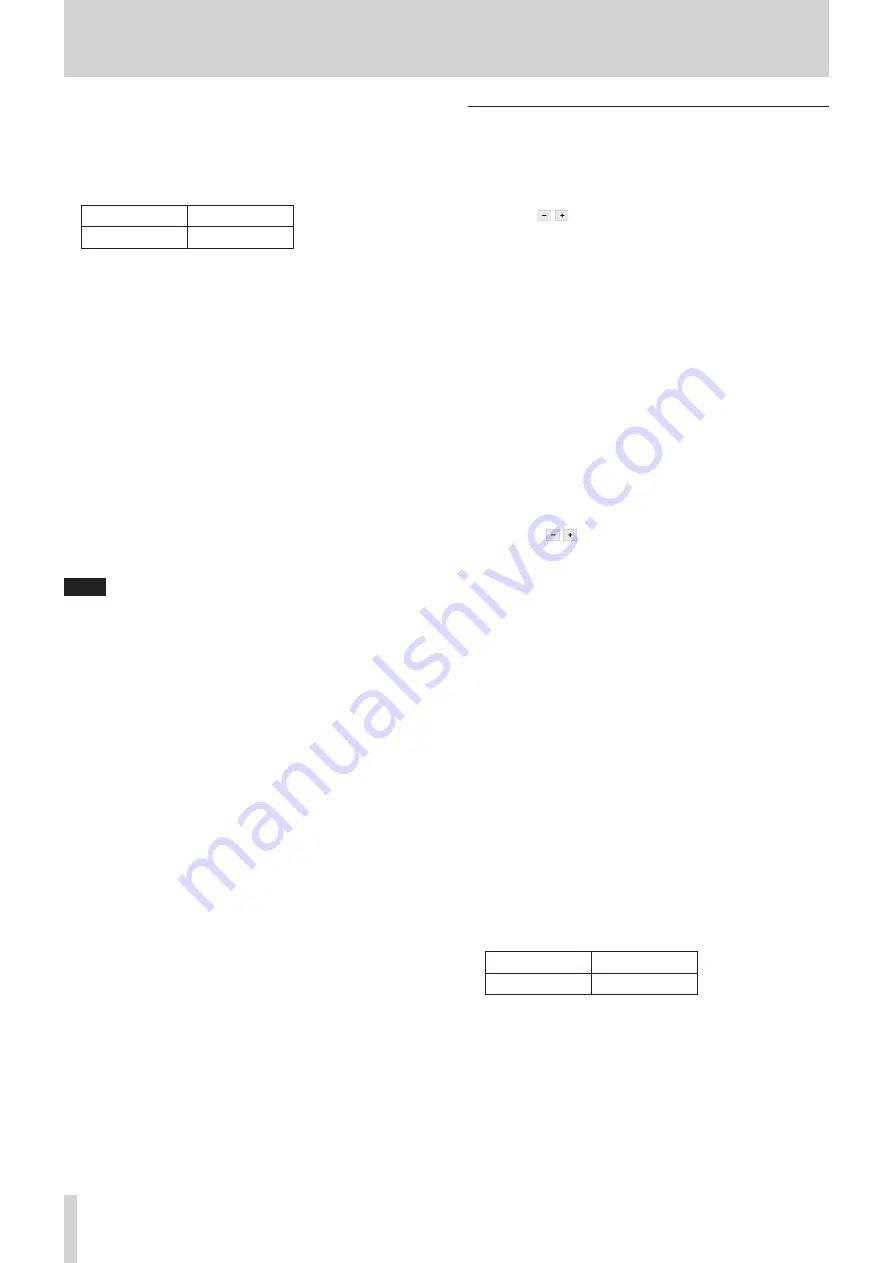
If the Function and Parameter 1 settings on the USER DEFINED
CONTROL Screen are as follows, the snapshot stored depends
on the Parameter 2 setting.
Function
Parameter1
Snapshot
Store
Pressing the control when Parameter 2 is set to
“Selected”
This stores the current snapshot settings in the data slot
shown by the snapshot number (
1
)/name (
2
) at the top of
the Menu Screen.
Pressing the control when Parameter 2 is set to “No.”
This stores the current snapshot settings in the data slot
number specified by Parameter 3.
Pressing the control when Parameter 2 is set to
“+Target Key”
Press simultaneously with a control that has Function set to
Snapshot and Parameter 1 set to Target to store the current
snapshot settings in the data slot number specified by
Parameter 2 and Parameter 3 of that control.
NOTE
Snapshot names when stored
i
When stored, snapshots are automatically named based
on the current snapshot name with additional data added
as follows to make the generation clear.
1st generation: base name
2nd generation: base name+_XX (2-digit number)
3rd generation: base name+_XX+a-z (single lowercase
letter)
When a name cannot be added automatically,
"Cannot generate default name automatically."
"Change name"
"[CANCEL] [RENAME]"
will appear.
To change a name when storing, press the RENAME
button to open the RENAME Screen.
Input a name that is not the same as existing data and tap
Enter to store it.
* Conditions that prevent names from being added
automatically
i
The current snapshot has a 1st generation name
and data named “currentname_99” already exists.
i
The current snapshot has a 2nd generation name
with “_XX” added and data named “currentname_
XXz” already exists.
i
The current snapshot has a 3rd generation name.
i
When using a USER DEFINED CONTROL to store a
snapshot, the name will be “USER KEY + data slot number”.
Recalling snapshots
Follow one of the procedures below to recall (load) snapshot
data.
Using RECALL at the top of the Menu Screen
1. Tap the / buttons to open the snapshot number (
1
)/
name (
2
) of the data slot to be recalled.
2. Tap the RECALL button (
6
).
If the CONFIRMATION settings window RECALL setting is
ON, a confirmation message will be shown.
i
Tapping the RECALL button on the confirmation
message will recall the snapshot and close the
message.
i
Tapping the CANCEL button on the confirmation
message will close the message without recalling.
3. After recalling completes, a recall completion message will
appear for about two seconds.
Recalling snapshots on the Snapshot List
Screen
1. Do one of the following to show the data slot to be recalled
in the snapshot list display area.
i
Tap the / buttons
i
Turn LCD knob 8
i
Swipe the list up or down
i
Drag the scrollbar up or down
2. Tap the data slot to be recalled to select it.
This highlights the data slot.
3. Tap the RECALL button (
6
).
If the CONFIRMATION settings window RECALL setting is
ON, a confirmation message will be shown.
i
Tapping the RECALL button on the confirmation
message will recall the snapshot and close the
message.
i
Tapping the CANCEL button on the confirmation message
will close the message without recalling.
4. After recalling completes, a recall completion message will
appear for about two seconds.
Recalling using a control set on the USER
DEFINED CONTROL Screen
If the Function and Parameter 1 settings on the USER DEFINED
CONTROL Screen are as follows, the snapshot recalled depends
on the Parameter 2 setting.
Function
Parameter1
Snapshot
Recall
Pressing the control when Parameter 2 is set to
“Selected”
This recalls the settings in the data slot shown by the
snapshot number (
1
)/name (
2
) at the top of the Menu
Screen.
Pressing the control when Parameter 2 is set to “Next”
or “Prev”
This recalls the settings stored in the data slot one before/
after (excluding presets) the snapshot shown by the number
(
1
)/name (
2
) at the top of the Menu Screen.
128
TASCAM Sonicview 16/Sonicview 24


