


VarioLink 6022/7522
7-27
Application functions
7
7
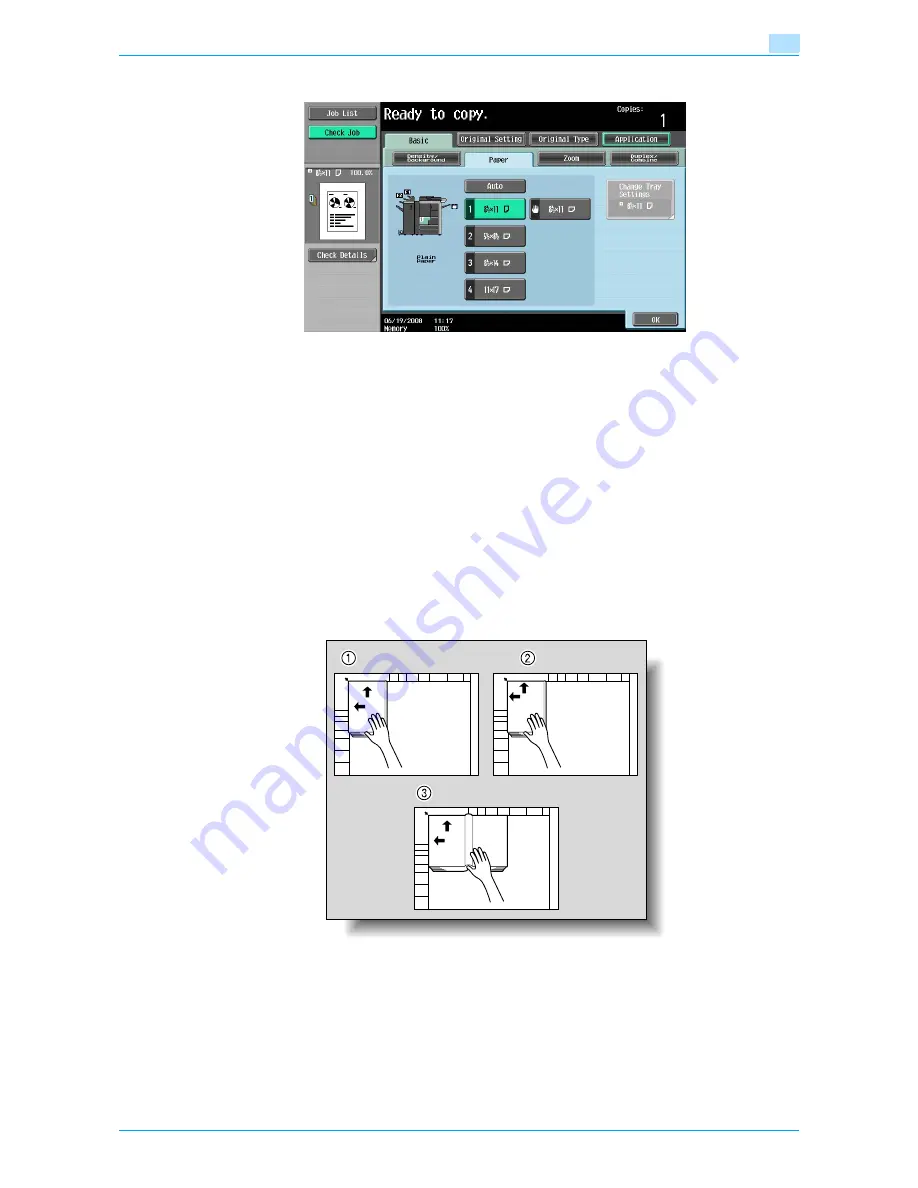
In the Basic screen, touch [Paper], and then select the paper tray loaded with the paper.
8
Specify any other desired copy settings.
–
To cancel the setting and select the default, press the [Reset] key.
9
Using the keypad, type in the desired number of copies.
10
Press the [Start] key.
–
For details on positioning the original, refer to
"Scanning a multi-page original from the original
glass" on page 2-11
.
–
Position the next page and repeat step 10 until all pages of the original are scanned.
Scanning begins.
If "Book Spread" or "Separation" is selected, printing begins.
If "Front Cover" or "Front and Back Cover" is selected, continue with step 11.
11
After all original pages have been scanned, touch [Finish].
–
If "Front and Back Cover" was selected, the back cover is scanned after the front cover, and then
all page spreads are scanned in order.
SURVEYOR’S
REPORT
SURVEYOR’S
REPORT
Содержание VarioLink 6022
Страница 1: ...Océ VarioLink 6022 VarioLink 7522 Copy Operations User s Guide Printing for Professionals ...
Страница 18: ...VarioLink 6022 7522 x 15 Explanation of manual conventions ...
Страница 19: ...VarioLink 6022 7522 x 16 ...
Страница 22: ...1 Before Making Copies ...
Страница 80: ...2 Basic copy operations ...
Страница 107: ...VarioLink 6022 7522 2 28 Basic copy operations 2 Binding Position screen Zoom screen Frame Erase screen ...
Страница 151: ...VarioLink 6022 7522 2 72 Basic copy operations 2 4 Touch OK and then touch OK again ...
Страница 159: ...3 Additional copy operations ...
Страница 189: ...4 Troubleshooting ...
Страница 237: ...5 Specifications ...
Страница 248: ...6 Copy paper originals ...
Страница 278: ...7 Application functions ...
Страница 300: ...VarioLink 6022 7522 7 23 Application functions 7 6 Press the Start key ...
Страница 318: ...VarioLink 6022 7522 7 41 Application functions 7 7 Press the Start key ...
Страница 357: ...8 Replacing toner cartridges and staple cartridges and emptying hole punch scrap box ...
Страница 378: ...9 Care of the machine ...
Страница 385: ...10 Managing jobs ...
Страница 399: ...11 Utility mode ...
Страница 478: ...12 Authentication Unit Biometric Type AU 101 ...
Страница 503: ...13 Authentication Unit IC Card Type AU 201 ...
Страница 529: ...14 Appendix ...
Страница 536: ...15 Index ...
Страница 540: ...Printing for Professionals Beyond the Ordinary ...


