VarioLink 6022/7522
7-20
Application functions
7
7
Select the desired copy settings, and then press the [Start] key.
–
To print a single copy to be checked, press the [Proof Copy] key.
–
Repeat steps 5 to 7 until all originals have been scanned. The amount of memory available can be
checked beside "Memory" in the lower-left corner of the screen. In addition, the number of original
batches can be checked beside "Scanned Batches".
–
When the memory is full, a message appears. Select whether to delete the last part of the data and
scan it again, delete the last part of the data and print, or delete all of the original data.
–
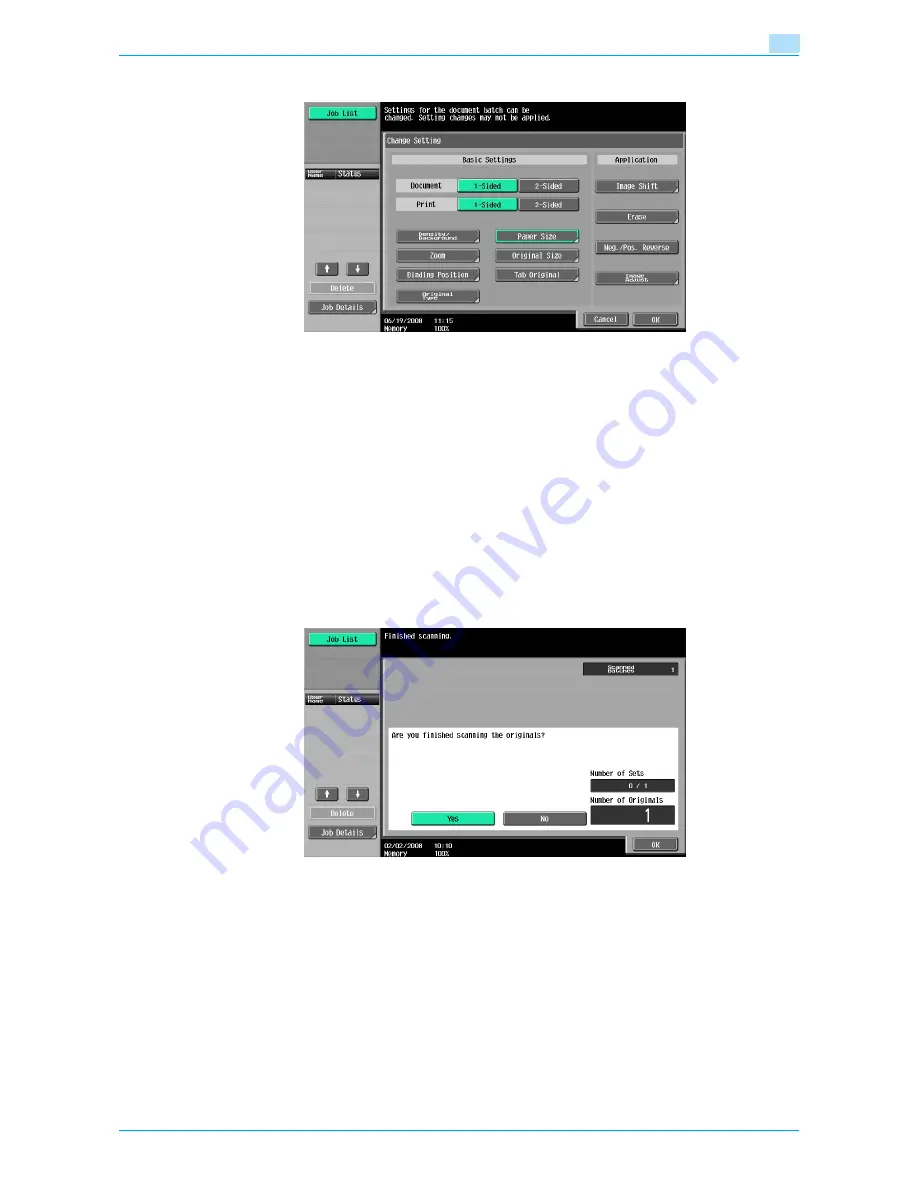
To cancel changes to the settings, touch [Cancel].
Scanning begins. After scanning is finished, touch [Fix], and then touch [OK].
?
Is there more information about the settings?
%
Refer to the appropriate section.
8
After all original pages have been scanned, touch [Finish].
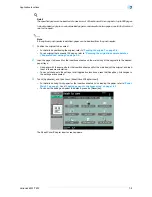
A message appears, requesting confirmation that scanning is finished.
9
Touch [Yes], and then touch [OK].
–
If "No" was selected, touch [Change Setting] to change the copy settings.
Содержание VarioLink 6022
Страница 1: ...Océ VarioLink 6022 VarioLink 7522 Copy Operations User s Guide Printing for Professionals ...
Страница 18: ...VarioLink 6022 7522 x 15 Explanation of manual conventions ...
Страница 19: ...VarioLink 6022 7522 x 16 ...
Страница 22: ...1 Before Making Copies ...
Страница 80: ...2 Basic copy operations ...
Страница 107: ...VarioLink 6022 7522 2 28 Basic copy operations 2 Binding Position screen Zoom screen Frame Erase screen ...
Страница 151: ...VarioLink 6022 7522 2 72 Basic copy operations 2 4 Touch OK and then touch OK again ...
Страница 159: ...3 Additional copy operations ...
Страница 189: ...4 Troubleshooting ...
Страница 237: ...5 Specifications ...
Страница 248: ...6 Copy paper originals ...
Страница 278: ...7 Application functions ...
Страница 300: ...VarioLink 6022 7522 7 23 Application functions 7 6 Press the Start key ...
Страница 318: ...VarioLink 6022 7522 7 41 Application functions 7 7 Press the Start key ...
Страница 357: ...8 Replacing toner cartridges and staple cartridges and emptying hole punch scrap box ...
Страница 378: ...9 Care of the machine ...
Страница 385: ...10 Managing jobs ...
Страница 399: ...11 Utility mode ...
Страница 478: ...12 Authentication Unit Biometric Type AU 101 ...
Страница 503: ...13 Authentication Unit IC Card Type AU 201 ...
Страница 529: ...14 Appendix ...
Страница 536: ...15 Index ...
Страница 540: ...Printing for Professionals Beyond the Ordinary ...


