92
3 Printing
4.
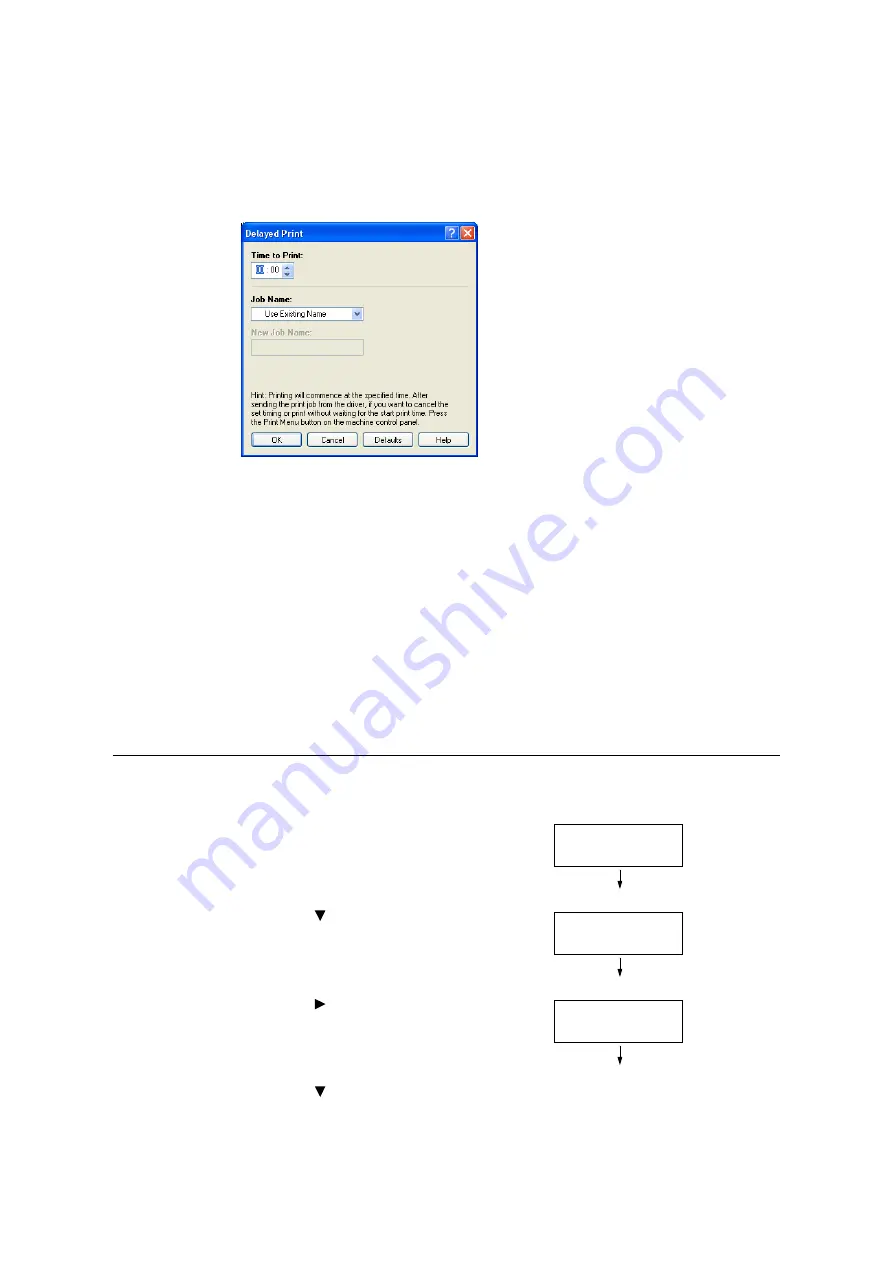
Click [Setup].
The [Delayed Print] dialog box appears.
5.
Specify the printing start time.
Use 24-hour format to specify the time.
6.
For [Job Name], select [Enter Job Name] or [Use Existing Name]. If you selected
[Enter Job Name], name the document by entering up to 12 single-byte characters
into [New Job Name].
If you selected [Use Existing Name], the document name will be the name of the
document to be printed. If the printer cannot identify the name of the document, the
date and time that the document will be printed is used for the name.
7.
Click [OK].
8.
On the [Paper/ Output] tab, click [OK].
9.
Click [Print] on the [Print] dialog box to start printing.
Printing will start when the specified time is reached.
Canceling a Delayed Print Job
You can use the control panel to cancel a Delayed Print job or to print a Delayed Print job
immediately, regardless of the specified time.
1.
On the control panel, press the <Print
Menu> button.
2.
Press the < > button until [Delayed Print]
is displayed.
3.
Press the < > or <OK> button to select.
A document name appears.
4.
Press the < > button until the desired
document name appears.
Print Menu
Secure Print
Print Menu
Delayed Print
Select Job
1.Report
Содержание DocuPrint C5005 d
Страница 1: ...User Guide DocuPrint C5005 d...
Страница 78: ...78 3 Printing 2 Click the Device Settings tab 3 Click Custom Paper Size...
Страница 219: ...6 1 Clearing Paper Jams 219 4 Push the tray in gently until it stops...
Страница 227: ...6 1 Clearing Paper Jams 227 5 Gently close the top left cover D 6 Return the upper left cover A to the original position...
Страница 384: ...384 7 Maintenance 23 When the setting is over press the Settings button to return to the print screen...
Страница 462: ...DocuPrint C5005 d User Guide Fuji Xerox Co Ltd ME4989E2 1 Edition1 November 2010 Copyright 2010 by Fuji Xerox Co Ltd...


