86
3 Printing
8.
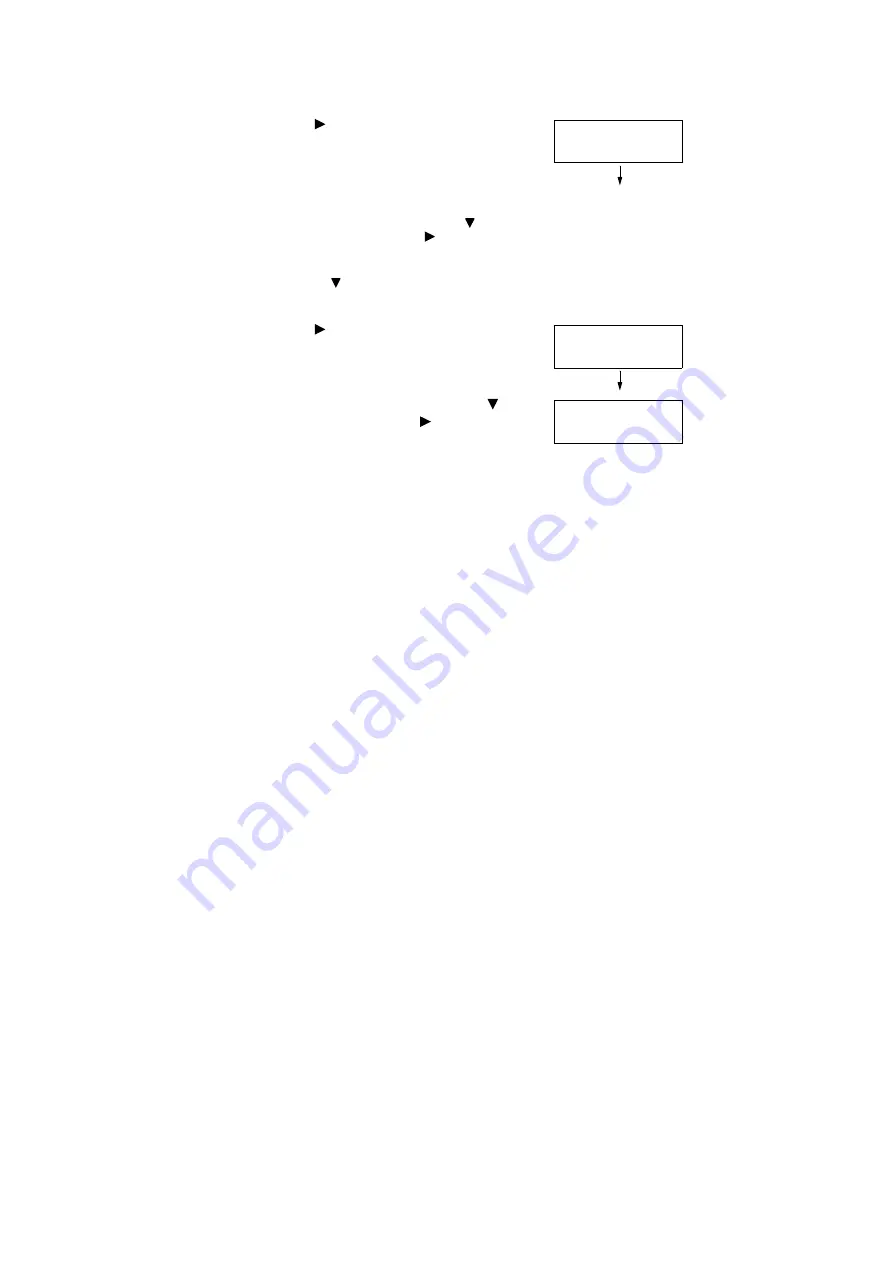
Press the < > or <OK> button to select.
A screen appears that allows you to specify
whether to delete or save the document
after printing.
Note
• To delete the job without printing, press the < >
button to display [Delete], press the < > button, and
then press the <OK> button.
• If you want to save the document in the printer after
printing, press the < > button, display [Print & Save],
and proceed to Step 9 of this procedure.
9.
Press the < > or <OK> button to select.
A screen to enter the number of copies
appears.
10. Enter the number of copies using the < >
button, and then press the < > or <OK>
button to print the document.
A print start confirmation screen appears.
11. Press the <OK> button to print.
Printing starts.
12. Press the <Print Menu> button to return to
the [Ready to print] screen.
1.Report
Print & Delete
Quantity
1 Set(s)
1.Report
Use OK to print
Содержание DocuPrint C5005 d
Страница 1: ...User Guide DocuPrint C5005 d...
Страница 78: ...78 3 Printing 2 Click the Device Settings tab 3 Click Custom Paper Size...
Страница 219: ...6 1 Clearing Paper Jams 219 4 Push the tray in gently until it stops...
Страница 227: ...6 1 Clearing Paper Jams 227 5 Gently close the top left cover D 6 Return the upper left cover A to the original position...
Страница 384: ...384 7 Maintenance 23 When the setting is over press the Settings button to return to the print screen...
Страница 462: ...DocuPrint C5005 d User Guide Fuji Xerox Co Ltd ME4989E2 1 Edition1 November 2010 Copyright 2010 by Fuji Xerox Co Ltd...


