7.10 Configuring Encryption Settings
363
6.
Refresh your web browser.
7.
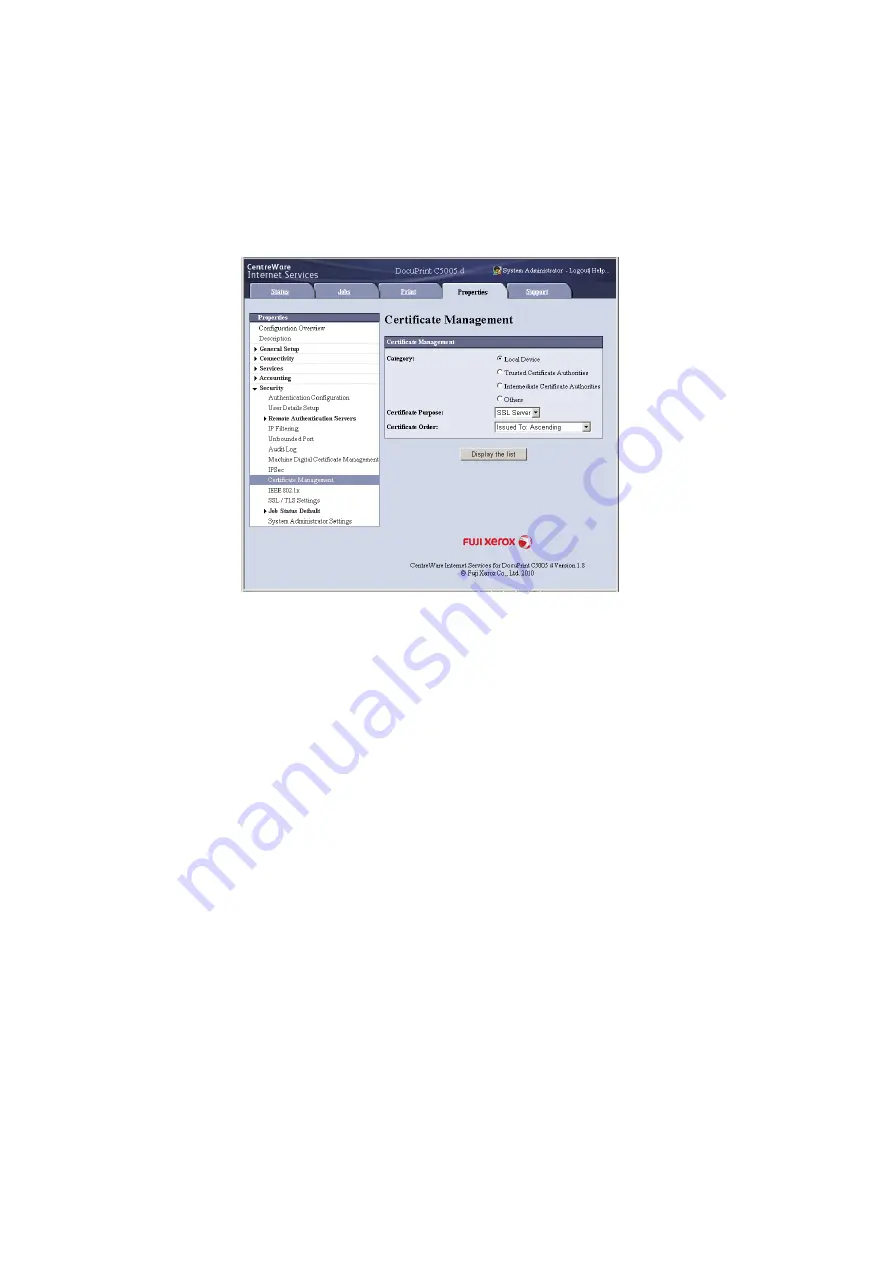
From the menu on the [Properties] tab, click [Security] > [Certificate Management].
The [Certificate Management] screen is displayed.
8.
Select [Local Device] for [Category] and [IP Sec] for [Certificate Purpose], and then
click [Display the list].
9.
Select the check box for the certificate to be set, and then click [Certificate Details].
10. Click [Use this certificate].
11. A window that prompts you to reboot the printer appears. On the window, click
[Reboot Machine].
The printer reboots and the settings you configured are reflected.
This sets the certificate for IPSec. Next, configure IPSec settings. Jump to step 3 of
the procedure in the next page.
Configuring IPSec Settings
Use CentreWare Internet Services to configure IPSec settings.
Note
• For details about CentreWare Internet Services setting items, refer to its online help.
1.
Launch your web browser and access CentreWare Internet Services.
Note
• If you do not know how to access CentreWare Internet Services, refer to “1.6 Configuring the Printer
Using CentreWare Internet Services” (P. 41).
• If you are prompted to enter the administrator's ID and password, enter them and click [OK].
2.
Click the [Properties] tab.
Содержание DocuPrint C5005 d
Страница 1: ...User Guide DocuPrint C5005 d...
Страница 78: ...78 3 Printing 2 Click the Device Settings tab 3 Click Custom Paper Size...
Страница 219: ...6 1 Clearing Paper Jams 219 4 Push the tray in gently until it stops...
Страница 227: ...6 1 Clearing Paper Jams 227 5 Gently close the top left cover D 6 Return the upper left cover A to the original position...
Страница 384: ...384 7 Maintenance 23 When the setting is over press the Settings button to return to the print screen...
Страница 462: ...DocuPrint C5005 d User Guide Fuji Xerox Co Ltd ME4989E2 1 Edition1 November 2010 Copyright 2010 by Fuji Xerox Co Ltd...


