7.12 Adjusting Tone Density
373
7.12
Adjusting Tone Density
When colors look off, you can use color calibration to adjust the color density.
Color calibration allows you to maintain consistent print quality.
To perform color calibration, print a Calibration Chart from the printer, compare the chart
with the supplied “Color Sample for gray level correction” (hereinafter referred to as “Color
Sample”) to determine the correct density, and then use the control panel to enter the value
on the printer.
The densities of Y (yellow), M (magenta), C (cyan) and K (black) can be adjusted
individually to Low, Mid, or High.
If you want to return the values of all colors to their factory defaults, set all the values to “0”.
Setting the values to “0” disables color calibration during printing.
Note
• If color consistency is not maintained even after color calibration is performed, contact our Customer
Support Center or your dealer.
• Setting the density values to “0” does not always return print quality to the level it was at immediately
after the printer was installed. Using the printer for an extended period can affect print quality due to
factors such as deterioration of the printer, changes in the installation environment, and the number of
sheets printed to date.
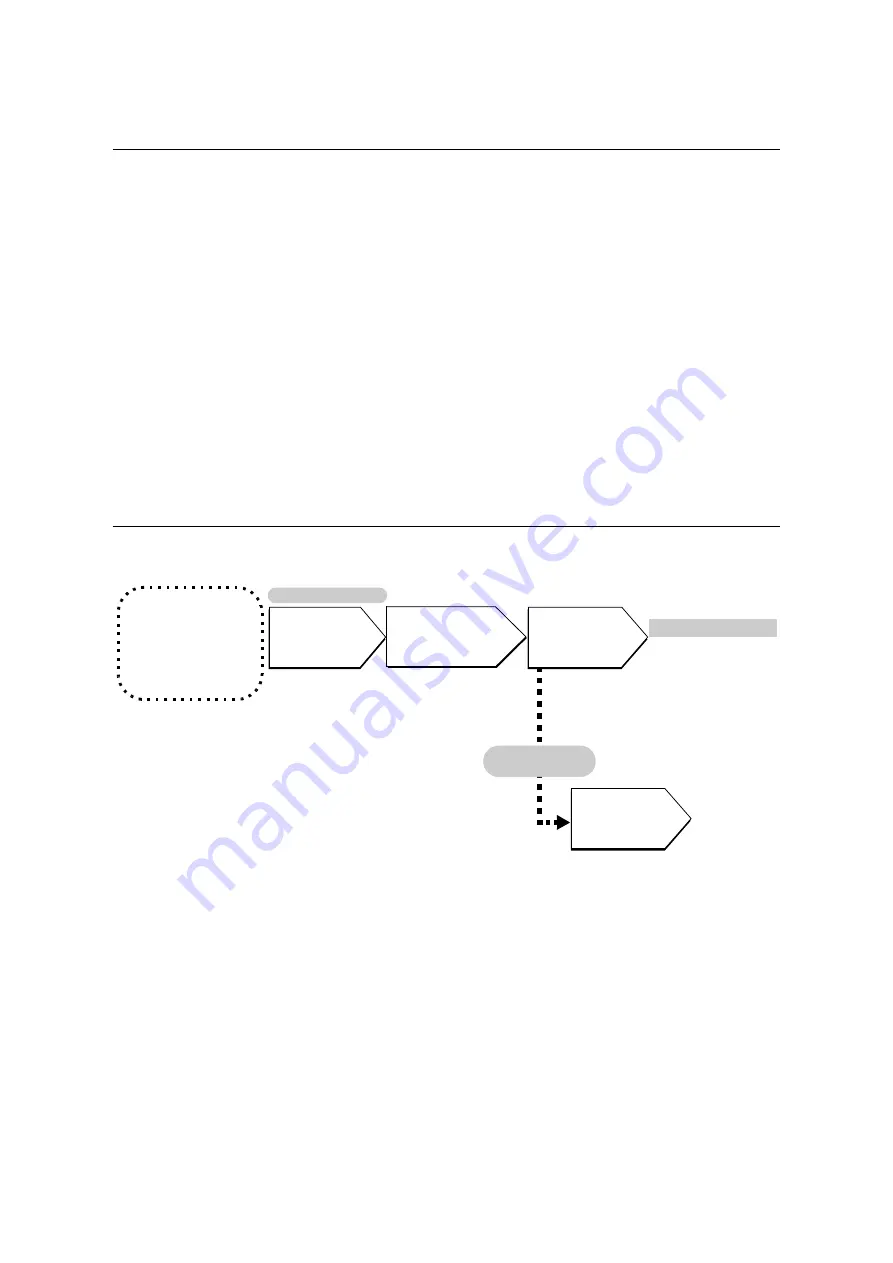
Calibration Procedure
The basic procedure for color calibration is shown below.
Before Getting Started
• Have the Color
Sample ready.
• Load A4-size paper in
portrait orientation
into the bypass tray.
Calibration Chart
(Text Priority/Photo
Priority) Printing
Control Panel
Determine density
values.
Click [Apply].
(CentreWare Internet Services Operation)
Refer to:
“Printing a
Calibration Chart”
(P. 374)
Refer to:
“Determining the
Density Values”
(P. 375)
Refer to:
“Inputting Density Values” (P. 378)
Refer to:
“Loading Paper in the
Bypass Tray” (P. 121)
Use web browser to
enter density
values.
Refer to:
CentreWare Internet
Services online help
Cannot use
network.
Enter density
values on control
panel.
Содержание DocuPrint C5005 d
Страница 1: ...User Guide DocuPrint C5005 d...
Страница 78: ...78 3 Printing 2 Click the Device Settings tab 3 Click Custom Paper Size...
Страница 219: ...6 1 Clearing Paper Jams 219 4 Push the tray in gently until it stops...
Страница 227: ...6 1 Clearing Paper Jams 227 5 Gently close the top left cover D 6 Return the upper left cover A to the original position...
Страница 384: ...384 7 Maintenance 23 When the setting is over press the Settings button to return to the print screen...
Страница 462: ...DocuPrint C5005 d User Guide Fuji Xerox Co Ltd ME4989E2 1 Edition1 November 2010 Copyright 2010 by Fuji Xerox Co Ltd...


