Appendix D. CPS Menu Structure
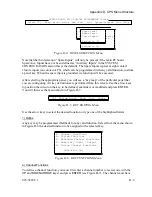
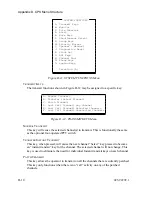
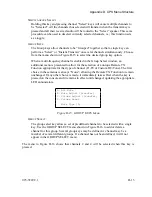
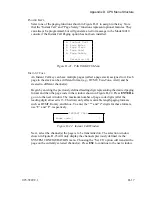
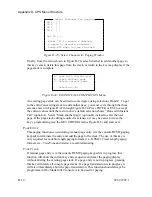
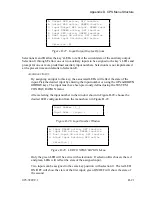
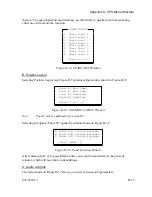
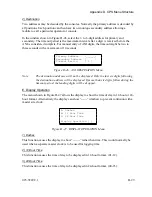
Enter Channel Number from 1 to 14
‘T’ for Transfer
‘S’ for selected channel
Selection [__]
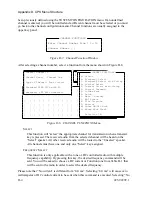
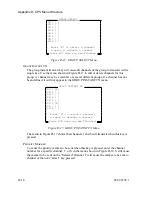
PRIORITY MARKER
Figure D-18. PRIORITY MARKER Menu
S
PEAKER
/H
EADSET
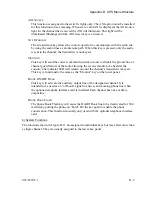
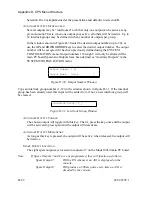
This key will cause the speaker audio to be toggled between the speakers and headset.
The green LED will indicate that the audio is routed to the speaker; the red LED will
indicate the headset is receiving the audio.
Please note that jumpers are available on the console main PC board to allow
“Selected” or “Unselected” audio to be “locked” to the speakers or headset thus
negating the function of this key.
D
IAGNOSTICS
R
ESET
By programming this key, any diagnostic messages displayed on the console will be
held until the key is pressed. If this key is not assigned, the diagnostic will be
removed after approximately 3 seconds or when the next key is pressed.
C
LOCK
S
ET
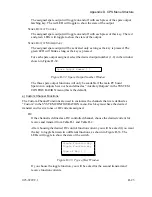
By programming this key, clock setting can be initiated by pressing the “CLOCK
SET” key on the key panel.
The first time the “CLOCK SET” key is pressed, the seconds-unit on the time display
will be highlighted with an underscore. The seconds-unit may be adjusted up or down
using the “CHANNEL VOLUME” knob. When the desired number of seconds have
been set, press the “CLOCK SET” key again.
In a similar manner, each time you press the “CLOCK SET” key, another time unit
will be highlighted in the display, until the entire time and date have been set. The
units are adjusted starting with seconds, then minutes, hours, month, day, and finally
year. The display will automatically show the date once the three units of the time of
day have been set. You may distinguish a time display from a date display by the
colon (:) units separator used for time versus the slash (/) units separator used for
date.
ANI
K
EYS
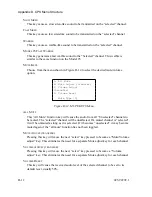
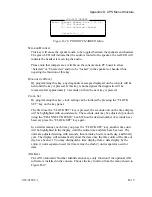
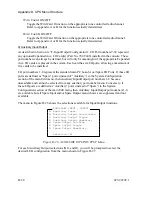
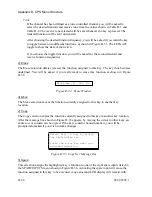
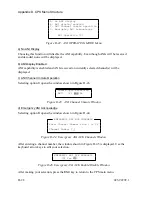
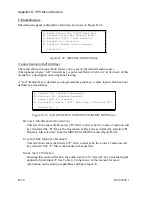
The ANI (Automatic Number Identification) keys only function if the optional ANI
software is installed in the console. Choose the key function from the menu shown in
Figure D-19.
025-9229C.1
D-15
Summary of Contents for 4010
Page 2: ......
Page 4: ......
Page 7: ...1 INTRODUCTION HARDWARE REQUIREMENTS 1 1 DEFINITIONS 1 1 MANUALS 1 2...
Page 8: ......
Page 12: ......
Page 16: ...Section 2 Installation 2 4 025 9229C 1...
Page 18: ......
Page 34: ...Section 3 Tutorial 3 16 025 9229C 1...
Page 36: ......
Page 58: ......
Page 60: ......
Page 62: ......
Page 64: ......
Page 108: ...Appendix D CPS Menu Structure D 44 025 9229C 1...
Page 110: ......

