Section 3. Tutorial
025-9229C.1
3-9
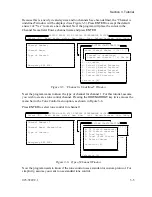
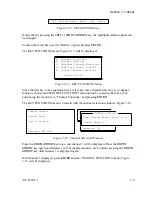
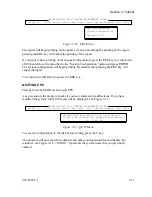
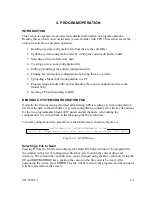
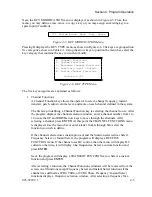
[D] Define Erase Move Copy Spare
Figure 3-12. KEY EDITING Menu
Notice that by pressing the
LEFT
or
RIGHT ARROW
keys, the highlighted menu option can
be changed.
Position the menu bar over the “Define” option and press
ENTER
.
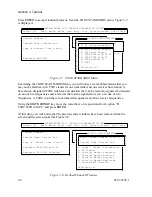
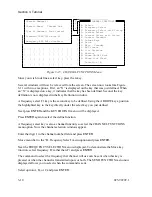
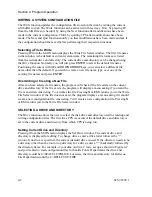
The KEY FUNCTIONS menu,
X
Figure 3-13
X
, will be displayed.
A. Channel Functions
B. System Functions
C. Extended Channel Functions
D. Auxiliary Input / Output
E. Custom Channel Functions
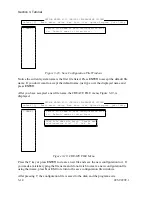
Selection [A]
Figure 3-13. KEY FUNCTIONS Menu
Since the first key to be programmed is a select key and a channel select key is a channel
function, choose the CHANNEL FUNCTIONS menu option by pressing the
A
key or by
positioning the menu bar to “Channel Functions” and pressing
ENTER
.
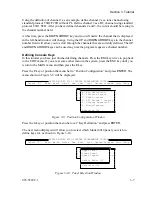
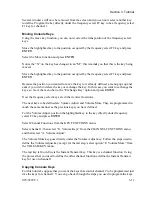
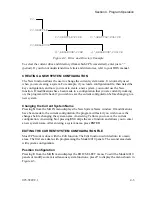
The KEY FUNCTIONS menu is overlaid with the channel selection windows,
X
Figure 3-14
X
.
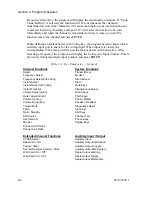
Channel Number:
Channel Name:
Type of Channel:
Emergency ANI ACK:
Position configuration
System configuration
Selection [P]
A. Key Definition
B. Audio Control
C. ANI Decode / Display
D. Display Operation
E. Miscellaneous
Selection [A]
Enter Channel Number from 1 to 14
Channel Number [ ]
CHANNEL FUNCTIONS
Figure 3-14. Channel Selection Windows
Press the
DOWN ARROW
key once, and channel 1 will be displayed. Press the
DOWN
ARROW
key again and channel 2 will be displayed and so on. Continue pressing the
DOWN
ARROW
key until channel 1 is displayed again.
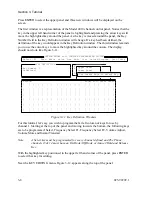
With channel 1 displayed, press
ENTER
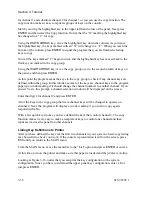
and the CHANNEL FUNCTIONS menu,
X
Figure
3-15
X
, will be displayed.
Summary of Contents for 4010
Page 2: ......
Page 4: ......
Page 7: ...1 INTRODUCTION HARDWARE REQUIREMENTS 1 1 DEFINITIONS 1 1 MANUALS 1 2...
Page 8: ......
Page 12: ......
Page 16: ...Section 2 Installation 2 4 025 9229C 1...
Page 18: ......
Page 34: ...Section 3 Tutorial 3 16 025 9229C 1...
Page 36: ......
Page 58: ......
Page 60: ......
Page 62: ......
Page 64: ......
Page 108: ...Appendix D CPS Menu Structure D 44 025 9229C 1...
Page 110: ......

