


Section 2. Installation
2-2
025-9229C.1
10.
11.
12.
13.
14.
15.
16.
17.
18.
1.
After a few seconds the COPY program will prompt you to insert the diskette for
drive A:; this means to remove the new diskette, insert the CPS master diskette, and
press
ENTER
. The COPY program may prompt you several times to insert diskette
for drive X, you only need to remember that the diskette for drive A: is the CPS
master diskette and the diskette for drive B: is the new diskette.
Skip to step 17.
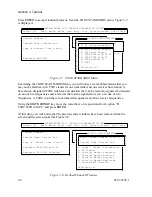
Format the blank diskette by typing
FORMAT B:/S
and pressing
ENTER
. This runs
the FORMAT program; the /S tells it to also copy DOS to the new diskette after
formatting.
The FORMAT program runs and displays “Insert new diskette for drive B:, and strike
ENTER when ready”. Insert the blank diskette into drive B: and press
ENTER
.
After a short delay, the diskette is formatted and DOS is transferred. You do not want
to format another diskette now, so press
N
to exit the FORMAT program.
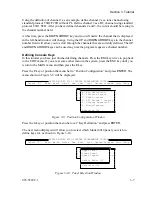
Copy the CPS master diskette to the new diskette by typing
COPY A: B:
and pressing
ENTER
.
The COPY program now copies the files from the CPS master diskette to the new
diskette.
When the files are copied, remove the CPS master diskette from drive A: and store it
in a cool, dry, safe place. Hopefully, you will never need it again.
Label the new diskette “Zetron Model 4010 CPS”
You have now created a working program diskette. Whenever you want to run the Model
4010 CPS program, type the following:
A: <ENTER>
4010
<ENTER>
Making a Working Directory (fixed disk system)
If your system has a fixed disk, follow the instructions in this subsection to make a working
directory on your fixed disk. This directory will contain the CPS and the data files the
program creates. If your system does not have a fixed disk, read the instructions in the
previous subsection, Making a Working Program Diskette (floppy diskette system).
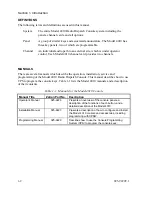
Note:
The following procedure will create a directory named CPS at the root level of
your fixed disk.
Insert the CPS master diskette into drive A: (label side up) and close the drive door.
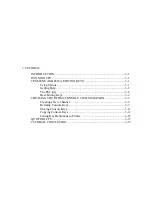
Summary of Contents for 4010
Page 2: ......
Page 4: ......
Page 7: ...1 INTRODUCTION HARDWARE REQUIREMENTS 1 1 DEFINITIONS 1 1 MANUALS 1 2...
Page 8: ......
Page 12: ......
Page 16: ...Section 2 Installation 2 4 025 9229C 1...
Page 18: ......
Page 34: ...Section 3 Tutorial 3 16 025 9229C 1...
Page 36: ......
Page 58: ......
Page 60: ......
Page 62: ......
Page 64: ......
Page 108: ...Appendix D CPS Menu Structure D 44 025 9229C 1...
Page 110: ......


