


Section 4. Program Operation
025-9229C.1
4-15
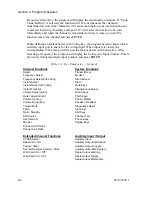
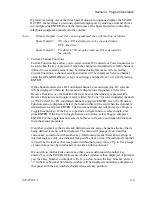
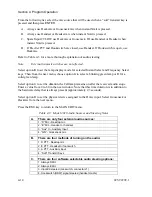
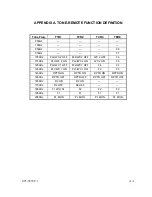
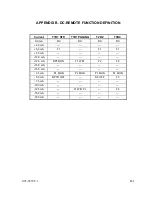
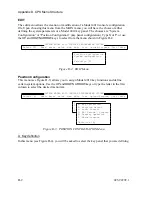
PTT Input
CPS
Audio Source
MIC SW
Spare 9
HSW
Audio Source
Aux. PTT
—
—
—
Aux. Audio
D PTT
—
—
—
Desk Mic
E PTT/Soft Tx
Always E
—
—
“E” Mic
E PTT/Soft Tx
Always D
—
—
“D” Mic/GN*
E PTT/Soft Tx
Mic Sw
Active
—
“E” Mic
E PTT/Soft Tx
Mic Sw
—
Inactive
“D” Mic/GN*
E PTT/Soft Tx
Hook Sw
—
Active
“E” Mic
E PTT/Soft Tx
Hook Sw
—
Inactive
“D” Mic/GN*
*Desk mic (“D” Mic) or gooseneck mic (GN) is selected in CPS Audio Source for Dynamic Mic.
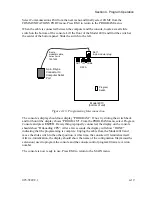
System Configuration
Communication channels, input/output ports, paging parameters, paging leading digit
assignment, priority marker definition, and transmit timeout are defined using the System
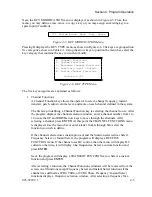
Configuration function. Select
E
from the MAIN menu and then select
S
from the EDIT
menu to display the SYSTEM CONFIGURATION menu.
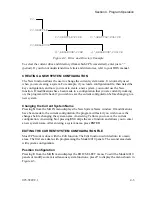
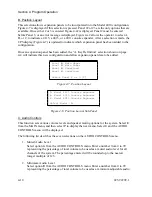
A. Channel Configuration
Select Channel Configuration from the SYSTEM CONFIGURATION menu to display the
Channel Definition window.
To define a new channel, enter a channel number from 1 to 14 and press
ENTER
. Note that
channel 13 and 14 are dedicated to the optional telephone interface card and cannot be
assigned to radio control channel cards. If the channel does not exist, the program will
prompt to “Create new channel”. Answering
Y
will create a new channel and place the cursor
in the channel name field. Enter a channel name and press
ENTER
. If the channel currently
exists, its channel name will be placed in the channel name field to be edited. Answering
N
or pressing the
ESC
key will return the cursor to the channel number field.
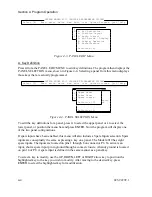
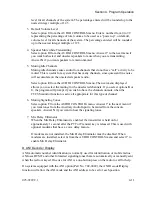
After entering the channel name, the CHANNEL CONTROL menu will be displayed. Three
types of channel control are available: DC, Tone, and Local. The Delete Channel option
allows a channel definition to be deleted from the system. Select the control type for the
channel and press
ENTER
.
If DC or Tone Control is selected, the next menu displayed is the PROTOCOL menu. Select
Standard or Custom and press
ENTER
. If standard is selected, then a RADIO
CONFIGURATION menu will be displayed. Select the configuration that applies to the
channel and press
ENTER
. The last three windows will be removed from the screen, and the
cursor will be placed in the channel number field of the channel definition window.
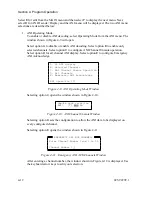
You may define another channel or press
ESC
to return to the SYSTEM CONFIGURATION
menu.
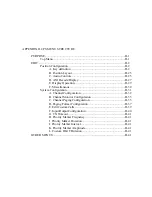
Summary of Contents for 4010
Page 2: ......
Page 4: ......
Page 7: ...1 INTRODUCTION HARDWARE REQUIREMENTS 1 1 DEFINITIONS 1 1 MANUALS 1 2...
Page 8: ......
Page 12: ......
Page 16: ...Section 2 Installation 2 4 025 9229C 1...
Page 18: ......
Page 34: ...Section 3 Tutorial 3 16 025 9229C 1...
Page 36: ......
Page 58: ......
Page 60: ......
Page 62: ......
Page 64: ......
Page 108: ...Appendix D CPS Menu Structure D 44 025 9229C 1...
Page 110: ......


