


Section 4. Program Operation
025-9229C.1
4-9
5.
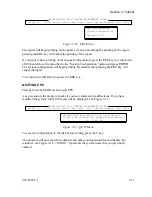
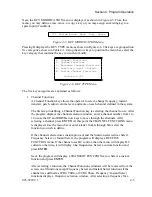
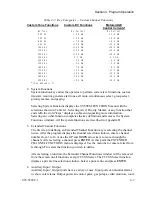
If present, selecting one of the three Spare Output menu options displays the SPARE
OUTPUT menu. Select a previously defined output port by entering a number from 1
to 8 and pressing
ENTER
. One of the main uses of the Spare Outputs is controlling
telephone equipment connected to the console.
Note:
If Spare Outputs 7 and 8 are not programmed, they will function as follows:
Spare Output 7: ON when ANI is displayed on the console display,
OFF
otherwise.
Spare Output 8: Produces a 500 ms pulse when an ANI is decoded by
the
console.
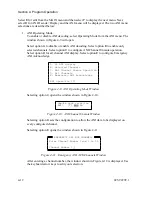
Custom Channel Functions
Custom Function keys allow you to select custom DC currents or Tone frequencies to
be sent when the key is pressed or when the channel is transmitted on. Only channels
defined to use custom protocol may be defined using this menu. After selecting
Custom Functions, a channel selection window will be displayed. Select a channel
using the
UP
and
DOWN
arrow keys or entering a number from 1 to 14 and pressing
ENTER
.
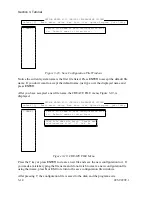
If the channel selected is a DC controlled channel, a menu displaying DC currents
will be displayed; otherwise the menu will display tone frequencies. Select the
Receive Function, i.e., the function that will be sent when the key is pressed. If a
Receive Function is not required, select either “No Tone” for tone controlled channels
or “No Current” for DC controlled channels, and press
ENTER
. Next, the Transmit
Function menu is displayed. Select the function that will be sent when the channel is
transmitted on and press
ENTER
. The next menu displayed will prompt for Single or
Toggle function key. If the key is to perform a single function, select Single, and
press
ENTER
. If the key is to toggle between two states, select Toggle, and press
ENTER
. For the toggle function, select another set of receive and transmit functions
from the menus presented.
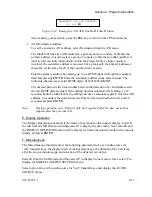
If another custom key that is already defined uses the same channel as the key that is
being defined, a menu will be displayed. The menu will prompt if you want this
custom key to interlock with another key. Interlocking means that within a group of
interlocking keys only one indicator lamp will be lit at a time. The indicator lamp that
is lit will be the last key that was pressed within that group of keys. Up to five groups
of custom keys may be interlocked at one time within a channel.
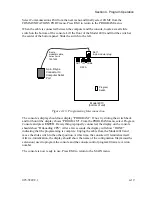
If you wish to interlock the custom key that you are defining with another key,
answer Yes to the INTERLOCK menu. Another window is then displayed; it prompts
you for a Key Number to interlock with. If you don’t know the Key Number, enter a
“?” in the Key Number field and a window will be displayed containing a diagram of
that panel with the key numbers displayed in each key position.
Summary of Contents for 4010
Page 2: ......
Page 4: ......
Page 7: ...1 INTRODUCTION HARDWARE REQUIREMENTS 1 1 DEFINITIONS 1 1 MANUALS 1 2...
Page 8: ......
Page 12: ......
Page 16: ...Section 2 Installation 2 4 025 9229C 1...
Page 18: ......
Page 34: ...Section 3 Tutorial 3 16 025 9229C 1...
Page 36: ......
Page 58: ......
Page 60: ......
Page 62: ......
Page 64: ......
Page 108: ...Appendix D CPS Menu Structure D 44 025 9229C 1...
Page 110: ......


