Section 3. Tutorial
3-4
025-9229C.1
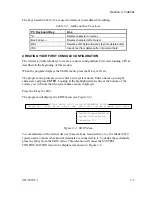
Select [E] Read Write drIve New Edit List Upload Program Quit ?Help
ZETRON MODEL 4010 CONSOLE PROGRAMMING SYSTEM
Position configuration
System configuration
Selection [P]
A. Channel Configuration
B. Channel Monitor Configuration
C. Channel Paging Configuration
D. Paging Format Configuration
E. Edit Custom Calls
F. Input / Output Configuration
G. TX Timeout
H. Priority Marker Frequency
I. Priority Marker Duration
J. Priority Marker Interval
K. Priority Marker Amplitude
L. Custom HLGT Duration
Selection [A]
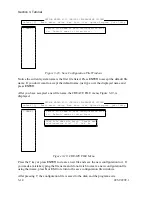
SYSTEM CONFIGURATION
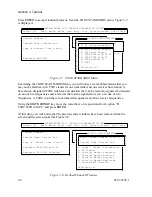
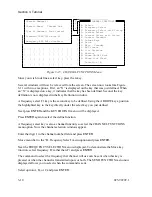
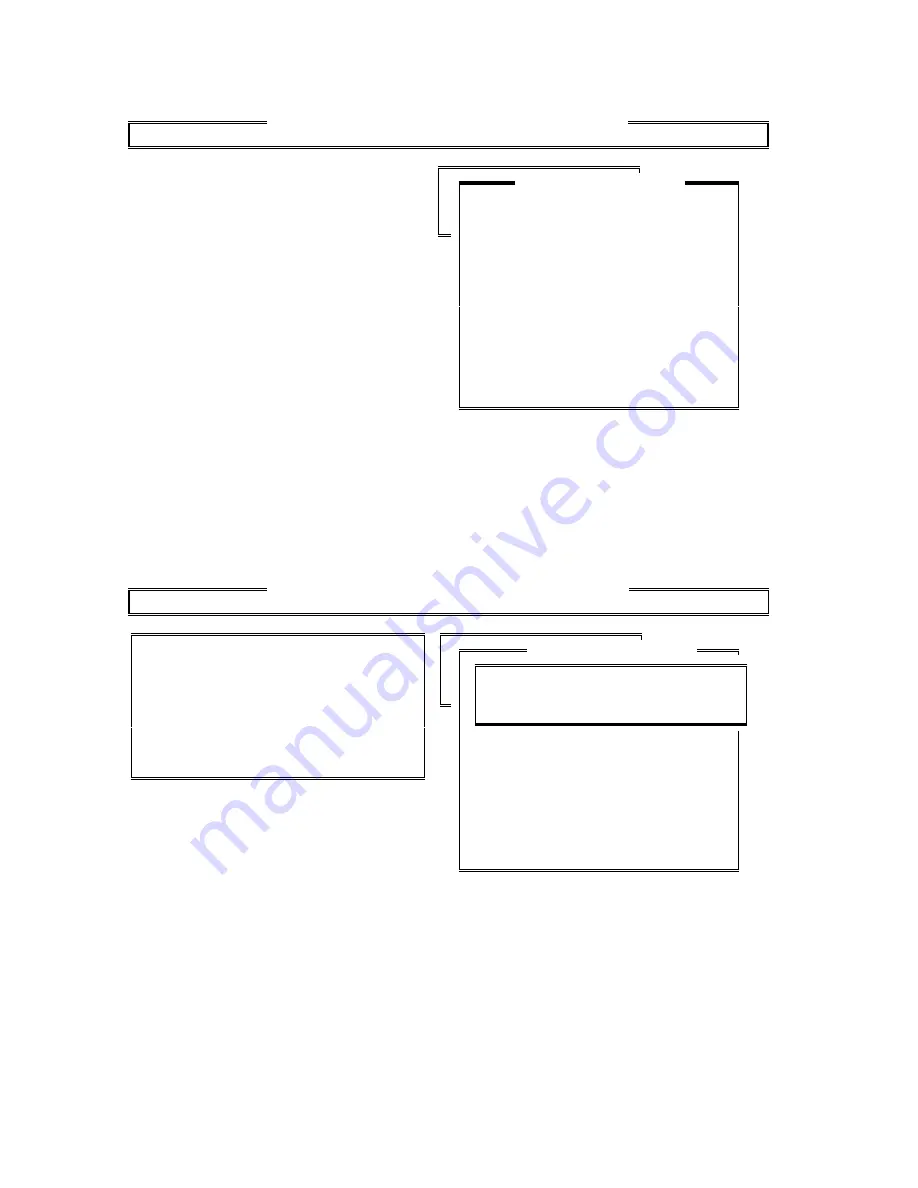
Figure 3-3. SYSTEM CONFIGURATION Menu
Pressing the
A
key or pressing
ENTER
will display two more windows. These are shown in
X
Figure 3-4
X
.
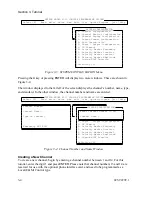
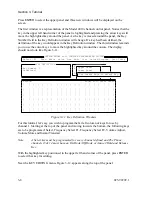
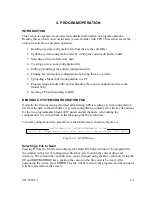
The window displayed to the far left of the screen displays the channel’s number, name, type,
and standard. In the other window, the channel number and name are entered.
Select [E] Read Write drIve New Edit List Upload Program Quit ?Help
ZETRON MODEL 4010 CONSOLE PROGRAMMING SYSTEM
Position configuration
System configuration
Selection [P]
A. Channel Configuration
B. Channel Monitor Configuration
C. Channel Paging Configuration
D. Paging Format Configuration
E. Edit Custom Calls
F. Input / Output Configuration
G. TX Timeout
H. Priority Marker Frequency
I. Priority Marker Duration
J. Priority Marker Interval
K. Priority Marker Amplitude
L. Custom HLGT Duration
Selection [A]
Channel Number:
Channel Name:
Type of Channel:
Emergency ANI ACK:
Enter Channel Number (1-14) [ ]
Channel Name [ ]
SYSTEM CONFIGURATION
Figure 3-4. Channel Number and Name Window
Creating a New Channel
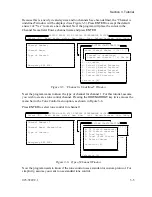
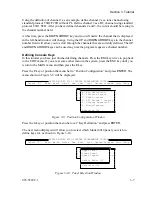
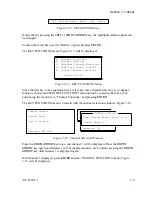
To create a new channel, begin by entering a channel number between 1 and 14. For this
tutorial, enter the digit
1
and press
ENTER
. Please note that channel numbers 13 and 14 are
reserved for use with the optional phone interface card, and need to be programmed as a
Local (E&M) Control type.
Summary of Contents for 4010
Page 2: ......
Page 4: ......
Page 7: ...1 INTRODUCTION HARDWARE REQUIREMENTS 1 1 DEFINITIONS 1 1 MANUALS 1 2...
Page 8: ......
Page 12: ......
Page 16: ...Section 2 Installation 2 4 025 9229C 1...
Page 18: ......
Page 34: ...Section 3 Tutorial 3 16 025 9229C 1...
Page 36: ......
Page 58: ......
Page 60: ......
Page 62: ......
Page 64: ......
Page 108: ...Appendix D CPS Menu Structure D 44 025 9229C 1...
Page 110: ......


