Section 3. Tutorial
3-12
025-9229C.1
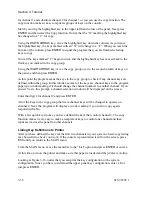
for channel 1 and substitute channel 2 for channel 1 or you can use the copy function. The
copy function makes it easy to replicate groups of keys on the console.
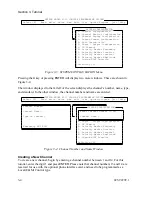
Start by moving the highlighted key to the upper left hand corner of the panel. Next press
ENTER
and then select the Copy function. Notice that the “X” marking the highlighted key
has changed to a “C” for copy.
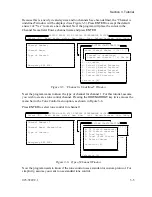
Using the
DOWN ARROW
key, move the highlighted key down the column. As you move
the highlighted key, the keys marked with an “X” will change to a “C”. When you reach the
bottom of the column, press
ENTER
to signal the program that you are finished selecting
keys to copy.
Now all the keys marked “C” begin to wink, and the highlighted key has moved back to the
first key you marked in the copy group.
Using the
RIGHT ARROW
key, move the copy group over to the second column of keys on
the panel, and then press
ENTER
.
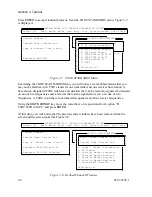
At this point the program scans the keys in the copy group to check if any channel keys are
defined within the group. In this tutorial, several of the keys are channel keys so the program
pops up a window asking if it should change the channel numbers to another channel. If you
answer Yes to this prompt, a channel selection window will be displayed on the screen.
Enter the digit 2 for channel 2 and press
ENTER
.
All of the keys in the copy group that were channel keys will be changed to operate on
channel 2. Next, the program will display a window asking if you wish to copy again,
respond with a No.
With a few quick key strokes, you have defined the keys that control channel 2. The copy
function makes it very easy to make a template of keys to control one channel and then
replicate it across the panel for other channels.
Listing Key Definitions to Printer
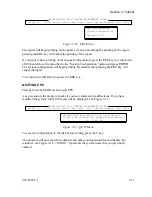
After you have defined the keys for the first two channels in your system, a hard-copy listing
may be useful to check your work. If the console representation is still on the screen, press
ESC
until you return to the MAIN menu.
From the MAIN menu, move the menu bar to the “List” option and press
ENTER
or enter
L
.
At this time, turn on the printer and make sure that paper is loaded and the printer is on-line.
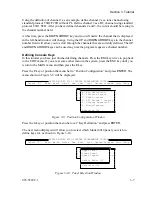
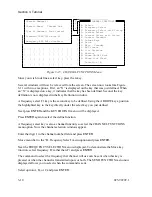
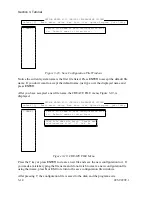
Looking at
X
Figure 3-16
X
, notice that you can print the key configuration or the system
configuration. Since you have just defined the upper panel key configuration, enter a
K
or
just press
ENTER
.
Summary of Contents for 4010
Page 2: ......
Page 4: ......
Page 7: ...1 INTRODUCTION HARDWARE REQUIREMENTS 1 1 DEFINITIONS 1 1 MANUALS 1 2...
Page 8: ......
Page 12: ......
Page 16: ...Section 2 Installation 2 4 025 9229C 1...
Page 18: ......
Page 34: ...Section 3 Tutorial 3 16 025 9229C 1...
Page 36: ......
Page 58: ......
Page 60: ......
Page 62: ......
Page 64: ......
Page 108: ...Appendix D CPS Menu Structure D 44 025 9229C 1...
Page 110: ......


