Chapter 3
Device Management
RUGGEDCOM ROX II
User Guide
84
Managing Event Trackers
1
2
3
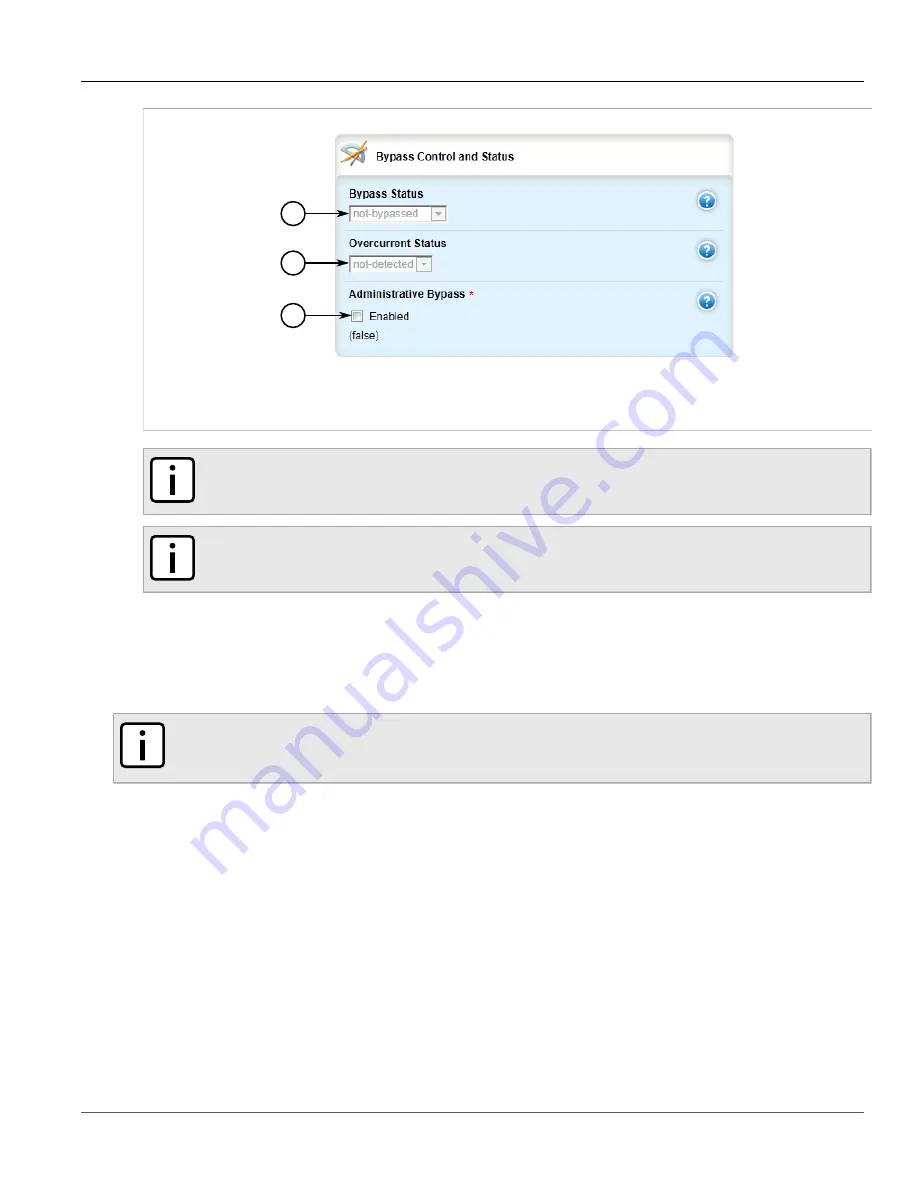
Figure 86: Bypass Control and Status Form
1.
Bypass Status List
2.
Overcurrent Status List
3.
Administrative Bypass Check Box
NOTE
The default status is not bypassed.
NOTE
After enabling bypass mode, LED on Port 1 and Port 2 of the M12 Line Module will turn yellow.
4. Select the
Administrative Bypass
check box to enable controlled bypass, or clear the check box to disable
it.
5. Click
Commit
to save the changes or click
Revert All
to abort. A confirmation dialog box appears. Click
OK
to proceed.
6. Click
Exit Transaction
or continue making changes.
NOTE
When controlled bypass is enabled, the bypass status changes automatically from not bypassed to
forced bypass.
If controlled bypass is enabled, test the bypass control by doing the following:
1. Start sending Ethernet traffic from the traffic generator. The receiving side will receive traffic without any data
loss.
2. Power down the defective router. The receiving side will receive the traffic without any data loss.
Section 3.17
Managing Event Trackers
Trackers monitor the availability of hosts or devices by periodically transmitting ICMP messages (or pings). Based
on the ICMP results, the tracker updates operational data with the status of the host or device as it changes (i.e.
between "up " and "down" states). Other parts of the system can then subscribe to the operational data to be
notified when changes take place.
Summary of Contents for RUGGEDCOM RX1510
Page 32: ...RUGGEDCOM ROX II User Guide Preface Customer Support xxxii ...
Page 44: ...RUGGEDCOM ROX II User Guide Chapter 1 Introduction User Permissions 12 ...
Page 62: ...RUGGEDCOM ROX II User Guide Chapter 2 Using ROX II Using the Command Line Interface 30 ...
Page 268: ...RUGGEDCOM ROX II User Guide Chapter 4 System Administration Deleting a Scheduled Job 236 ...


