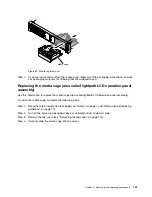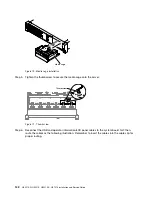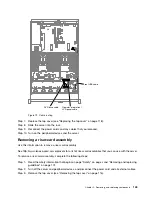
• Make sure that cables are not routed on top of components that are under the riser-card
assembly.
• Make sure that cables are not pinched by the server components.
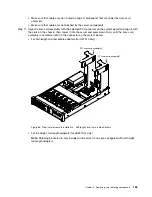
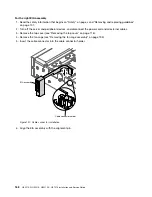
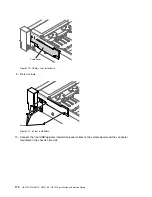
Step 11. Align the riser-card assembly with the selected PCI connector on the system board and align it with
the slots on the chassis; then, lower it into the server and press down firmly until the riser-card
assembly is seated correctly in the connector on the system board.
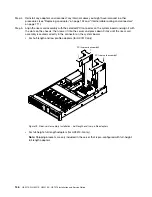
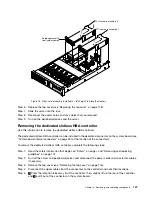
• For half-length and low profile adapters (for HX7510 only)
0
0
0
0
0
0
0
0
0
000
000
000
000
000
000
000
000
0
0
0
0
0
0
0
0
00
00
00
00
00
00
00
00
00
00
00000
00000
00000
00000
PCI riser-card assembly2
PCI riser-card assembly1
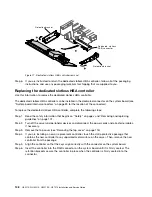
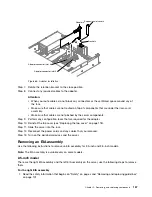
Figure 86. Riser-card assembly installation - half-length and low profile adapters
• For full-height, full-length adapters (for HX3510-G only)
Note:
Shipping brackets are only included in the server that is pre-configured with full-height,
full-length adapters
.
Removing, and replacing components
155
Summary of Contents for HX3510-G
Page 1: ...HX3510 G HX5510 HX5510 C HX7510 Installation and Service Guide Machine Type 8695 ...
Page 6: ...iv HX3510 G HX5510 HX5510 C HX7510 Installation and Service Guide ...
Page 62: ...50 HX3510 G HX5510 HX5510 C HX7510 Installation and Service Guide ...
Page 102: ...90 HX3510 G HX5510 HX5510 C HX7510 Installation and Service Guide ...
Page 112: ...100 HX3510 G HX5510 HX5510 C HX7510 Installation and Service Guide ...
Page 1222: ...1210 HX3510 G HX5510 HX5510 C HX7510 Installation and Service Guide ...
Page 1238: ...1226 HX3510 G HX5510 HX5510 C HX7510 Installation and Service Guide ...
Page 1239: ......
Page 1240: ......

