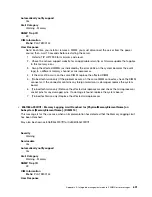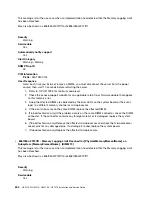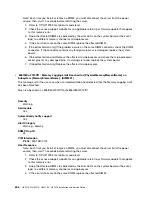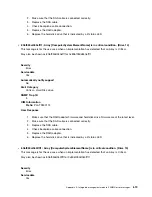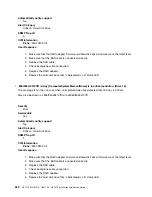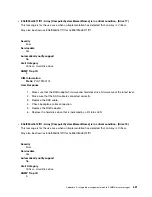
Note: Each time you install or remove a DIMM, you must disconnect the server from the power
source; then, wait 10 seconds before restarting the server.
1. Refer to TIP H212293 for minimum code level.
2. Check the Lenovo support website for an applicable retain tip or firmware update that applies
to this memory error.
3. Swap the affected DIMMs (as indicated by the error LEDs on the system board or the event
logs) to a different memory channel or microprocessor.
4. If the error still occurs on the same DIMM, replace the affected DIMM.
5. (Trained technician only) If the problem occurs on the same DIMM connector, check the DIMM
connector. If the connector contains any foreign material or is damaged, replace the system
board.
6. (Trained technician only) Remove the affected microprocessor and check the microprocessor
socket pins for any damaged pins. If a damage is found, replace the system board.
7. (Trained technician only) Replace the affected microprocessor.
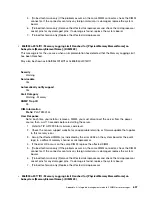
•
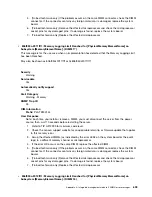
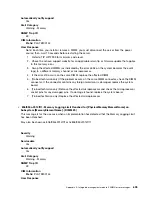
806f050c-2015ffff : Memory Logging Limit Reached for [PhysicalMemoryElementName] on
Subsystem [MemoryElementName]. (DIMM 21)
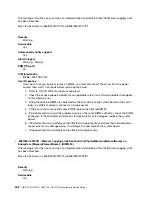
This message is for the use case when an implementation has detected that the Memory Logging Limit
has been Reached.
May also be shown as 806f050c2015ffff or 0x806f050c2015ffff
Severity
Warning
Serviceable
Yes
Automatically notify support
Yes
Alert Category
Warning - Memory
SNMP Trap ID
43
CIM Information
Prefix:
PLAT
ID:
0144
User Response
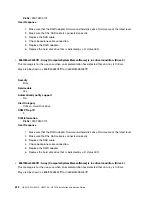
Note: Each time you install or remove a DIMM, you must disconnect the server from the power
source; then, wait 10 seconds before restarting the server.
1. Refer to TIP H212293 for minimum code level.
2. Check the Lenovo support website for an applicable retain tip or firmware update that applies
to this memory error.
3. Swap the affected DIMMs (as indicated by the error LEDs on the system board or the event
logs) to a different memory channel or microprocessor.
4. If the error still occurs on the same DIMM, replace the affected DIMM.
606
HX3510-G, HX5510, HX5510-C, HX7510 Installation and Service Guide
Summary of Contents for HX3510-G
Page 1: ...HX3510 G HX5510 HX5510 C HX7510 Installation and Service Guide Machine Type 8695 ...
Page 6: ...iv HX3510 G HX5510 HX5510 C HX7510 Installation and Service Guide ...
Page 62: ...50 HX3510 G HX5510 HX5510 C HX7510 Installation and Service Guide ...
Page 102: ...90 HX3510 G HX5510 HX5510 C HX7510 Installation and Service Guide ...
Page 112: ...100 HX3510 G HX5510 HX5510 C HX7510 Installation and Service Guide ...
Page 1222: ...1210 HX3510 G HX5510 HX5510 C HX7510 Installation and Service Guide ...
Page 1238: ...1226 HX3510 G HX5510 HX5510 C HX7510 Installation and Service Guide ...
Page 1239: ......
Page 1240: ......


