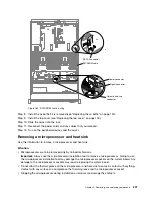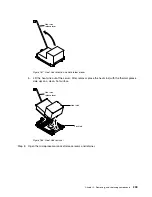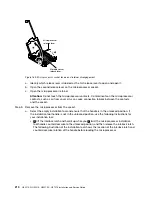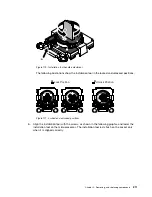
Step 1.
Read the safety information that begins on “Safety” on page v and “Removing and replacing
guidelines” on page 101.
Step 2.
Turn off the server and peripheral devices and disconnect the power cords and all external cables.
Step 3.
Remove the top cover (see “Removing the top cover” on page 116).
Step 4.
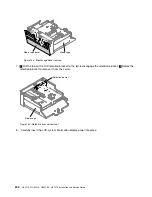
Touch the static-protective package that contains the SATADOM and bracket to any unpainted
metal surface on the server; then, remove the SATADOM and bracket from the package.
Step 5.
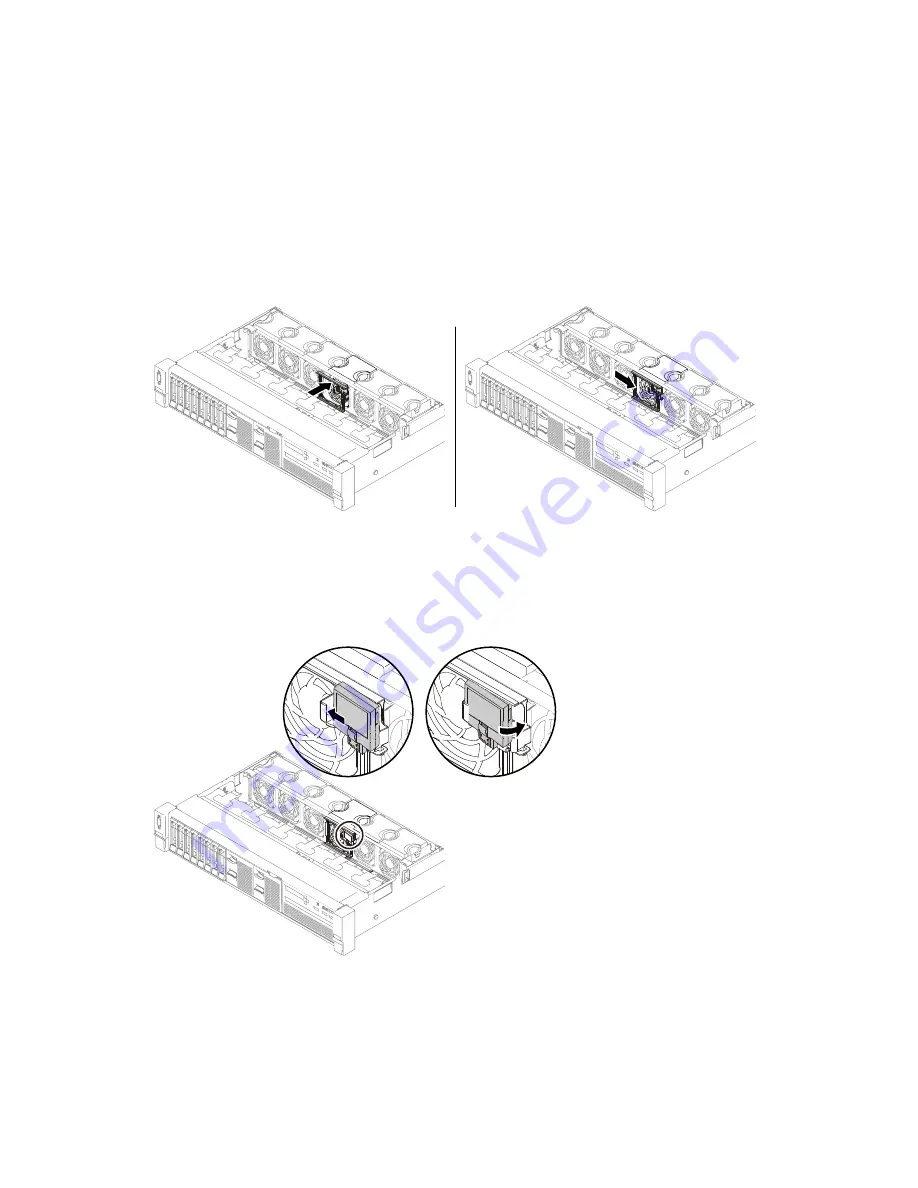
Align the bracket with the fan cage and press the bracket onto the fan cage surface (fan 2 location).
Then slide the bracket to the right until it snaps into position.
00
00
00
00
00
00
00
00
00
00
00
00
000000
000000
000000
000000
000000
00
00
00
00
00
00
00
00
000000
000000
000000
000000
000000
Figure 163. SATADOM bracket installation
Step 6.
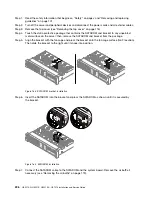
Insert the SATADOM into the bracket and press the SATADOM as shown until it is secured by
the bracket.
0000000000000000000000
0000000000000000000000
0000000000000000000000
0000000000000000000000
0000000000000000000000
0000000000000000000000
0000000000000000000000
0000000000000000000000
0000000000000000000000
0000000000000000000000
0000000000000000000000
0000000000000000000000
0000000000000000000000
0000000000000000000000
0000000000000000000000
0000000000000000000000
0000000000000000000000
0000000000000000000000
0000000000000000000000
0000000000000000000000
0000000000000000000000
0000000000000000000000
0000000000000000000000
0000000000000000000000
0000000000000000000000
0000000000000000000000
0000000000000000000000
0000000000000000000000
0000000000000000000000
0000000000000000000000
0000000000000000000000
0000000000000000000000
0000000000000000000000
0000000000000000000000
00
00
00
00
00
00
00
00
0000
0000
0000
0000
0000
0000
0
0
0
0
0
0
00
00
00
00
00
00
00
00
000000
000000
000000
000000
000000
Figure 164. SATADOM installation
Step 7.
Connect the SATADOM cable to the SATADOM and the system board. Remove the air baffle if
necessary (see “Removing the air baffle” on page 119).
206
HX3510-G, HX5510, HX5510-C, HX7510 Installation and Service Guide
Summary of Contents for HX3510-G
Page 1: ...HX3510 G HX5510 HX5510 C HX7510 Installation and Service Guide Machine Type 8695 ...
Page 6: ...iv HX3510 G HX5510 HX5510 C HX7510 Installation and Service Guide ...
Page 62: ...50 HX3510 G HX5510 HX5510 C HX7510 Installation and Service Guide ...
Page 102: ...90 HX3510 G HX5510 HX5510 C HX7510 Installation and Service Guide ...
Page 112: ...100 HX3510 G HX5510 HX5510 C HX7510 Installation and Service Guide ...
Page 1222: ...1210 HX3510 G HX5510 HX5510 C HX7510 Installation and Service Guide ...
Page 1238: ...1226 HX3510 G HX5510 HX5510 C HX7510 Installation and Service Guide ...
Page 1239: ......
Page 1240: ......

