Configuration
92
12. Highlight the second box beside
Temperature Threshold
, and press
. Select
either
°C (Celsius)
or
°F (Fahrenheit)
, and press
.
Note
The box beside
Last Check-Time
displays the Date and Time of
the last S.M.A.R.T. check.
13. Highlight
OK
, and press
to accept the changes. Selecting
Cancel
exits the
screen without saving the changes.
14. Highlight the
Actions
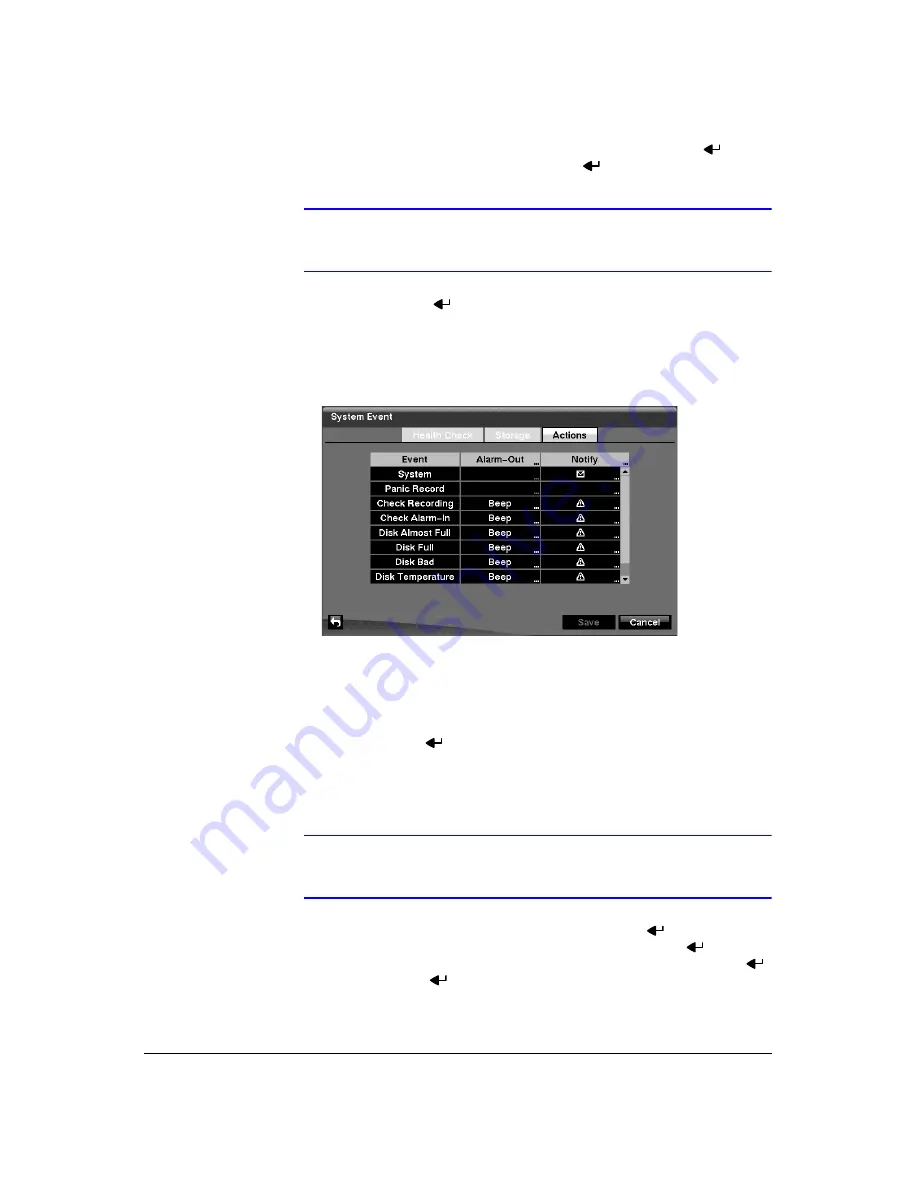
tab and the System Event Actions screen (
displays.
Figure 3-79
System Event Actions Screen
The DVR can be setup to react to system events. System events can be
associated with an Alarm-Out connector, sound the DVR’s internal buzzer, and/or
notify a number of different devices.
15. Highlight the
Alarm-Out
box beside the desired event (
Check Recording
,
Check
Alarm-In
,
Disk Almost Full
,
Disk Full
,
Disk Bad
,
Disk Temperature
, or
Disk
S.M.A.R.T.
), and press
. A list of Alarm Outputs appears. You can associate as
many Alarm-Outs with the Event as you wish. If the DVR detects that event, it
triggers output signals on all the associated Alarm-Out connectors. You can also
have the DVR’s internal buzzer sound if an event is detected.
Note
Alarm-Out
action cannot be set to System and Panic Record
events.
16. Highlight the
Notify
box beside the desired event and press
. You can toggle
the entire list On and Off by highlighting
Notification
and pressing
. You can
toggle the individual items On and Off by highlighting that item and pressing
.
Highlight
OK
and press
to accept your changes.
Summary of Contents for HRXD16
Page 8: ...Contents 8 ...
Page 20: ...Introduction 20 ...
Page 32: ...Installation 32 ...
Page 126: ...Text In Search Examples 126 ...
Page 130: ...Reviewing Video Clips 130 ...
Page 138: ...WebGuard 138 ...
Page 140: ...Time Overlap 140 ...
Page 142: ...Troubleshooting 142 ...
Page 145: ...Map of Screens Document 900 0856 Rev 3 00 145 11 07 H Map of Screens ...
Page 146: ...Map of Screens 146 ...
Page 148: ...System Log Notices 148 ...
Page 154: ...Specifications 154 ...
Page 155: ......


