Configuration
Document 900.0856
Rev 3.00
77
11/07
You can set the actions the DVR will take whenever it senses an input on one of its
alarm input connectors.
7.
Highlight the desired box under the
Record
heading, and press
. A list of
cameras appears. Select the cameras that you want the DVR to record whenever
it detects an input on the associated alarm input.
Note
For the Record action, the camera you select should be set to
the Event or Time & Event recording mode in the Record
Schedule setup screen.
8.
Highlight the desired box under the
Alarm-Out
heading, and press
. A list of
Alarm Outputs and
Beep
appear. Select the Alarm Output connectors that you
would like to activate whenever the DVR detects an input on the associated alarm
input. You can also set the DVR’s internal buzzer to sound.
Note
For the Alarm-Out action, the alarm output and beep you select
should be set to the Event mode in the Alarm-Out setup screen,
Schedule tab (see
,
9.
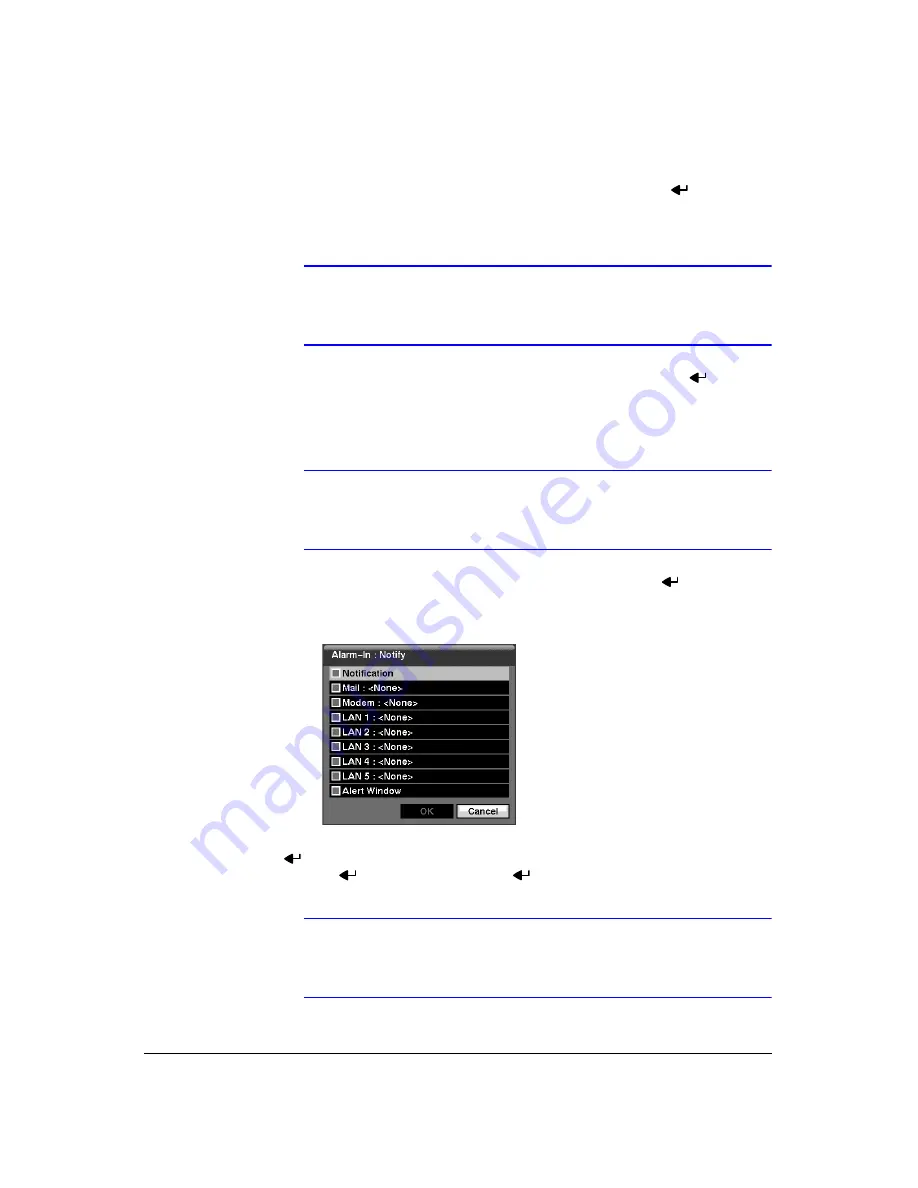
Highlight the desired box under the
Notify
heading, and press
. The Alarm-In
Notify menu (
) appears.
Figure 3-57
Alarm-In Notify Menu
10. You can toggle the entire list On and Off by highlighting
Notification
and pressing
. You can toggle the individual items On and Off by highlighting that item and
pressing .
Highlight
OK
and press
to accept your changes.
Note
For the Notify action, the notify item you select should be
enabled in the Notification setup screen and the DVR should be
registered in the RAS (Remote Administration System).
Summary of Contents for HRXD16
Page 8: ...Contents 8 ...
Page 20: ...Introduction 20 ...
Page 32: ...Installation 32 ...
Page 126: ...Text In Search Examples 126 ...
Page 130: ...Reviewing Video Clips 130 ...
Page 138: ...WebGuard 138 ...
Page 140: ...Time Overlap 140 ...
Page 142: ...Troubleshooting 142 ...
Page 145: ...Map of Screens Document 900 0856 Rev 3 00 145 11 07 H Map of Screens ...
Page 146: ...Map of Screens 146 ...
Page 148: ...System Log Notices 148 ...
Page 154: ...Specifications 154 ...
Page 155: ......


