2 Installation Manual
- 36 -
9) Select a name for the shortcut appears. Type ccrstart.bat. Click Finish.
10) Close the Taskbar Properties window, and login again to Windows NT.
Start
Æ
Shut Down Windows NT
Æ
Close all programs and log off.
11) After restarting the computer, make sure that the CXDI application starts up.
(4) Changing the window size
1) With the CXDI application open in step 11) above, use the keyboard to enter debugging
mode. (Use [Alt] + [Tab].)
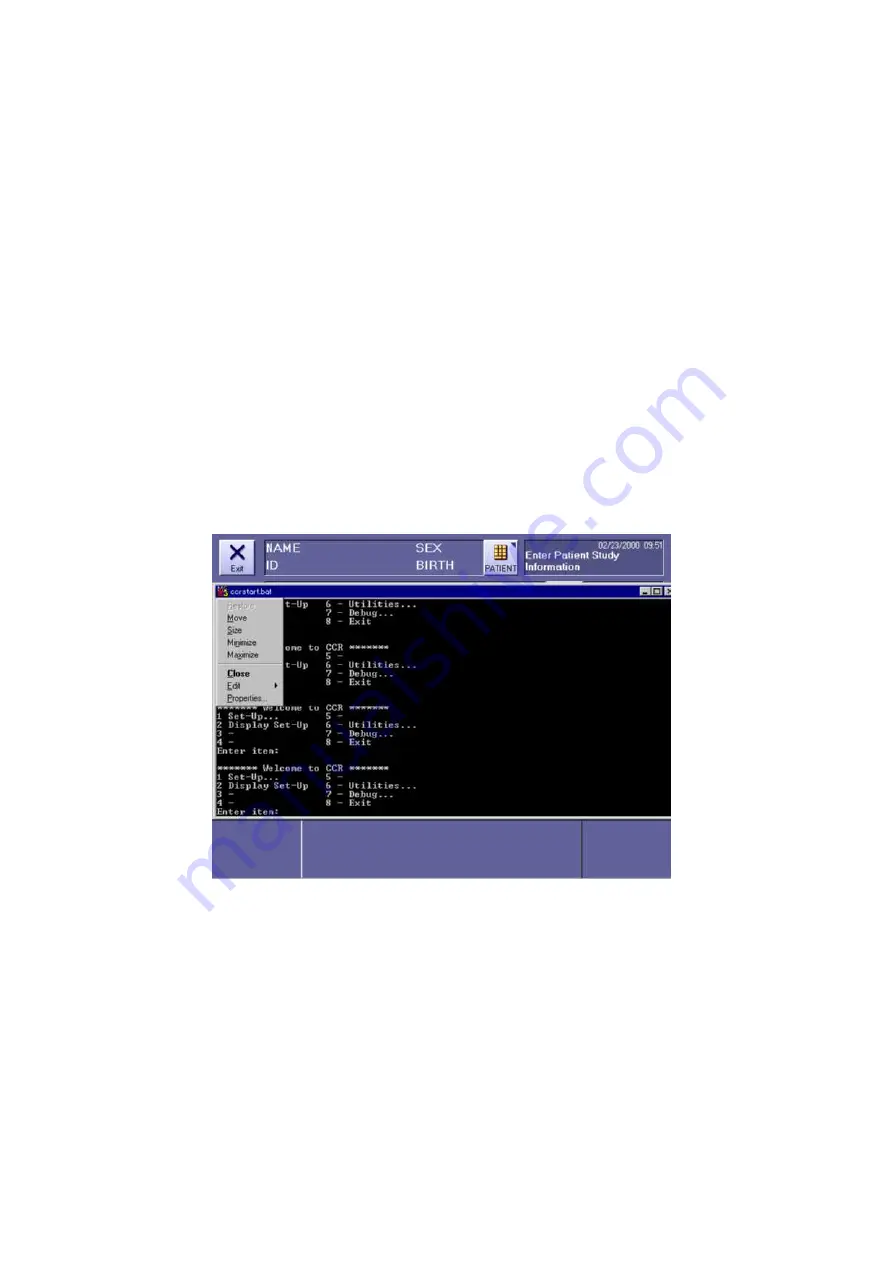
2) The command prompt screen is displayed. Click the icon at the top left.
3) A drop-down menu is displayed. Select Properties from this menu. [Fig 1]
[Fig 1]
4) The screen displays “Ccrstart.bat ”Properties. Click the Font tab, and then change Size
to 7x12.
5) Click the Layout tab, change Height for the Screen Buffer Size to 5000, and then click
[OK].
6) The screen displays Apply Properties to Shortcut. Add a checkmark to Modify shortcut
which started this window, and then click [OK].
Summary of Contents for CXDI-31
Page 11: ...Labels and Markings Rear iii ...
Page 14: ...Labels and Markings Rear vi ...
Page 18: ......
Page 20: ......
Page 34: ...2 Installation Manual No 7 No Name E O power connector guard Name Remarks Remarks Table 3 8 ...
Page 46: ...2 Installation Manual 20 2 Set up on the left side Screw x 4 on the E O box Fig 9 Fig 10 ...
Page 151: ...2 Installation Manual 125 8 1 3 Storage Box Fig 3 ...
Page 152: ...2 Installation Manual 126 8 2 Option 8 2 1 Grid L 21 8mm 4 1 22 3mm 8 1 22 5mm 10 1 Fig 4 ...
Page 157: ...3 CXDI 31 Imaging Unit 1 1 Unit Diagram Fig 1 DC DC Conversion Board ...
Page 184: ......
Page 186: ......
Page 187: ...4 CXDI 31 E O Box 1 CXDI 31 E O Box Unit Diagram Fig 1 1 ...
Page 198: ......


