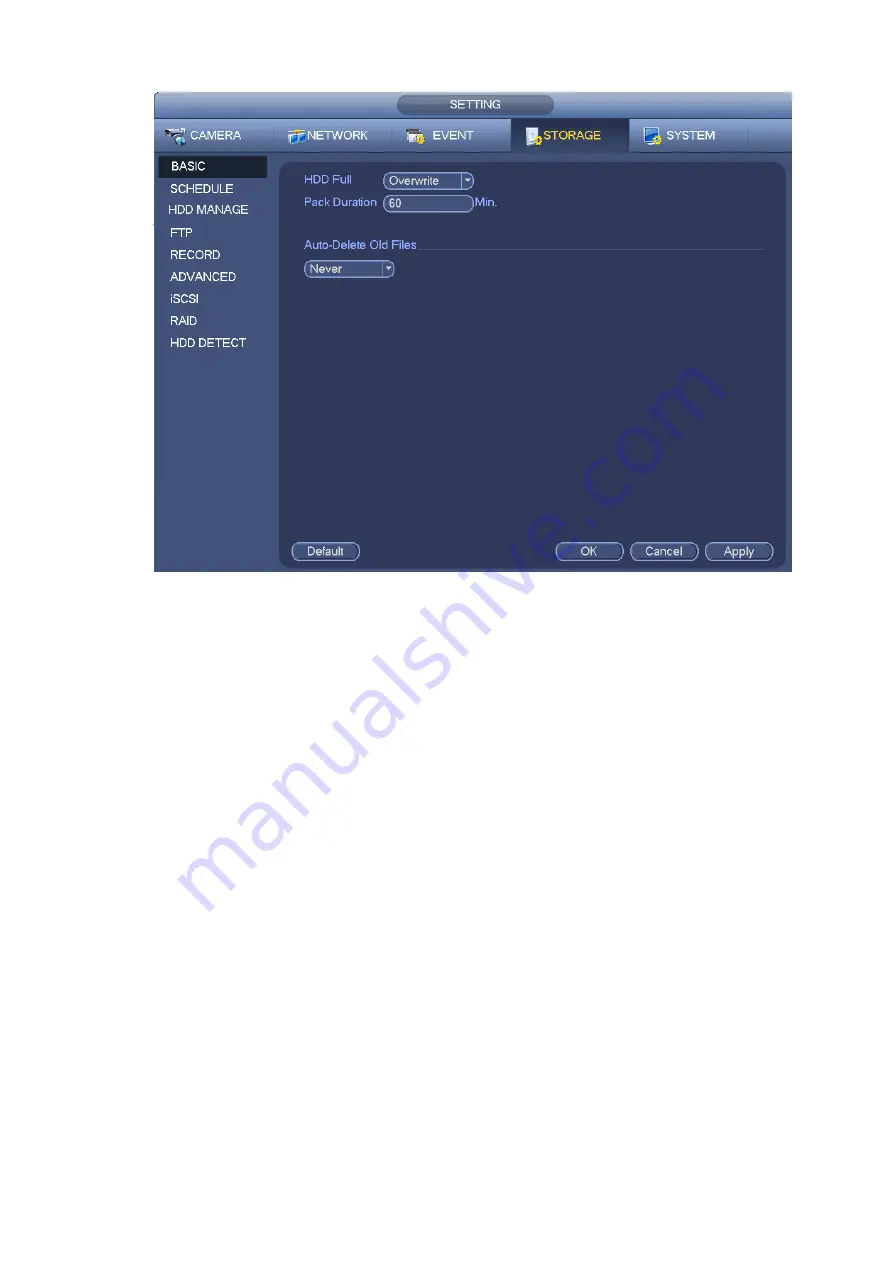
Figure 3-191
Step 2 Set parameters.
HDD full: It is to select working mode when hard disk is full. There are two options: stop recording or
rewrite.
Pack duration: It is to specify record duration. The max length is 120 minutes.
Auto delete old files:
Never: Do not auto delete old files.
Customized: input customized period here and system can auto delete corresponding old files.
The deleted file cannot be restored.
Step 3 Click Apply or Save to complete setup.
3.12.2
Schedule
It is to set schedule record and schedule snapshot. NVR can record or snapshot as you specified. For
detailed information, please refer to chapter 3.4.6.1 schedule record and 3.4.6.2 schedule snapshot.
3.12.3
HDD
It is to view and sett HDD properties and format HDD.
It is to view current HDD type, status, capacity and etc. The operation includes format HDD, and change
HDD property (read and write/read-only/redundancy).
To prevent files be overwritten in the future, you can set HDD as read -only.
To backup recorded video file, you can set HDD as redundant HDD.
Step 1 From Mani-menu->Setting->Storage->HDD Manager, you can go to HDD management interface.
Содержание ELITE Network IP Series
Страница 1: ...64 Channel 4K Hot Swap NVR NVR ELHS 64 4K DH...
Страница 43: ...Figure 3 14 Step 2 Click Add new holiday button and device displays the following interface See Figure 3 15...
Страница 108: ...Figure 3 92 Figure 3 93...
Страница 131: ...Figure 3 111 Figure 3 112 Figure 3 113...
Страница 144: ...Figure 3 126 Figure 3 127...
Страница 146: ...Figure 3 129 Click draw button to draw the zone See Figure 3 130 Figure 3 130...
Страница 149: ...Figure 3 133 Click Draw button to draw a zone See Figure 3 134 Figure 3 134...
Страница 154: ...Figure 3 139 Click draw button to draw the zone See Figure 3 140...
Страница 165: ...Figure 3 151 Step 2 Add surveillance scene 1 Click Add The Add interface is displayed See Figure 3 152...
Страница 172: ...Figure 3 157 Figure 3 158...
Страница 173: ...Figure 3 159 Figure 3 160...
Страница 176: ...Figure 3 164 Figure 3 165...
Страница 211: ...Figure 3 199...
Страница 218: ...Figure 3 206 Step 2 Click Add user button in Figure 3 206 The interface is shown as in Figure 3 207 Figure 3 207...
Страница 234: ...Figure 3 227 Step 2 Click Add group Enter add group interface See Figure 3 228 Figure 3 228...
Страница 298: ...Figure 4 56 Figure 4 57...
Страница 304: ...Figure 4 62 Figure 4 63...
Страница 305: ...Figure 4 64 Figure 4 65...
Страница 330: ...Figure 4 101 Figure 4 102...
Страница 339: ...Figure 4 115 Figure 4 116...
Страница 359: ...Figure 4 144 Note For admin you can change the email information See Figure 4 145...


