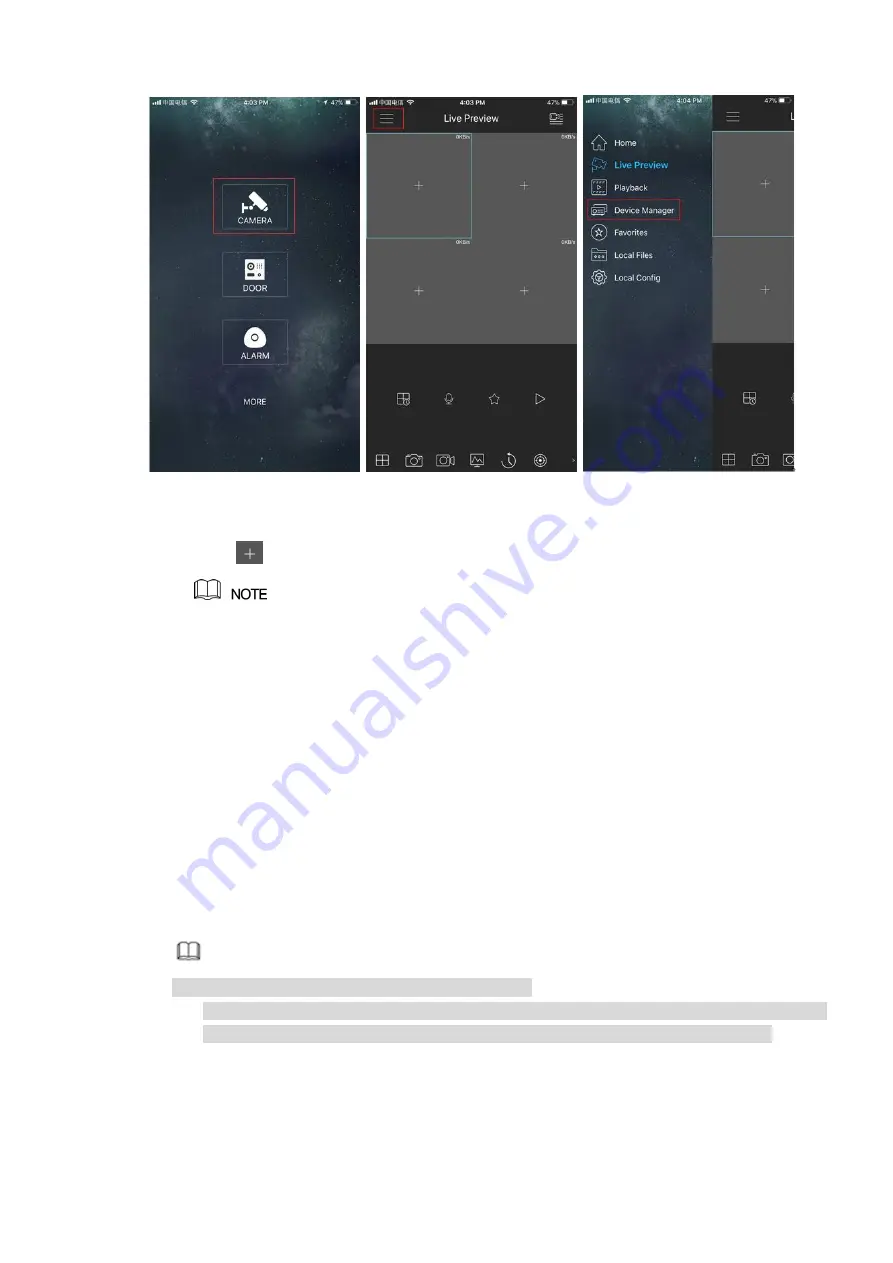
Figure 3-20
2)
Click
and enter the Add Device interface.
Mobile App supports device initialization.
3)
Select Wired Device > P2P to enter the P2P interface.
4)
Click the QR code icon behind the SN to enter the QR code scan interface.
5)
Scan the device label or scan the SN QR code got by entering from main menu > Setup >
Network > P2P. When the scan is successful, the device SN will be displayed in the SN item.
6)
Enter name and password.
Step 4 After device registraion on mobile App, click Start Preview and you can see the monitor screen.
3.4.4
Registration
After add remote device, the device can receive, storage, and manage the video streams of the remote
device. You can view, browse, playback, manage several remote devices at the same time.
Step 1 On the P2P interface, click Next button.
Enter Registration interface. See Figure 3-21
Note
There are two ways to go to Registration interface.
From main menu>Setting>Camera>Registration, you can go to the registration interface.
On the preview interface, right click mouse and then select Camera Registration.
Содержание ELITE Network IP Series
Страница 1: ...64 Channel 4K Hot Swap NVR NVR ELHS 64 4K DH...
Страница 43: ...Figure 3 14 Step 2 Click Add new holiday button and device displays the following interface See Figure 3 15...
Страница 108: ...Figure 3 92 Figure 3 93...
Страница 131: ...Figure 3 111 Figure 3 112 Figure 3 113...
Страница 144: ...Figure 3 126 Figure 3 127...
Страница 146: ...Figure 3 129 Click draw button to draw the zone See Figure 3 130 Figure 3 130...
Страница 149: ...Figure 3 133 Click Draw button to draw a zone See Figure 3 134 Figure 3 134...
Страница 154: ...Figure 3 139 Click draw button to draw the zone See Figure 3 140...
Страница 165: ...Figure 3 151 Step 2 Add surveillance scene 1 Click Add The Add interface is displayed See Figure 3 152...
Страница 172: ...Figure 3 157 Figure 3 158...
Страница 173: ...Figure 3 159 Figure 3 160...
Страница 176: ...Figure 3 164 Figure 3 165...
Страница 211: ...Figure 3 199...
Страница 218: ...Figure 3 206 Step 2 Click Add user button in Figure 3 206 The interface is shown as in Figure 3 207 Figure 3 207...
Страница 234: ...Figure 3 227 Step 2 Click Add group Enter add group interface See Figure 3 228 Figure 3 228...
Страница 298: ...Figure 4 56 Figure 4 57...
Страница 304: ...Figure 4 62 Figure 4 63...
Страница 305: ...Figure 4 64 Figure 4 65...
Страница 330: ...Figure 4 101 Figure 4 102...
Страница 339: ...Figure 4 115 Figure 4 116...
Страница 359: ...Figure 4 144 Note For admin you can change the email information See Figure 4 145...


