Step 3 Click OK.
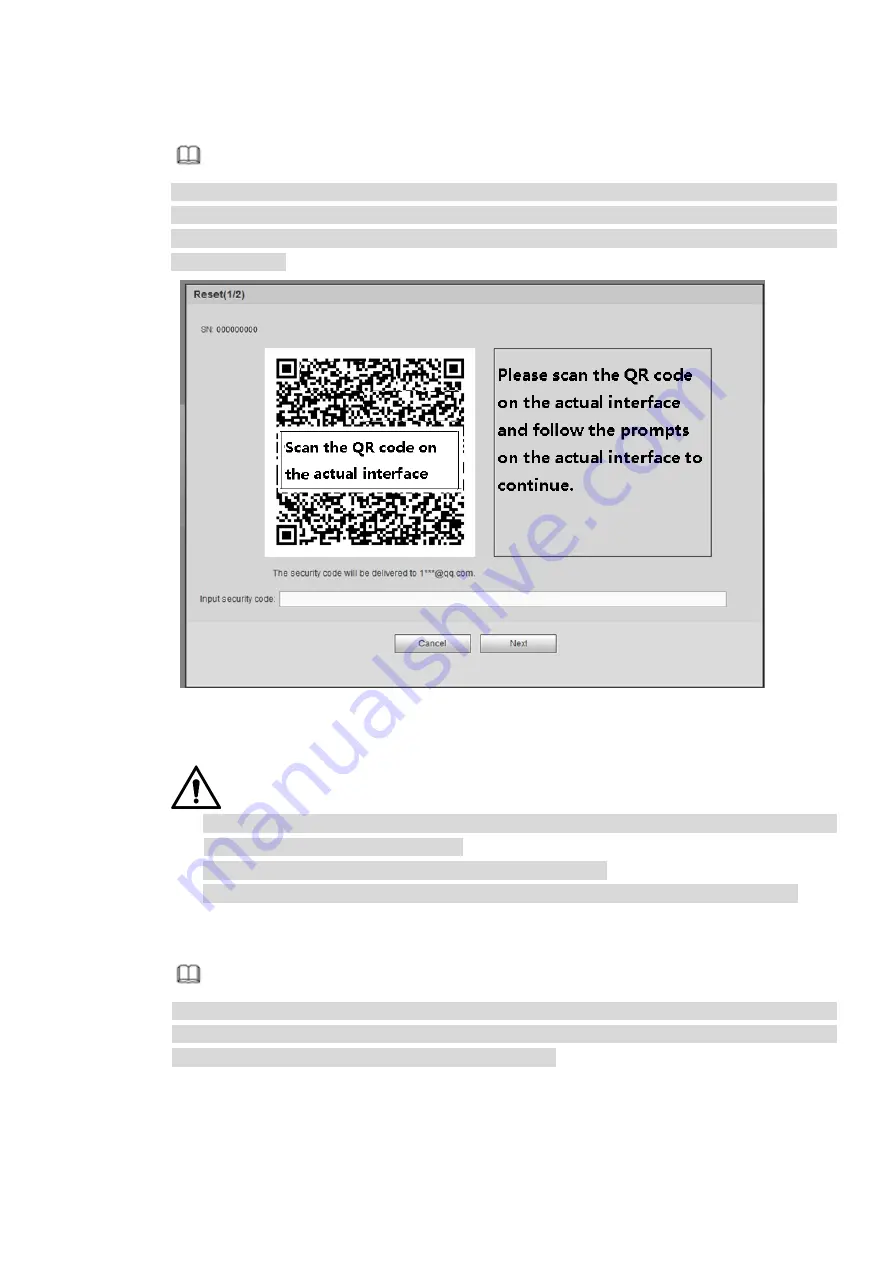
System enters the following interface. See Figure 4-14.
Note
After clicking OK, we will collect your personal information such as cell phone number, MAC
address and device serial number. The collected information is used for verifying device legality
and sending security code. Please read the notice carefully and confirm if you agree with the
collection or not.
Figure 4-14
Step 4 Follow the prompts on the interface and then scan the QR code to get the security code.
CAUTION
For the same QR code, max scan twice to get two security codes. Refresh the QR code if
you want to get security code again.
The security code on you email is only valid for 24 hours.
After five times security code failure, the
admin
account will be locked for 5 minutes.
Step 5 Input the security code in the email and then click Next button.
Step 6 Input new password and then confirm.
Note
The password can be set from 8 characters through 32 characters and contain at least two types
from number, letter and special character (excluding"'", """, ";", ":" and "&"). It is recommended to
set password of high security according to the prompts.
Step 7 Click OK button to complete the setup.
4.5 Preview
4.5.1
Real-time Monitor channel
Содержание ELITE Network IP Series
Страница 1: ...64 Channel 4K Hot Swap NVR NVR ELHS 64 4K DH...
Страница 43: ...Figure 3 14 Step 2 Click Add new holiday button and device displays the following interface See Figure 3 15...
Страница 108: ...Figure 3 92 Figure 3 93...
Страница 131: ...Figure 3 111 Figure 3 112 Figure 3 113...
Страница 144: ...Figure 3 126 Figure 3 127...
Страница 146: ...Figure 3 129 Click draw button to draw the zone See Figure 3 130 Figure 3 130...
Страница 149: ...Figure 3 133 Click Draw button to draw a zone See Figure 3 134 Figure 3 134...
Страница 154: ...Figure 3 139 Click draw button to draw the zone See Figure 3 140...
Страница 165: ...Figure 3 151 Step 2 Add surveillance scene 1 Click Add The Add interface is displayed See Figure 3 152...
Страница 172: ...Figure 3 157 Figure 3 158...
Страница 173: ...Figure 3 159 Figure 3 160...
Страница 176: ...Figure 3 164 Figure 3 165...
Страница 211: ...Figure 3 199...
Страница 218: ...Figure 3 206 Step 2 Click Add user button in Figure 3 206 The interface is shown as in Figure 3 207 Figure 3 207...
Страница 234: ...Figure 3 227 Step 2 Click Add group Enter add group interface See Figure 3 228 Figure 3 228...
Страница 298: ...Figure 4 56 Figure 4 57...
Страница 304: ...Figure 4 62 Figure 4 63...
Страница 305: ...Figure 4 64 Figure 4 65...
Страница 330: ...Figure 4 101 Figure 4 102...
Страница 339: ...Figure 4 115 Figure 4 116...
Страница 359: ...Figure 4 144 Note For admin you can change the email information See Figure 4 145...


