Button
Function
It is to control PTZ movement speed. The higher the
value is, the faster the speed is.
For example, the step 8 speed is faster than step 1.
Click add button and then click
to save.
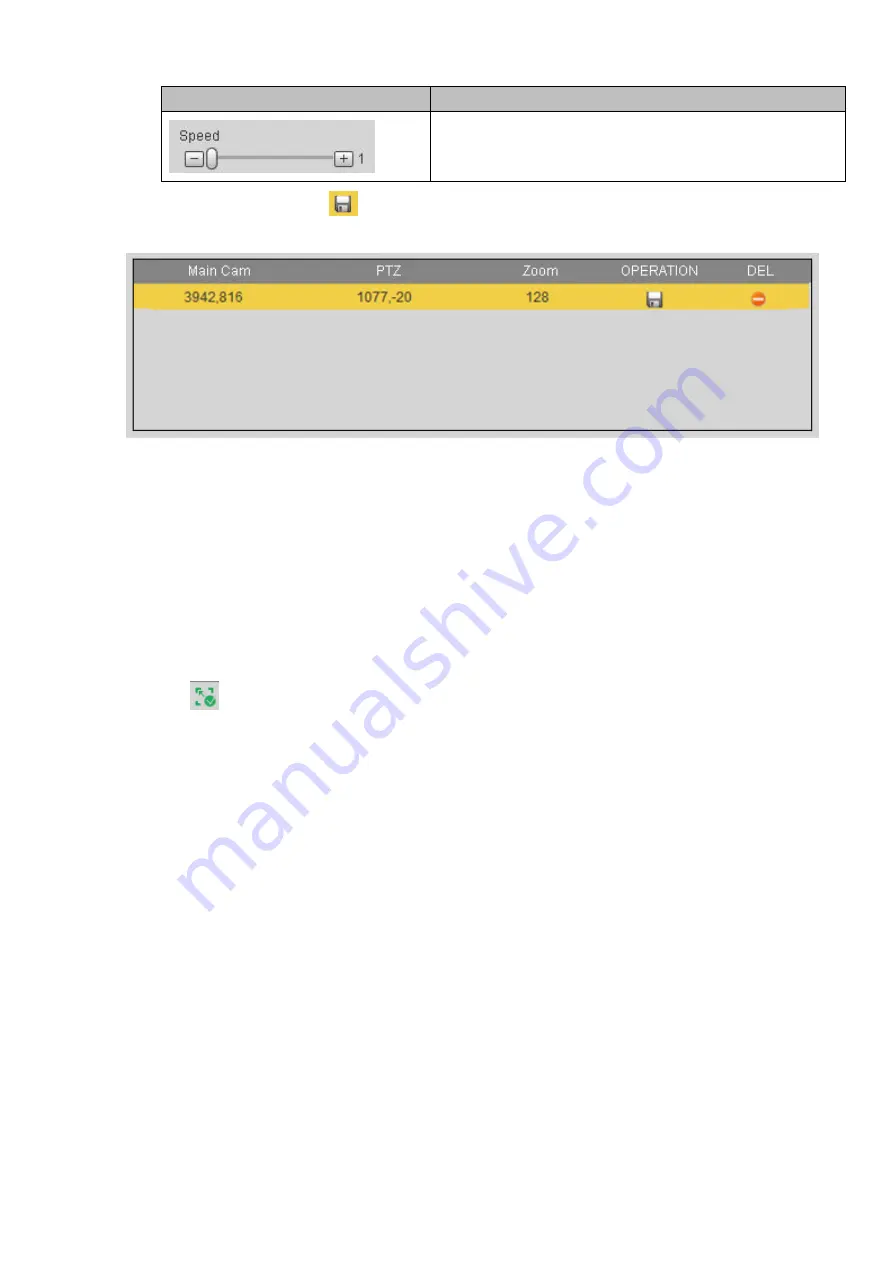
Now you complete one group position, you can view at the list. See Figure 4-100.
Figure 4-100
Repeat the above steps to set at least three group positions.
Note
For one PTZ camera, there must be three calibration groups. System max supports 8 group positions.
Please make sure the calibration position is accurate.
For the first calibration group position, please select the reference objects at the far distance to
enhance the trigger accuracy.
Click OK button to complete the calibration setup, you can go back to the smart track interface, the status
is shown as
.
4.6.4.9 Alarm
Before operation, please make sure you have properly connected alarm devices such as buzzer. The
input mode includes local alarm, network alarm, and IPC external alarm and IPC offline alarm.
4.6.4.9.1 Local Alarm
From main menu>Setup>Event>Alarm>Local alarm, the local alarm interface is shown as in Figure 4-101.
It refers to alarm from the local device.
Содержание ELITE Network IP Series
Страница 1: ...64 Channel 4K Hot Swap NVR NVR ELHS 64 4K DH...
Страница 43: ...Figure 3 14 Step 2 Click Add new holiday button and device displays the following interface See Figure 3 15...
Страница 108: ...Figure 3 92 Figure 3 93...
Страница 131: ...Figure 3 111 Figure 3 112 Figure 3 113...
Страница 144: ...Figure 3 126 Figure 3 127...
Страница 146: ...Figure 3 129 Click draw button to draw the zone See Figure 3 130 Figure 3 130...
Страница 149: ...Figure 3 133 Click Draw button to draw a zone See Figure 3 134 Figure 3 134...
Страница 154: ...Figure 3 139 Click draw button to draw the zone See Figure 3 140...
Страница 165: ...Figure 3 151 Step 2 Add surveillance scene 1 Click Add The Add interface is displayed See Figure 3 152...
Страница 172: ...Figure 3 157 Figure 3 158...
Страница 173: ...Figure 3 159 Figure 3 160...
Страница 176: ...Figure 3 164 Figure 3 165...
Страница 211: ...Figure 3 199...
Страница 218: ...Figure 3 206 Step 2 Click Add user button in Figure 3 206 The interface is shown as in Figure 3 207 Figure 3 207...
Страница 234: ...Figure 3 227 Step 2 Click Add group Enter add group interface See Figure 3 228 Figure 3 228...
Страница 298: ...Figure 4 56 Figure 4 57...
Страница 304: ...Figure 4 62 Figure 4 63...
Страница 305: ...Figure 4 64 Figure 4 65...
Страница 330: ...Figure 4 101 Figure 4 102...
Страница 339: ...Figure 4 115 Figure 4 116...
Страница 359: ...Figure 4 144 Note For admin you can change the email information See Figure 4 145...


